
Brioche loaf
Published on 1 October 2014
Favourites stay in this browser only. Sign in to save them to your account.
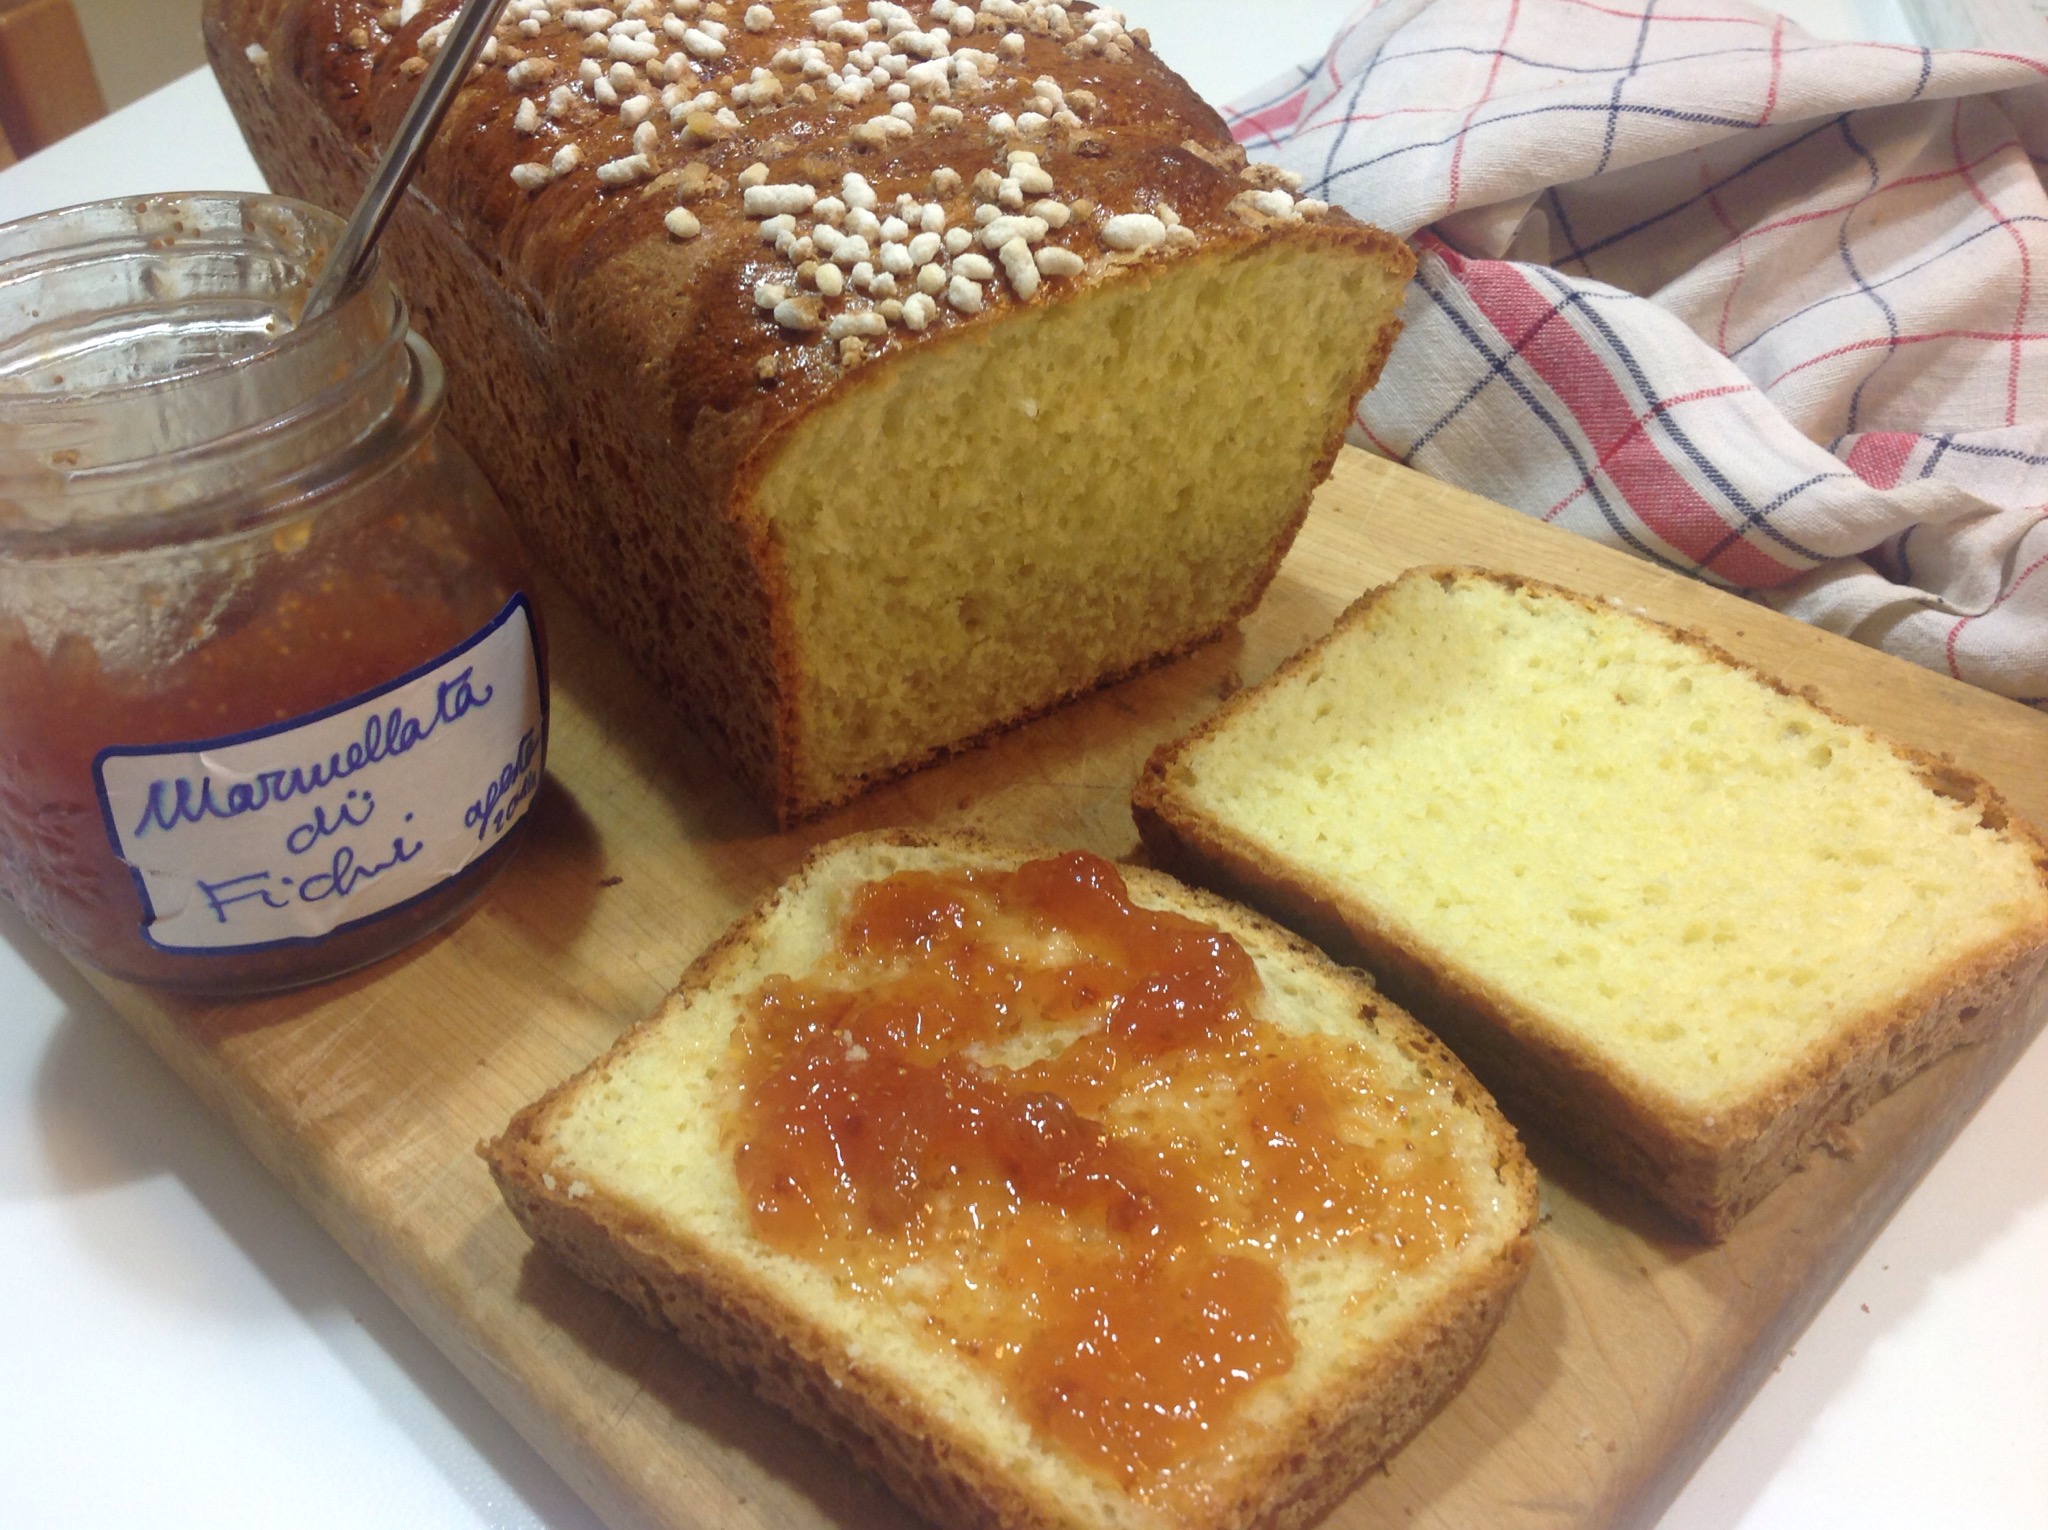
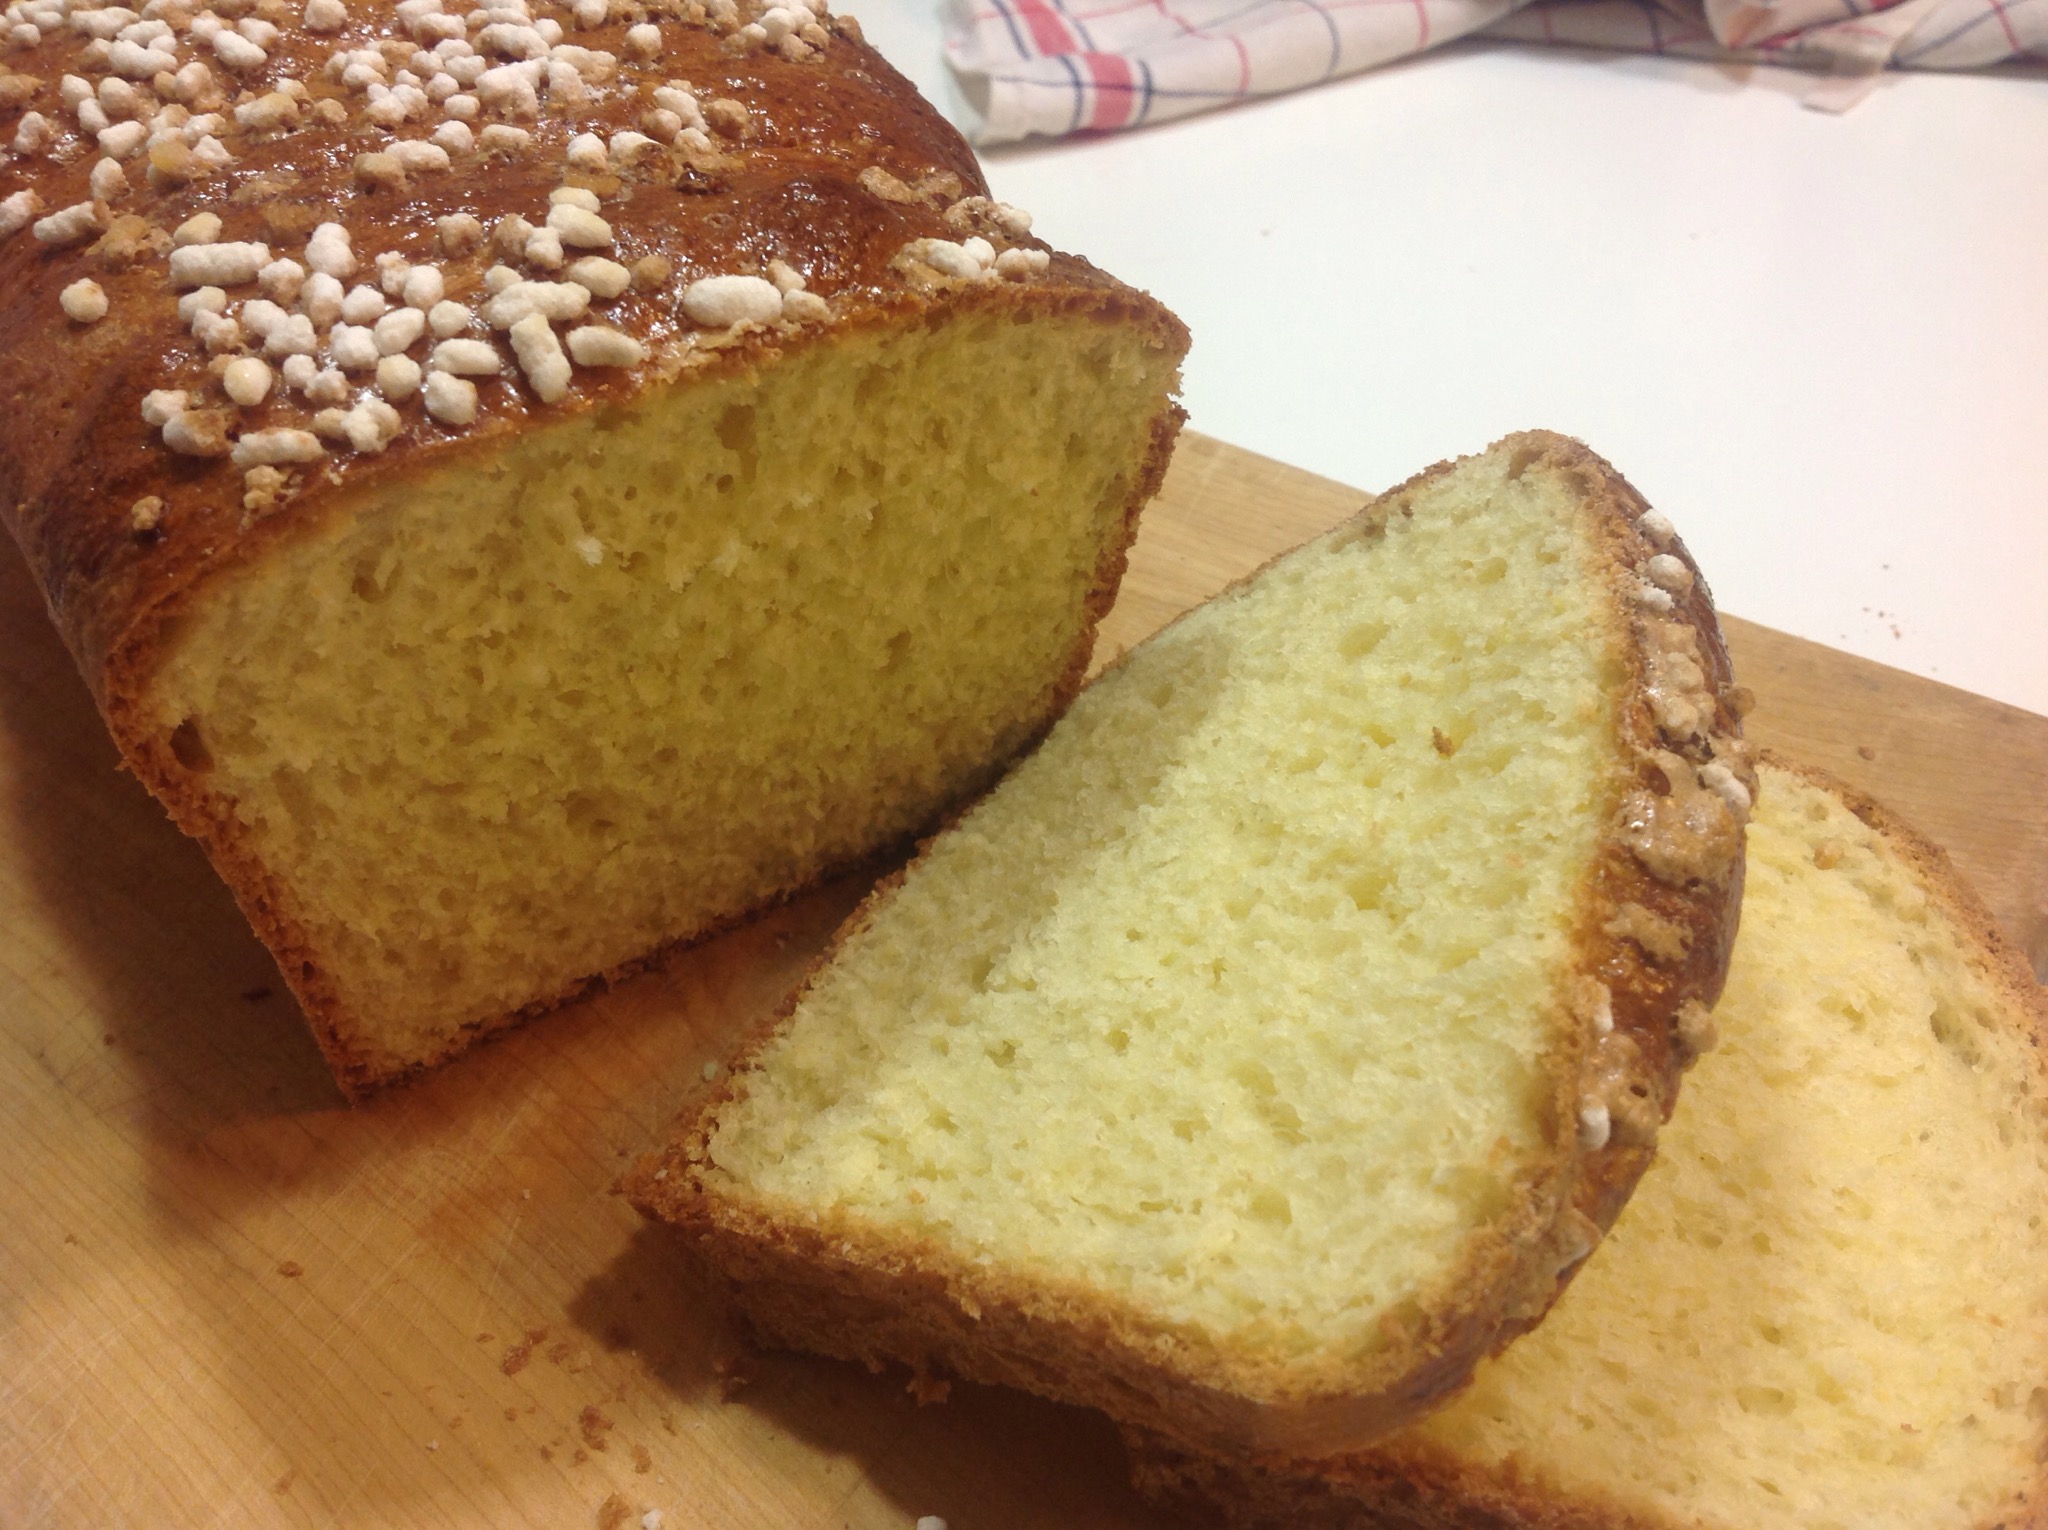
Soft, fluffy brioche, suitable for breakfast because it is only lightly sweetened. Perfect with jam; without sugar on top, enjoy it with savoury accompaniments too.
Do I have all the ingredients?
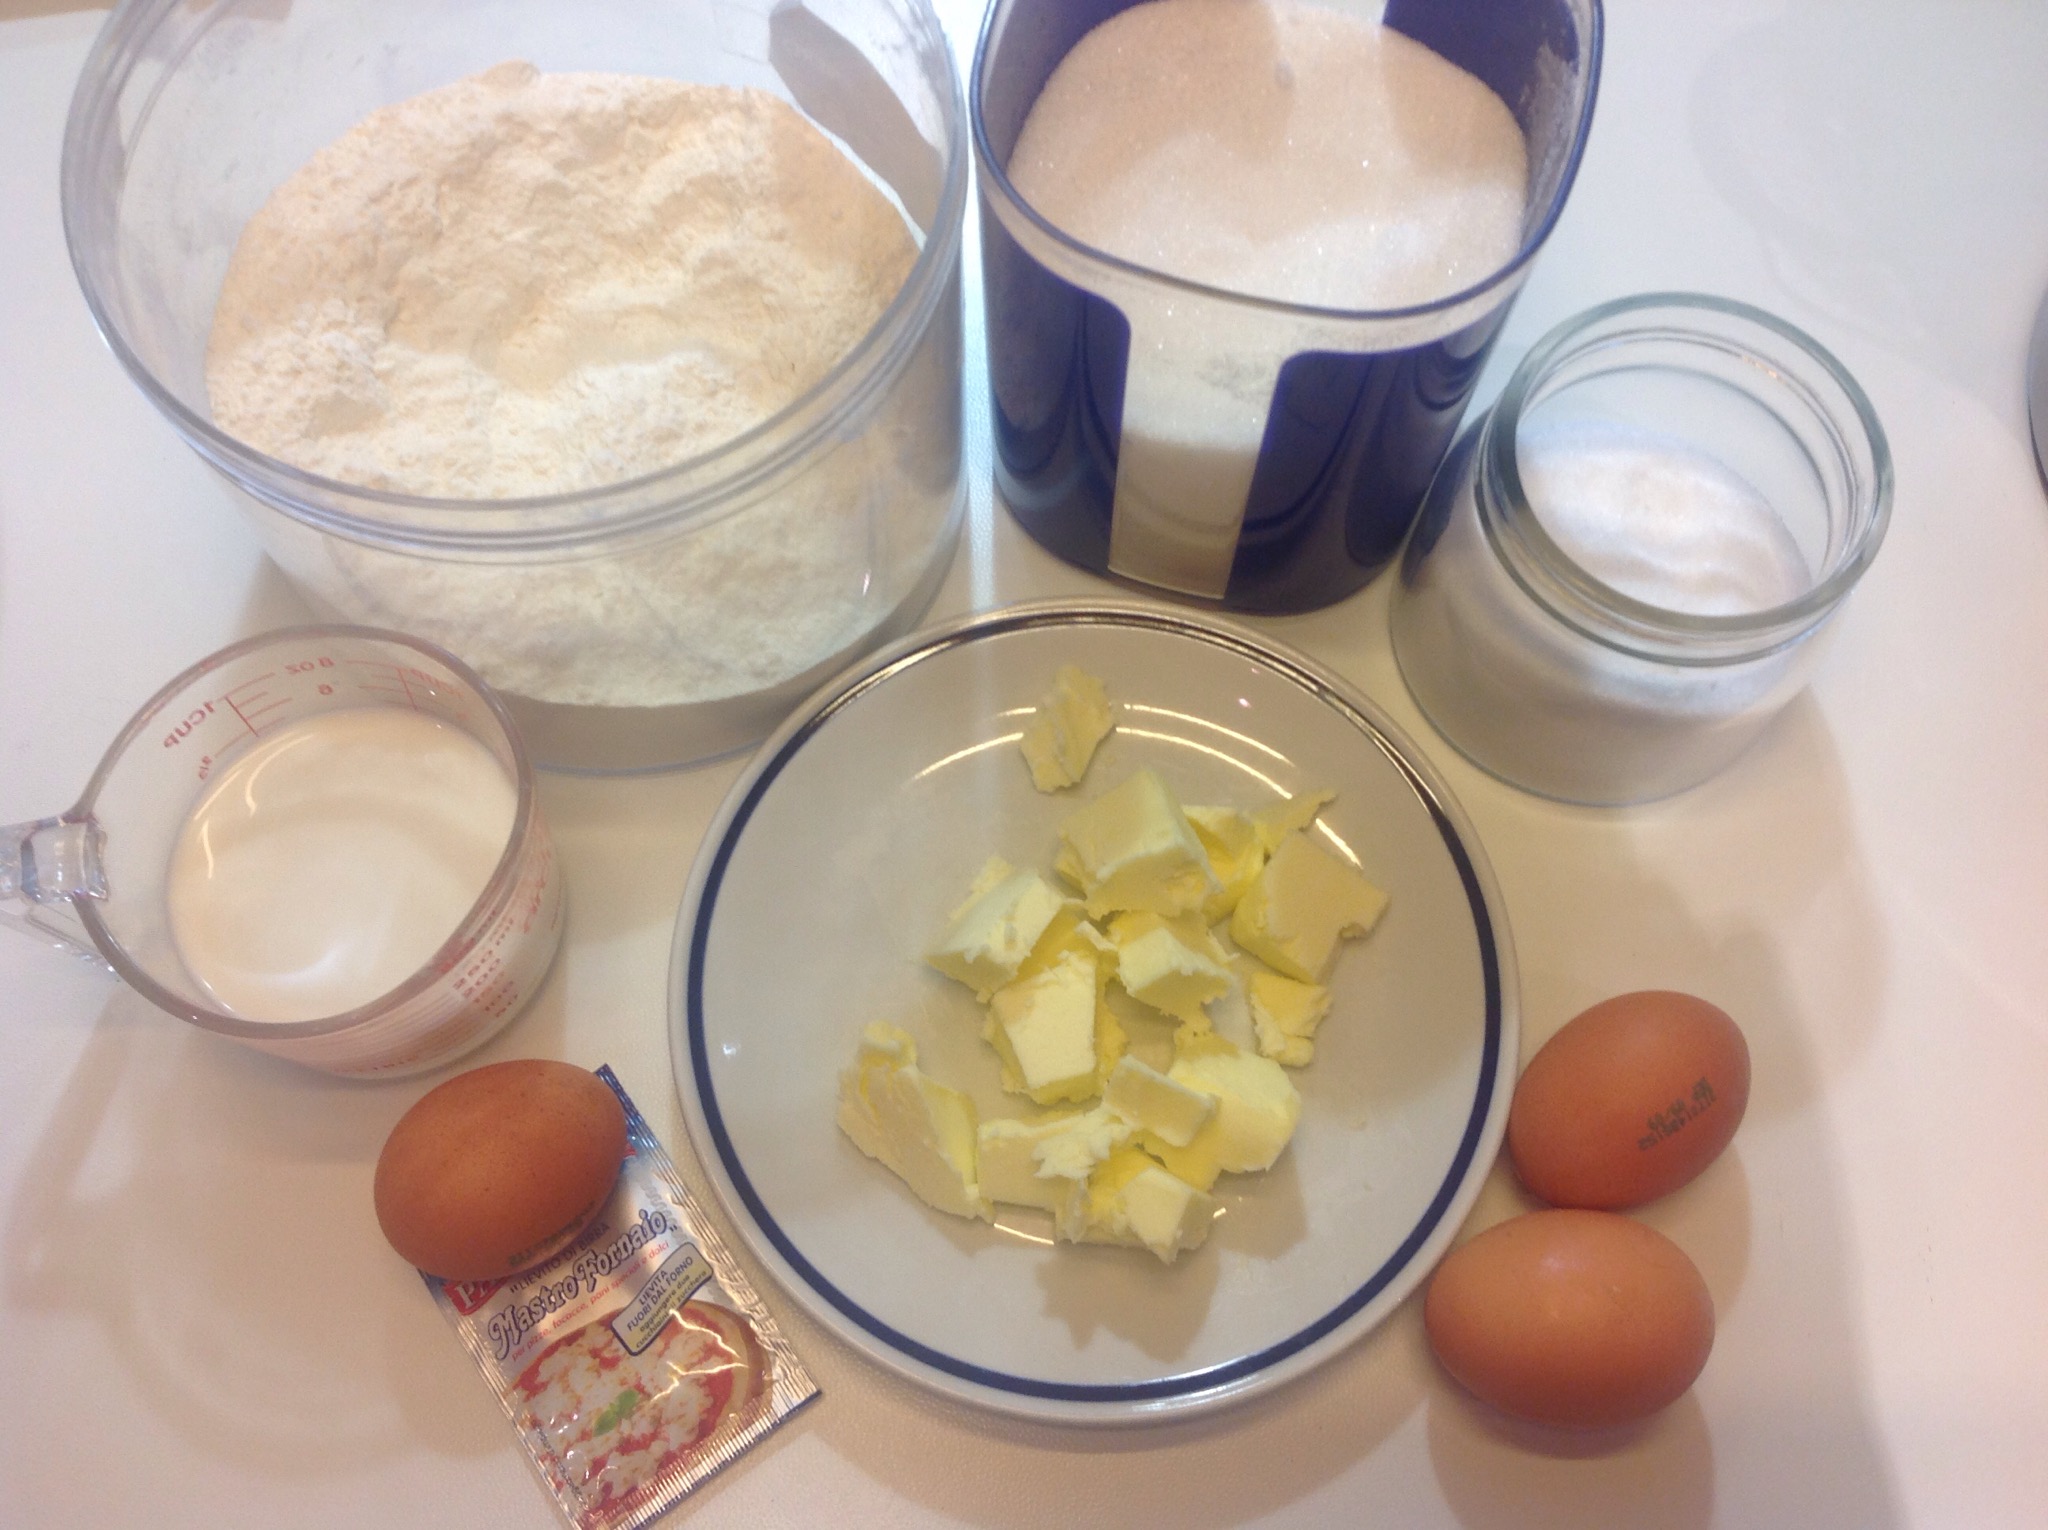
Ingredients
INGREDIENTS
You have 0 ingredients out of 9
You still need 9 ingredients
The checklist only records what you have available: it does not check allergens or food safety.
Selections and your current step are saved in this browser for this recipe.
Method
Introductory photographs from the original
0 steps completed out of 25
- Step 1 of 25I used my wonderful stand mixer, but you can knead by hand; it will take a little longer.
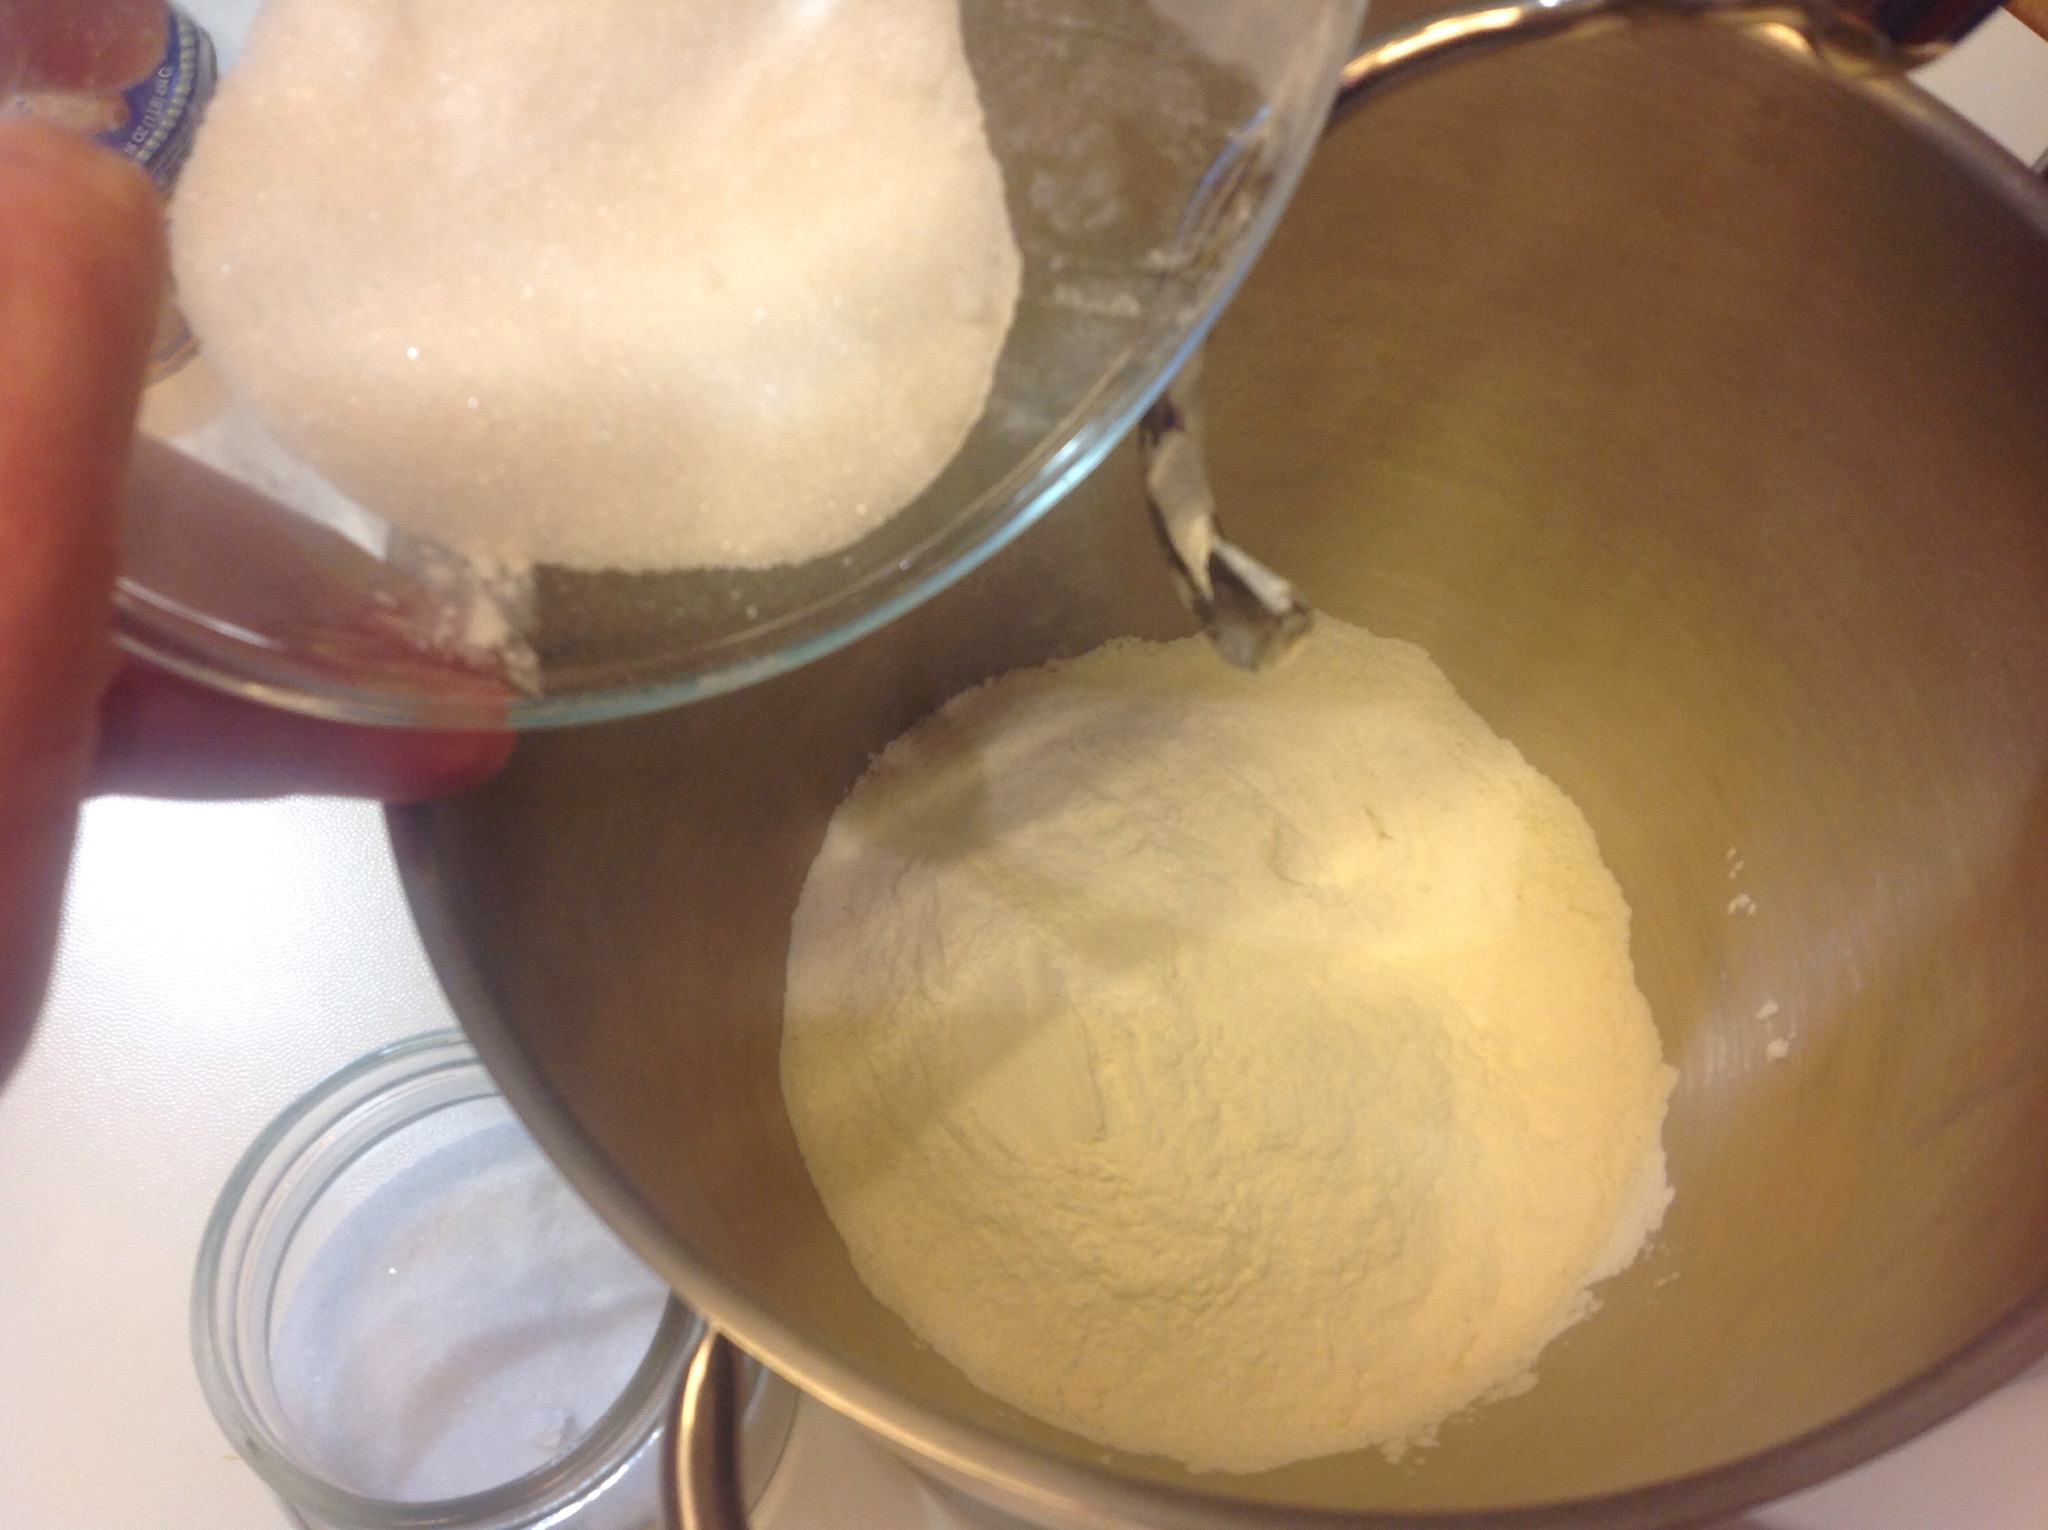
I put the flour and sugar in the mixer.
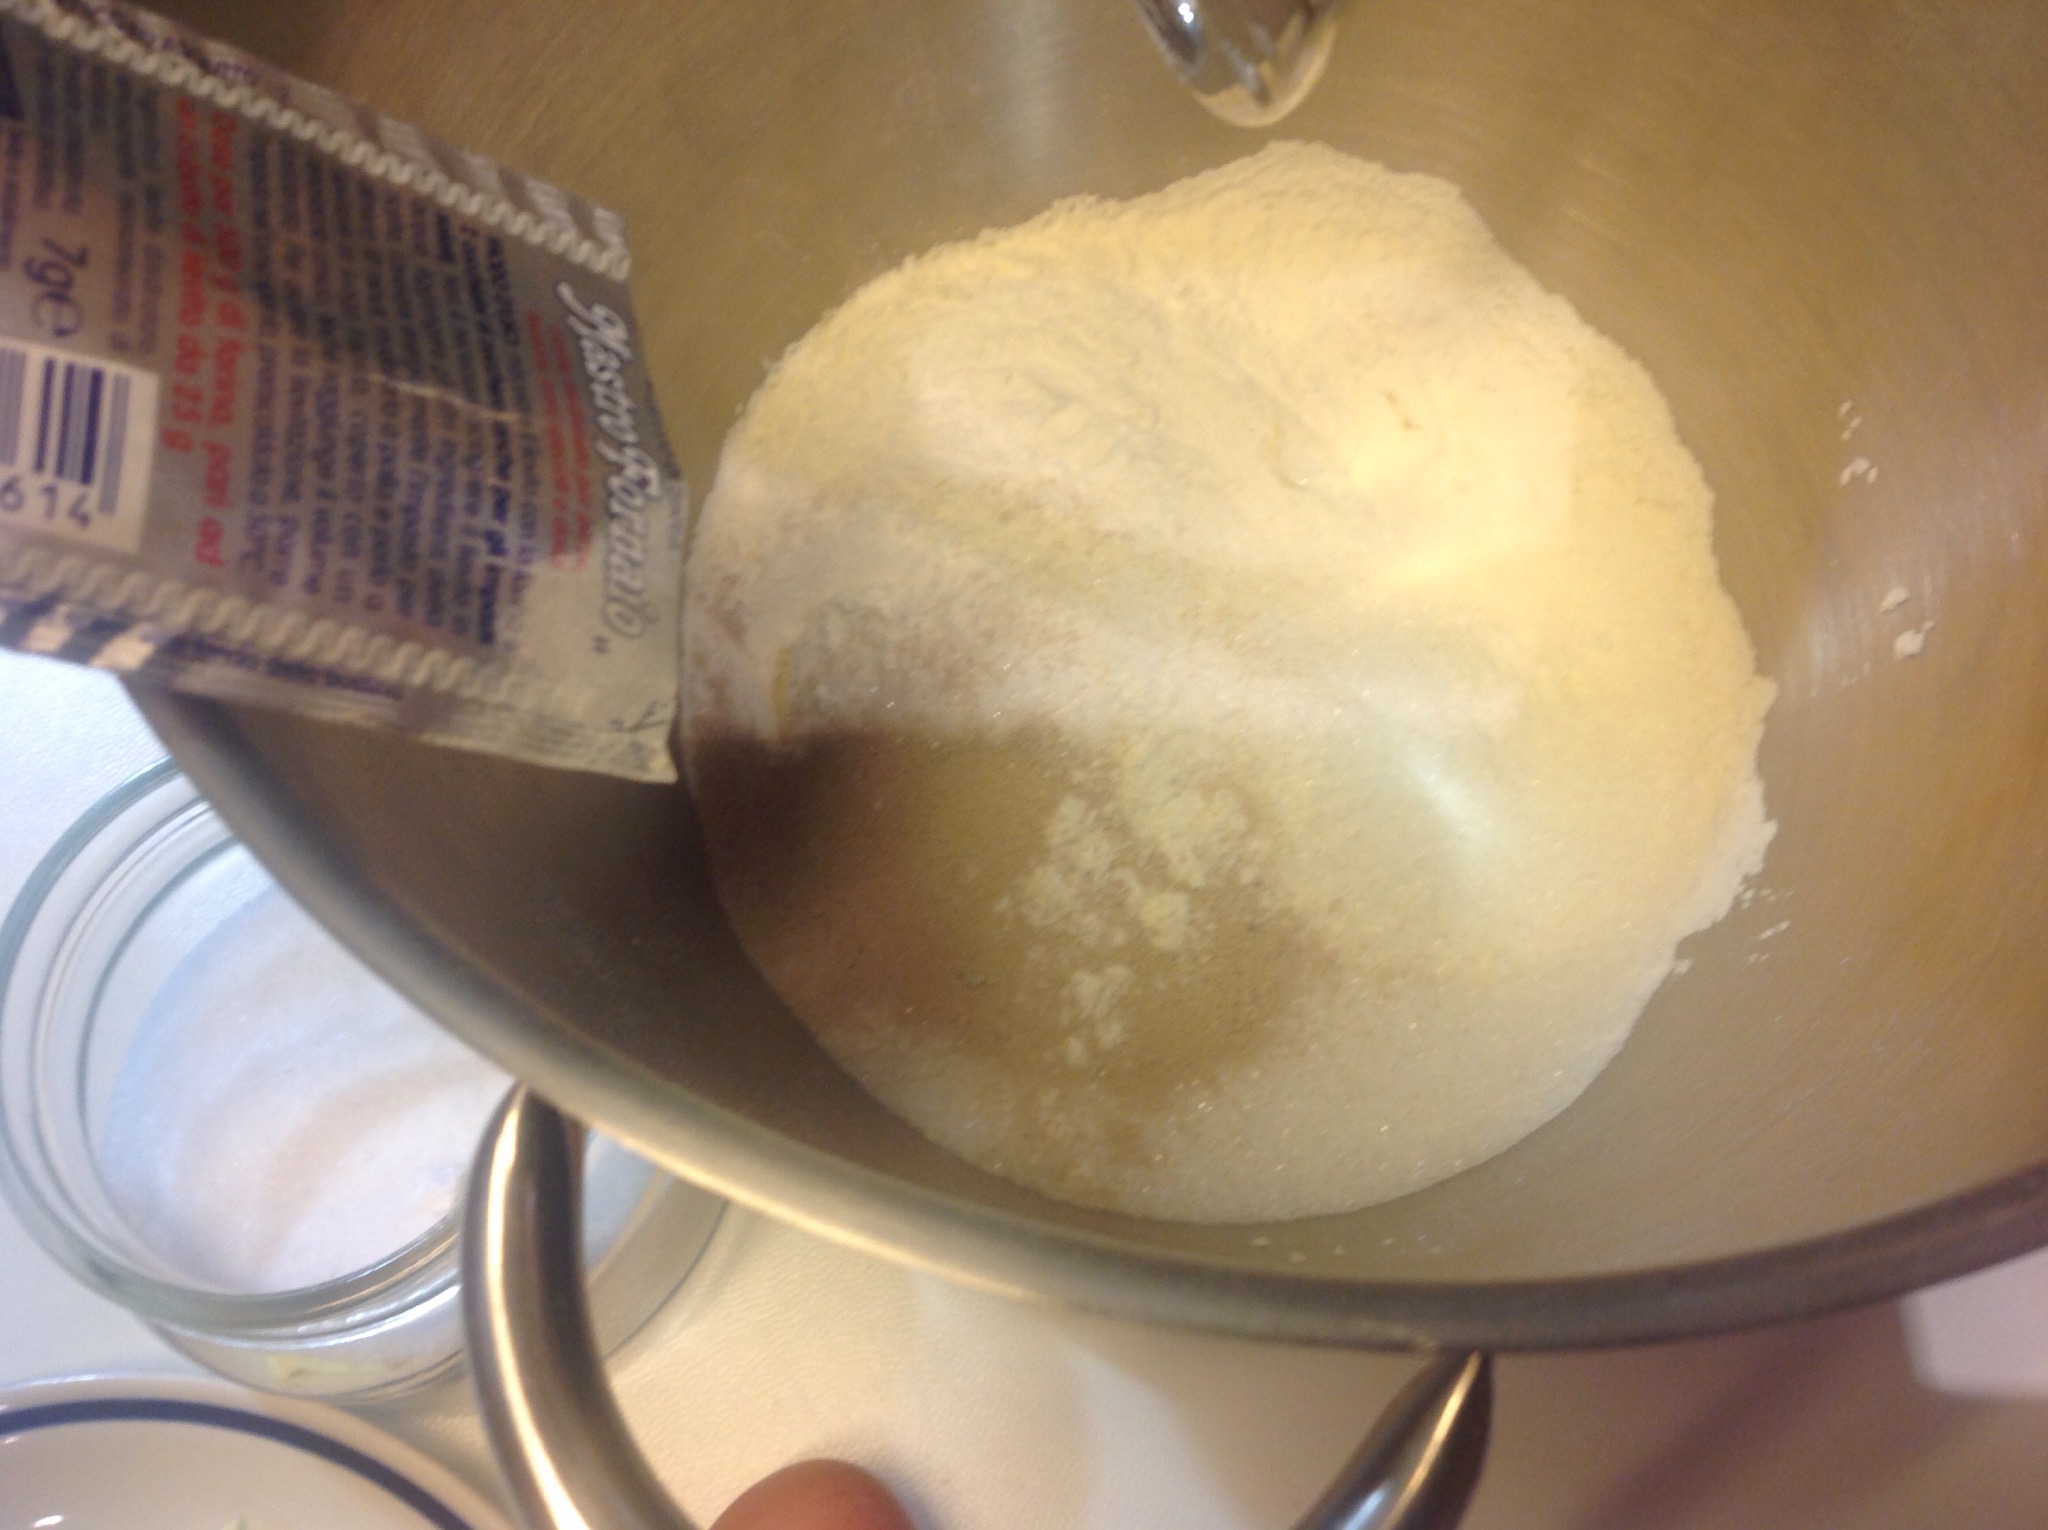
- Step 2 of 25I add the sachet of yeast. If using fresh yeast, dissolve it in the lukewarm milk first; dried yeast does not need this.

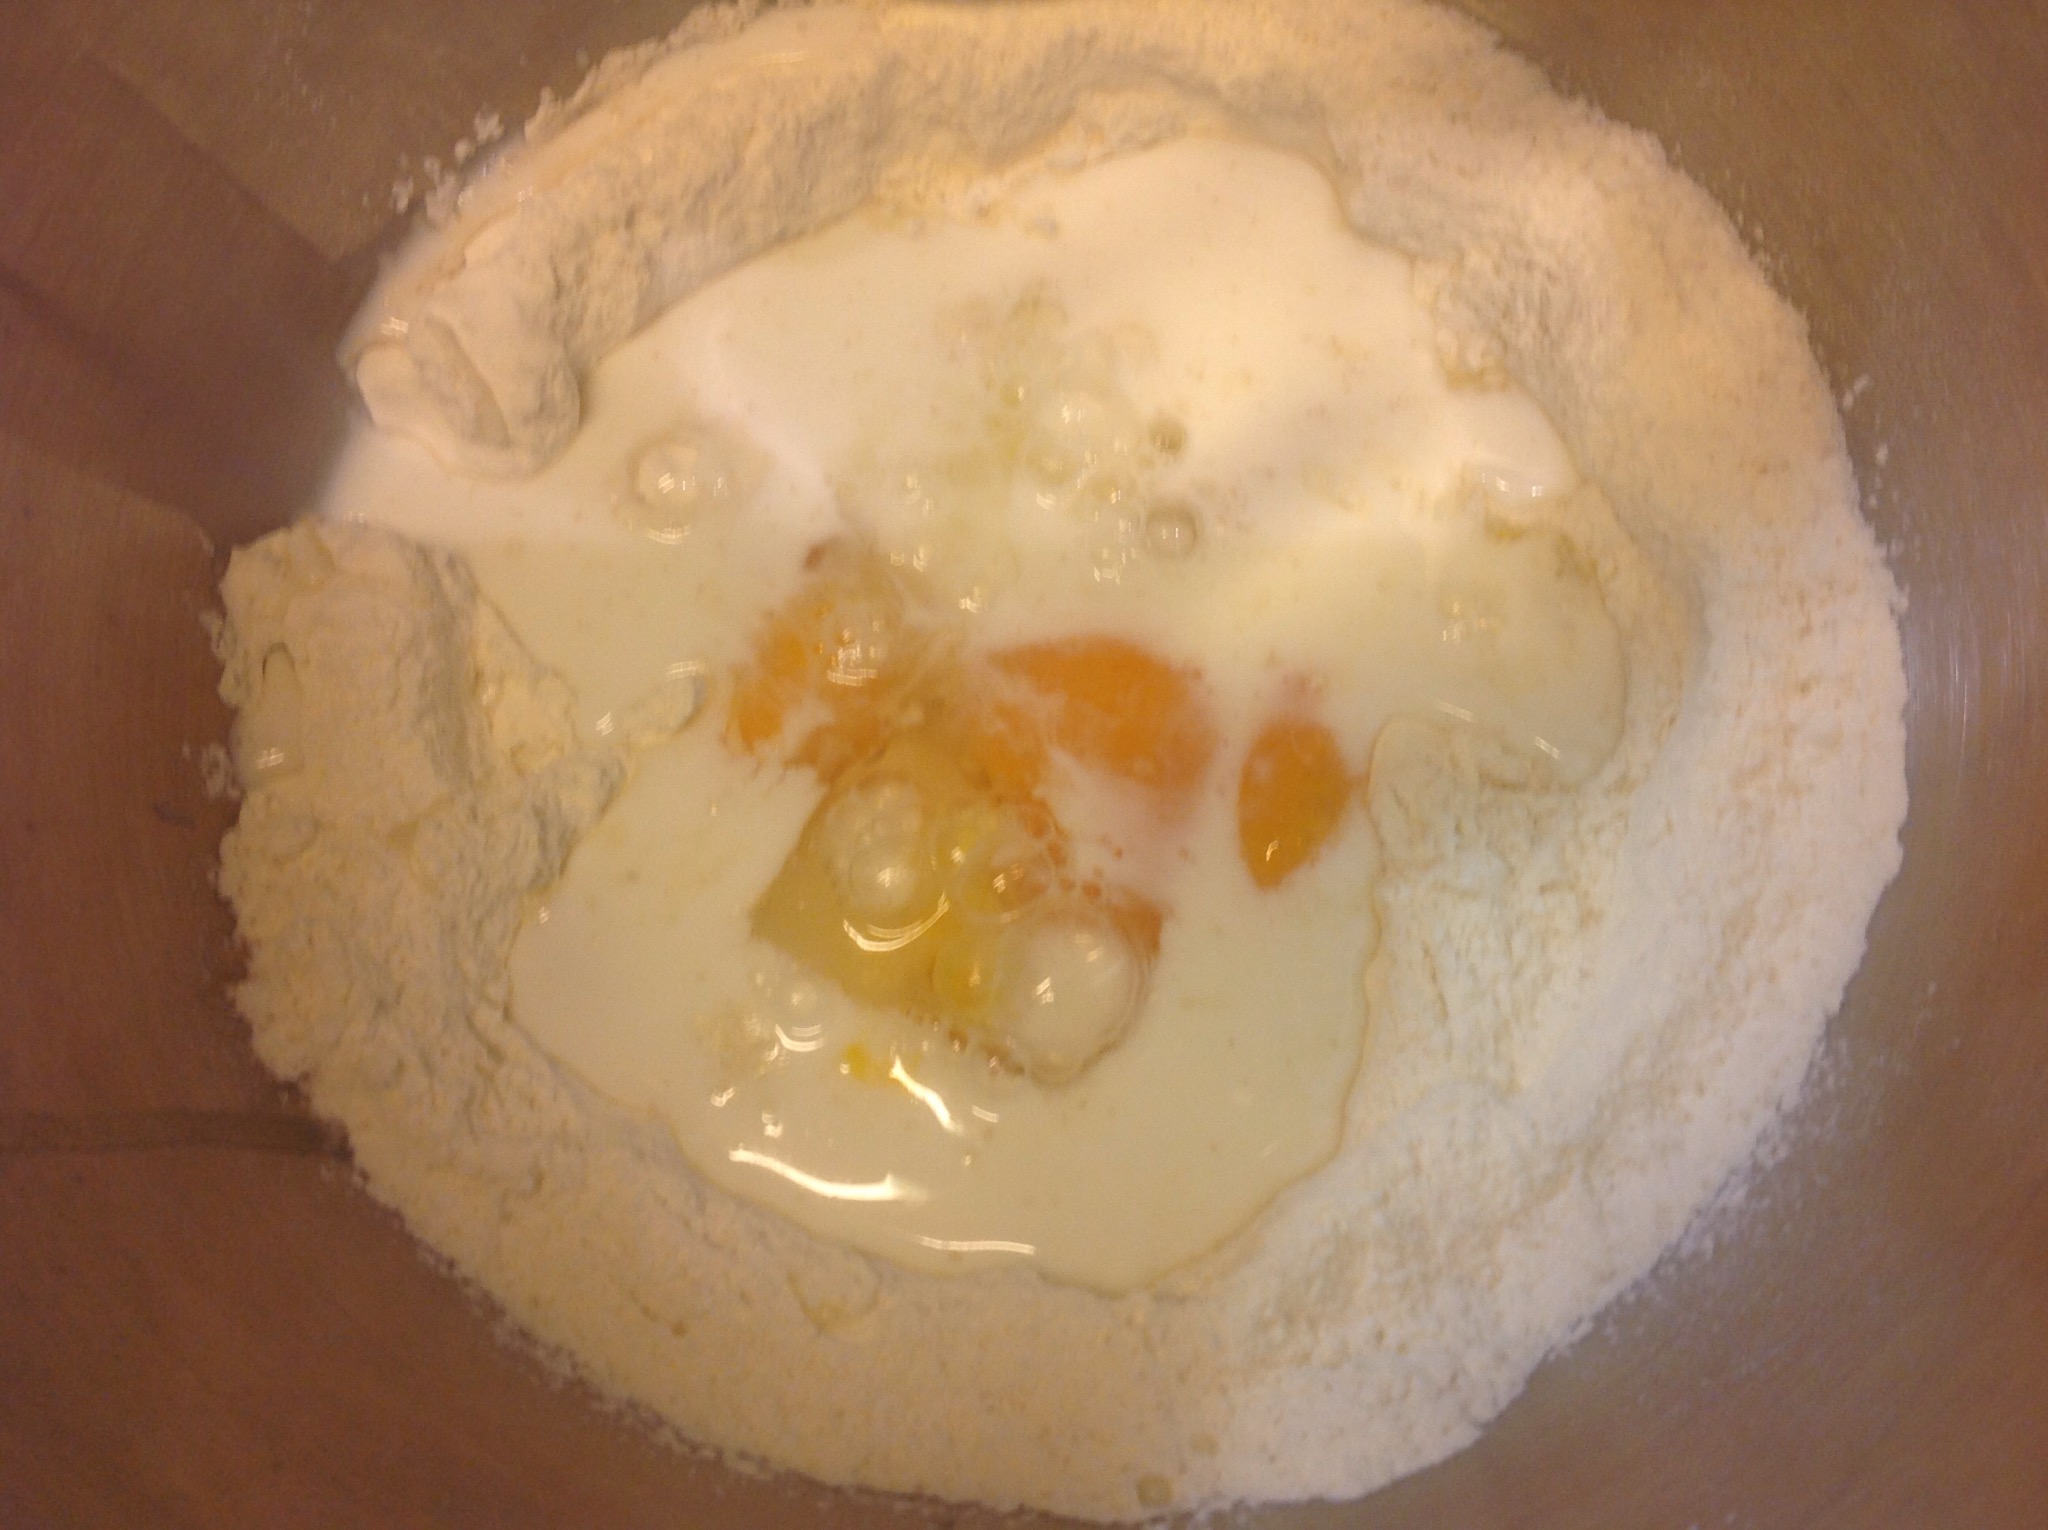
- Step 3 of 25I add the eggs and slightly warmed milk.

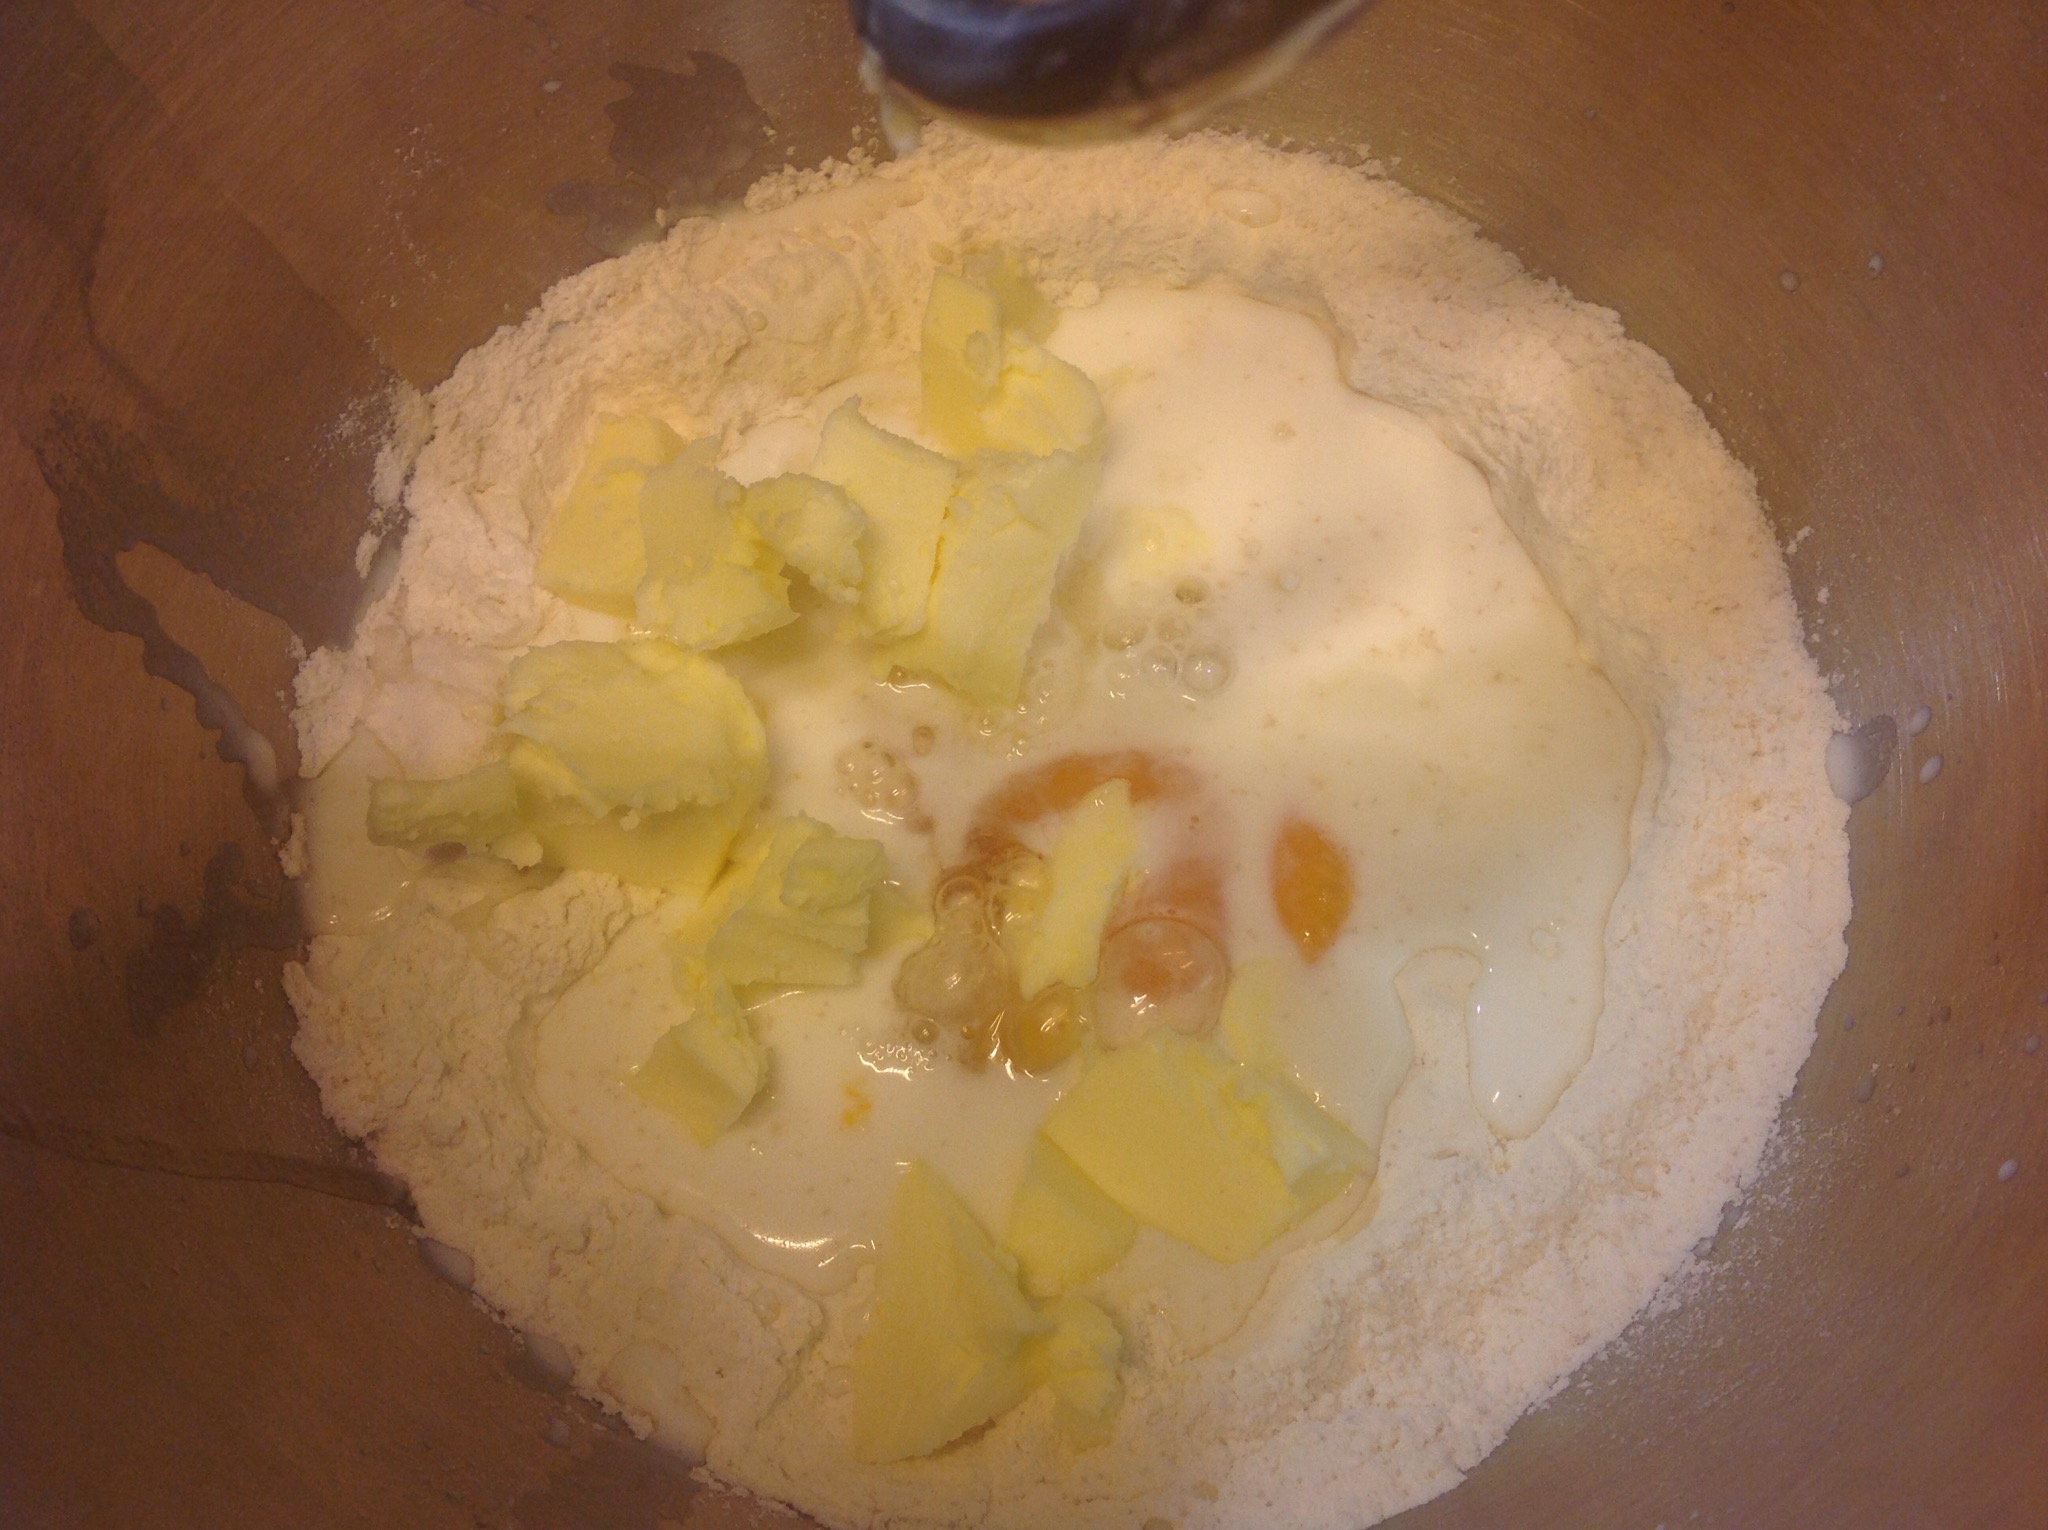
- Step 4 of 25The butter, cut into pieces.

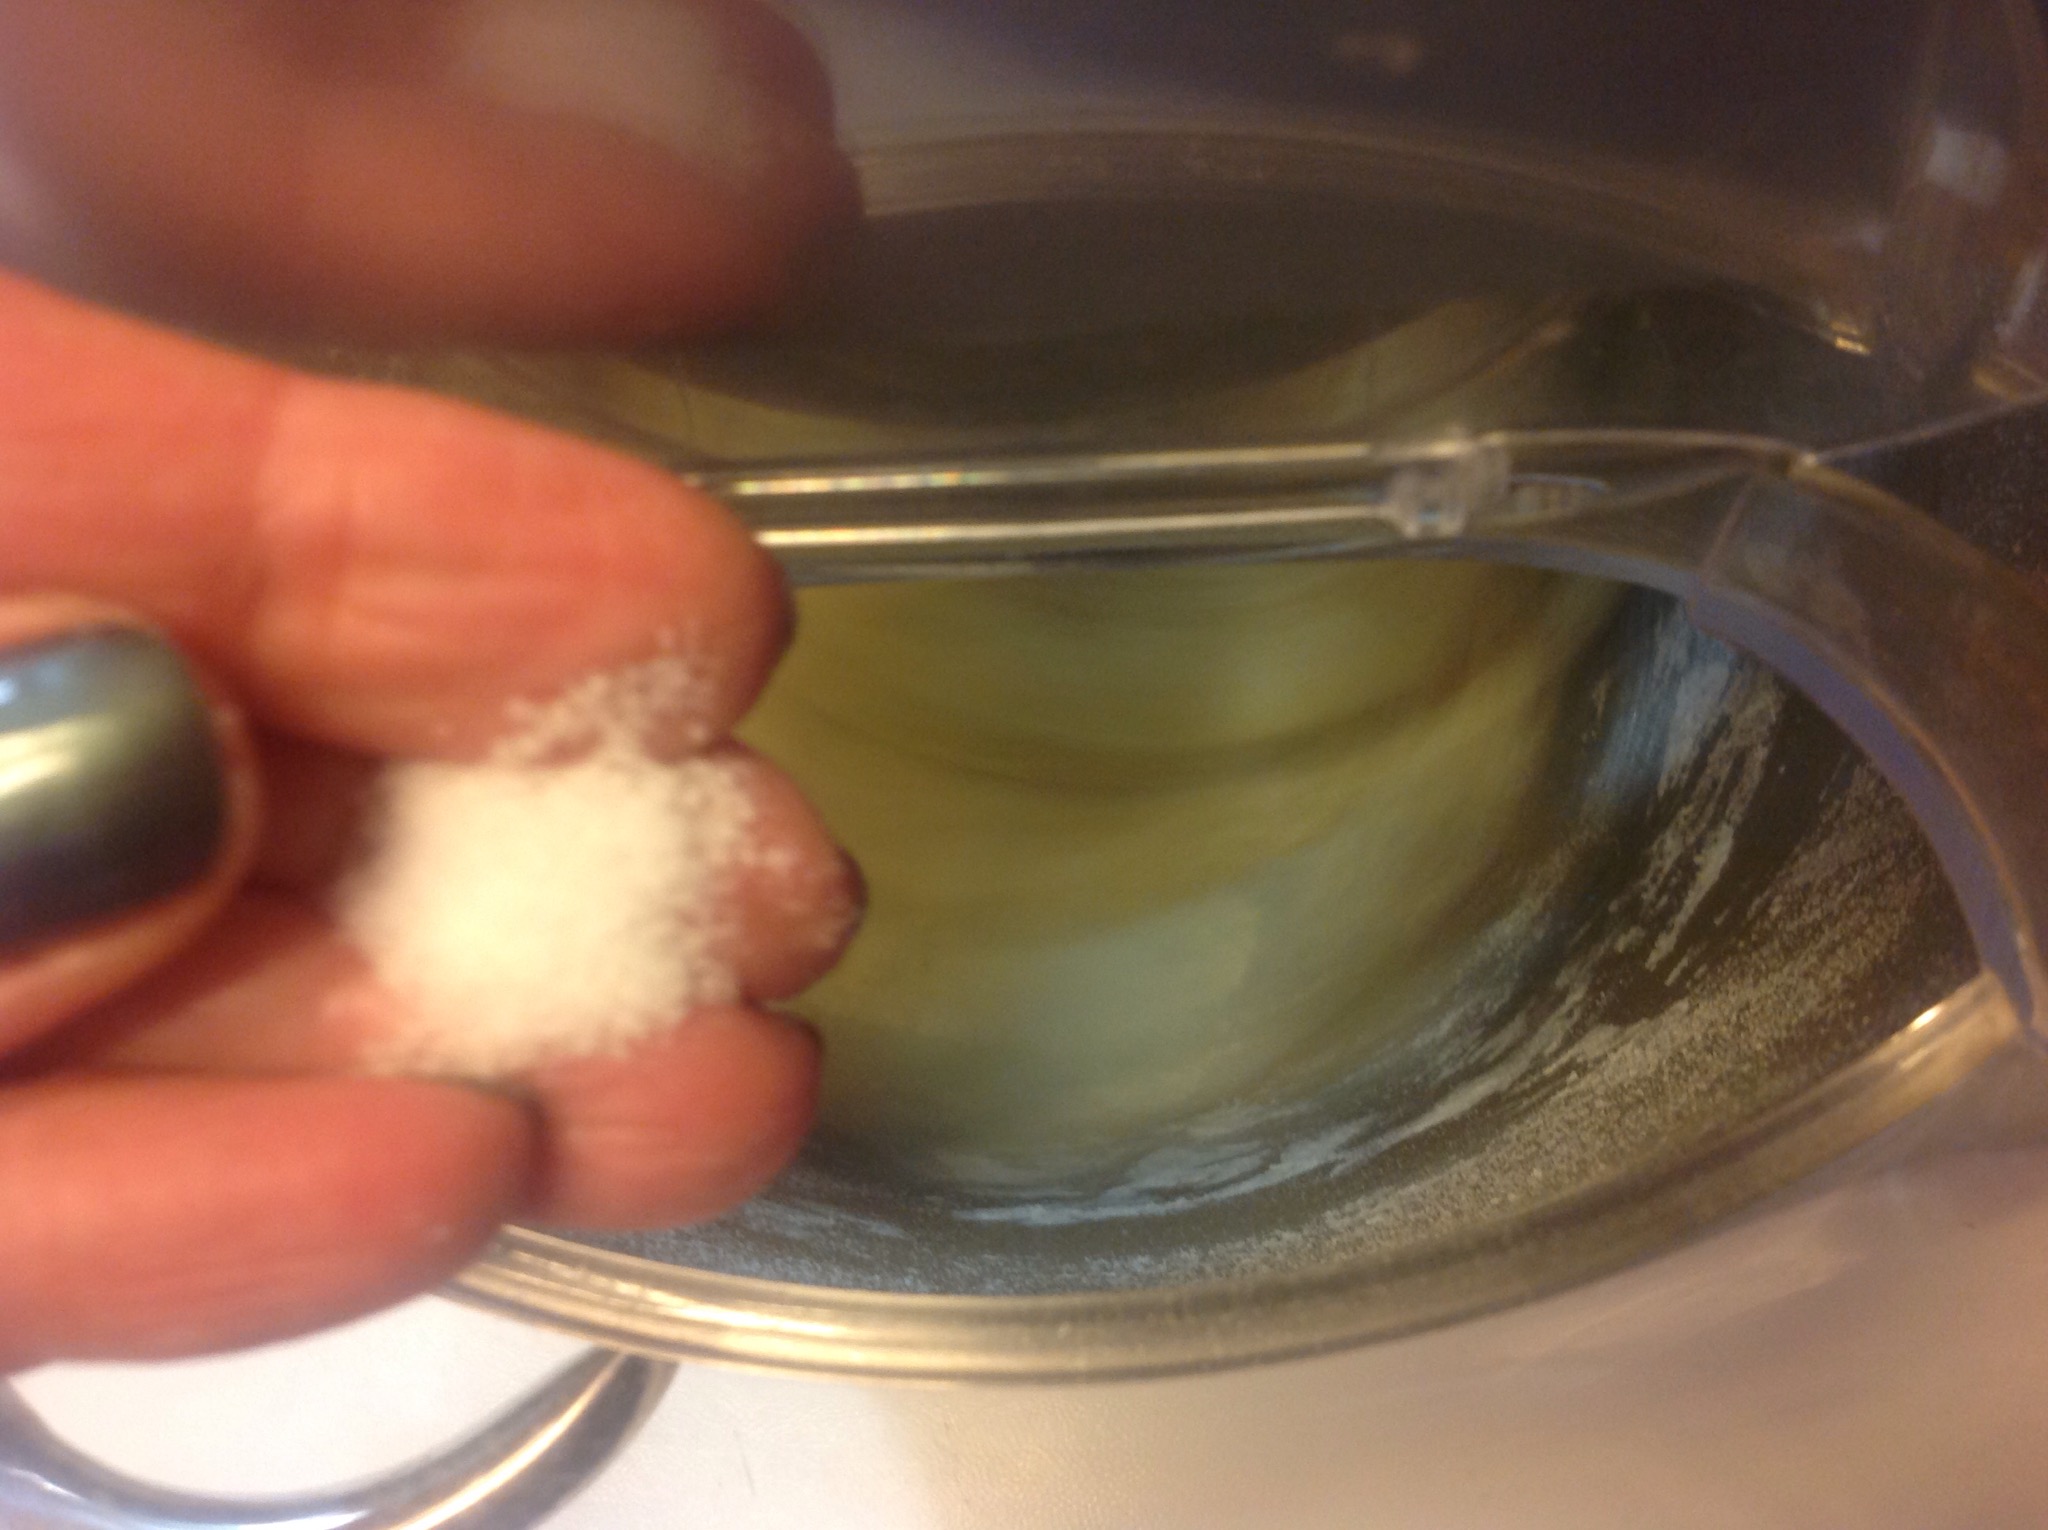
- Step 5 of 25I start kneading and add a pinch of salt.

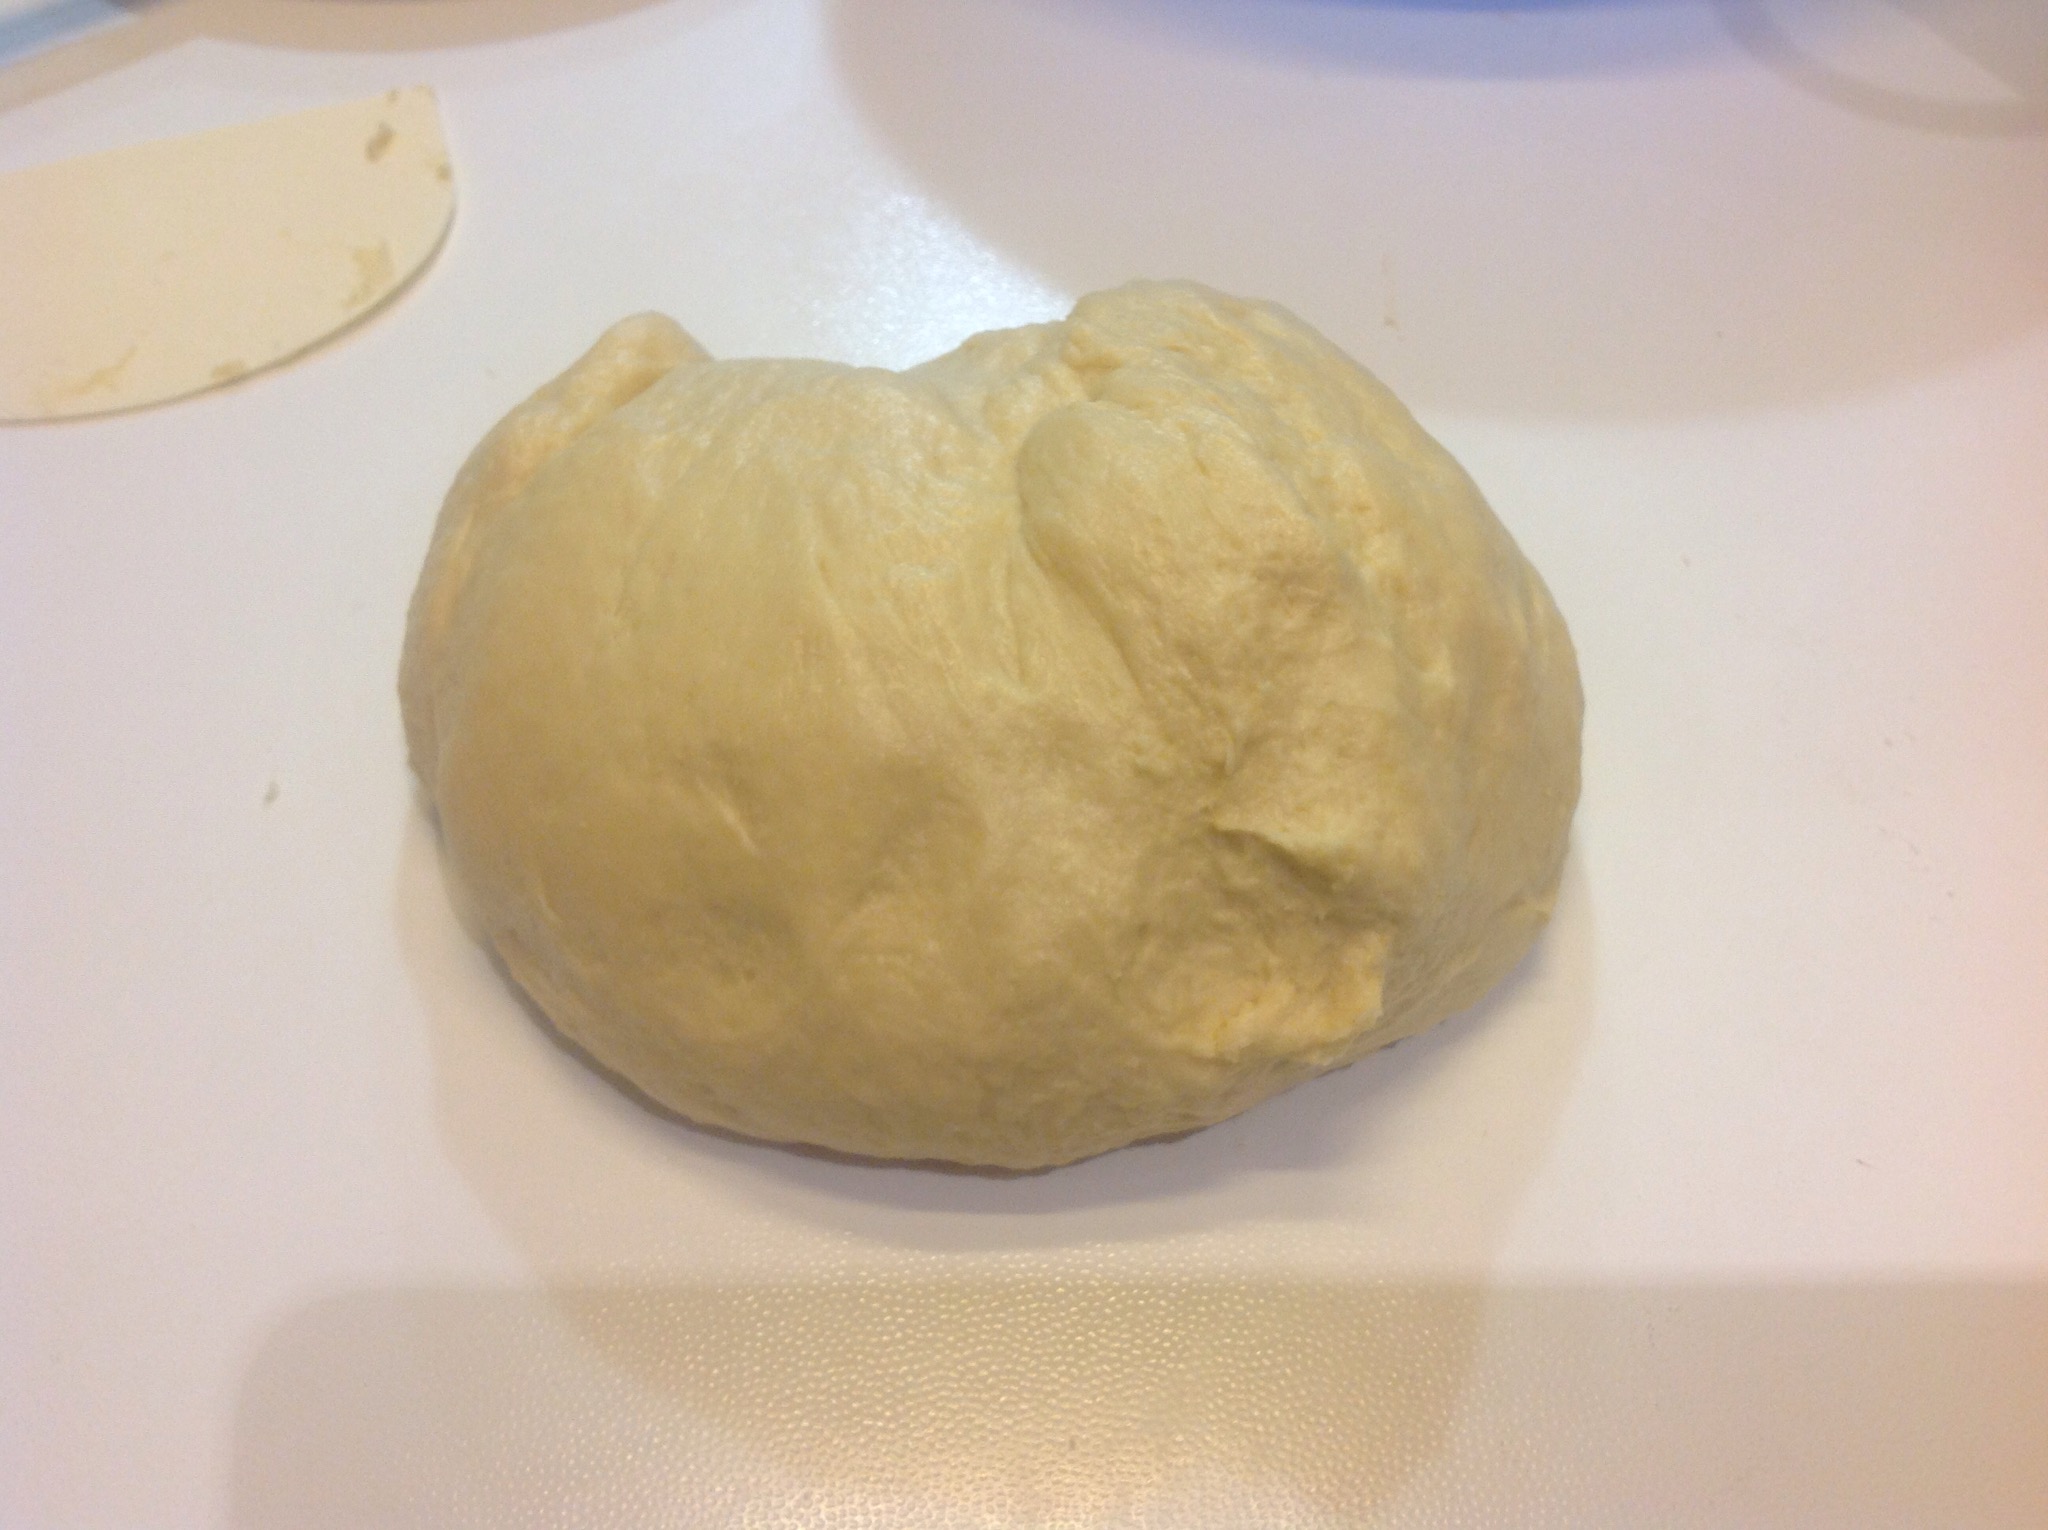
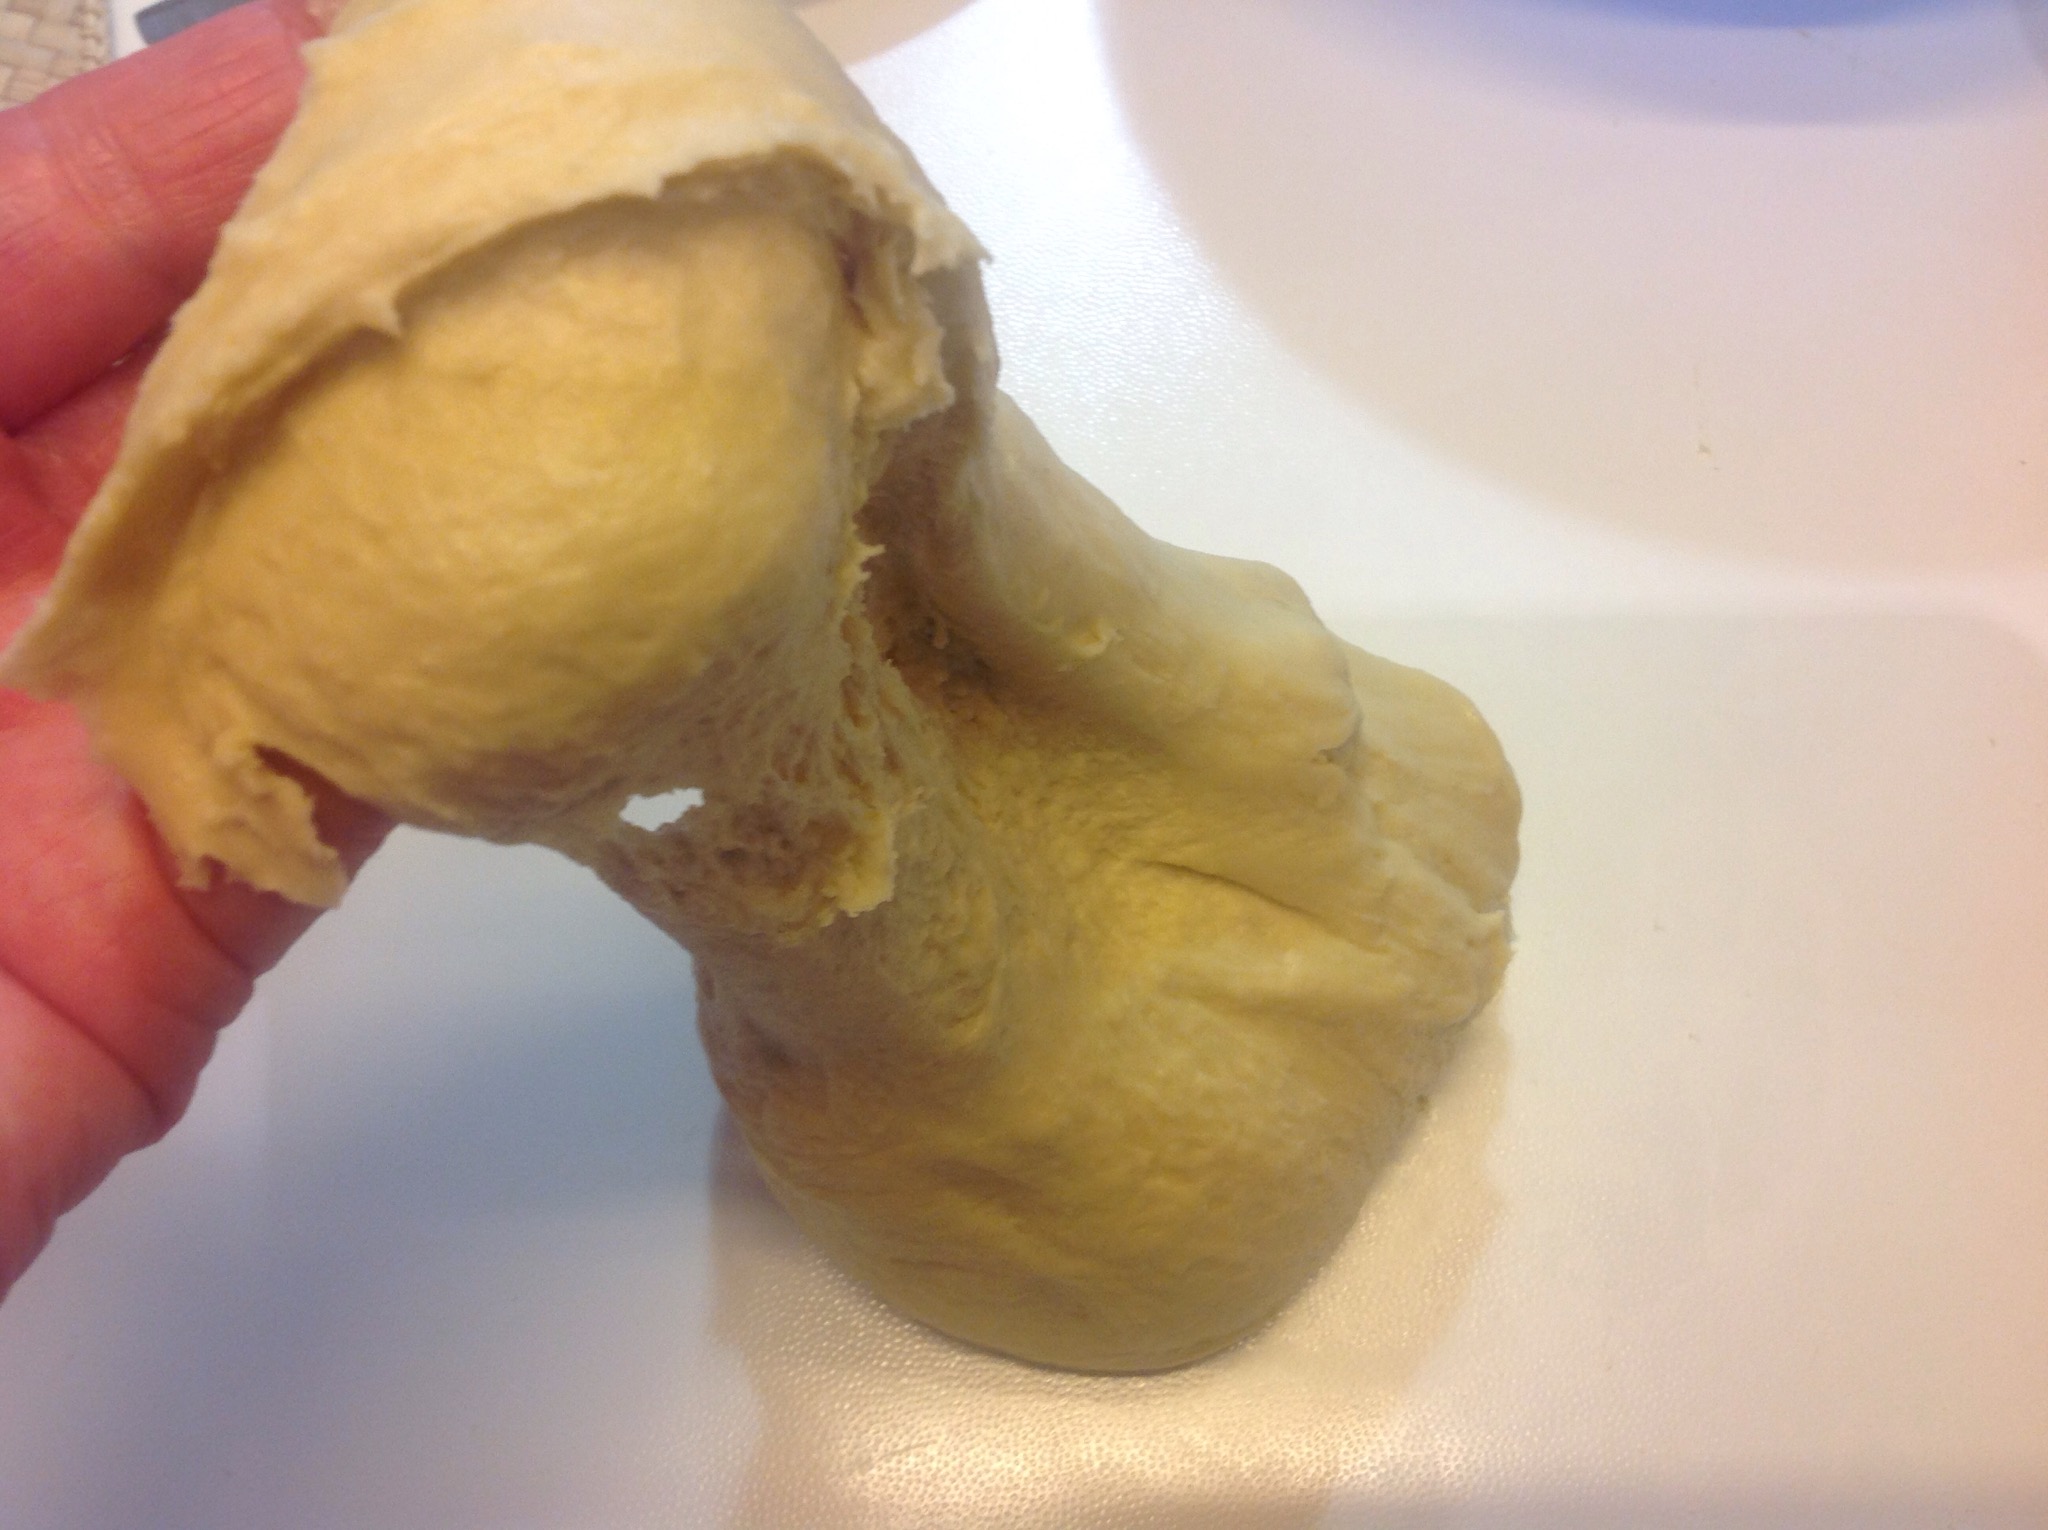
- Step 6 of 25I knead until the dough is smooth, elastic and well developed, then remove it from the bowl and put on the worktop.

- Step 7 of 25I knead it further by hand, slapping it on the surface until elastic.

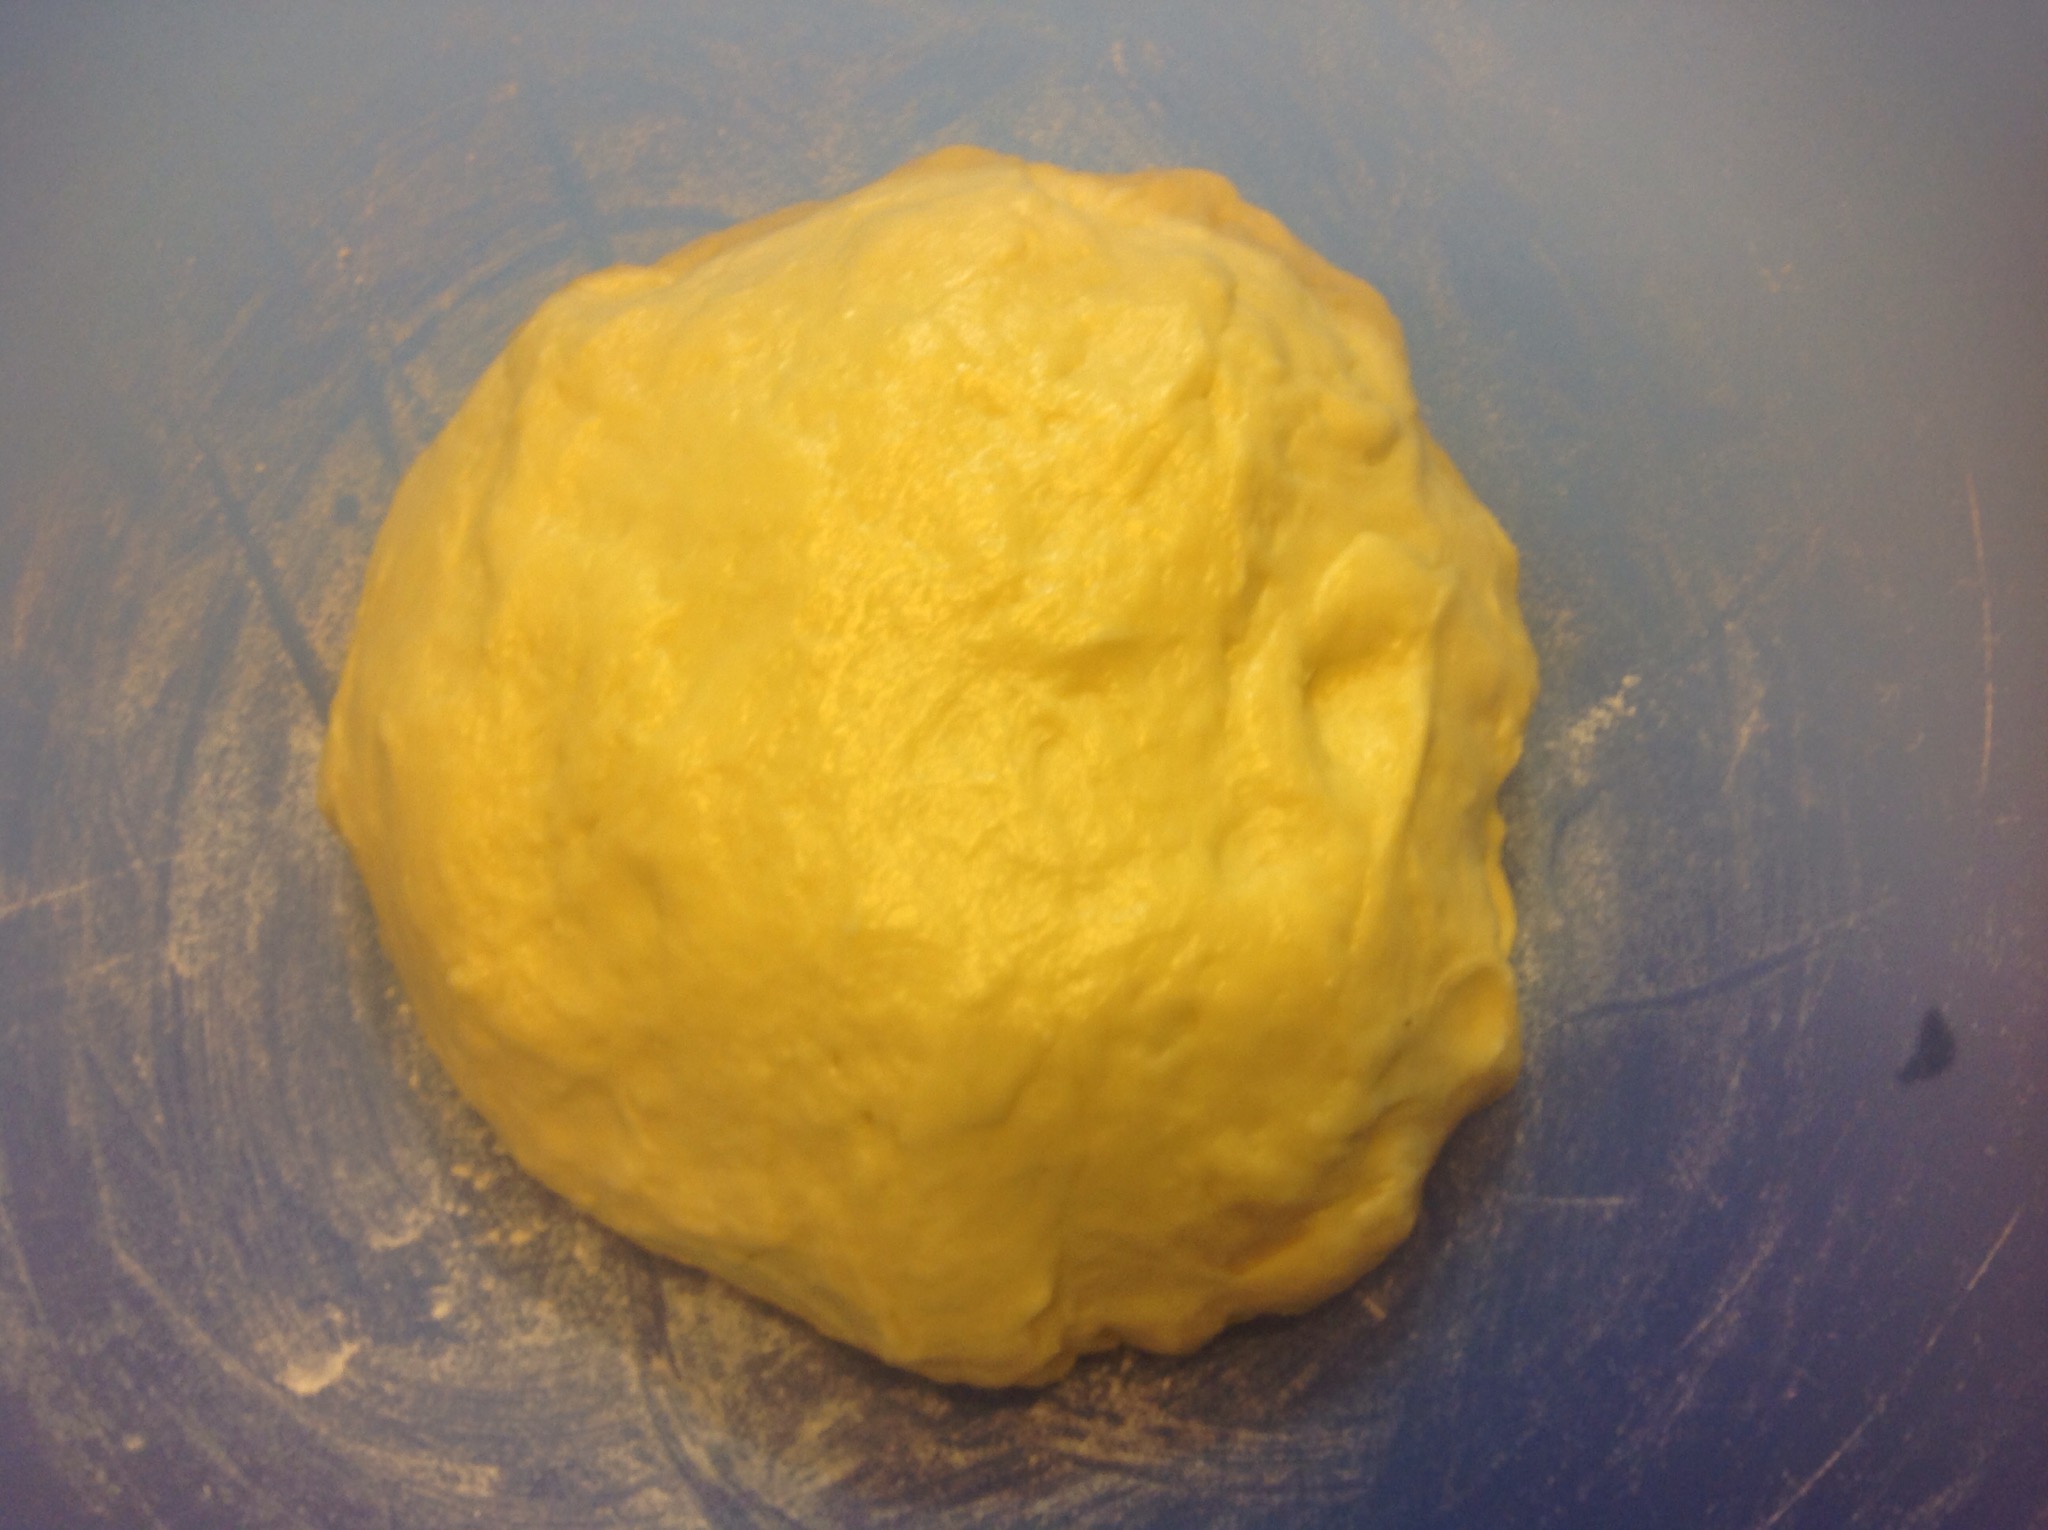
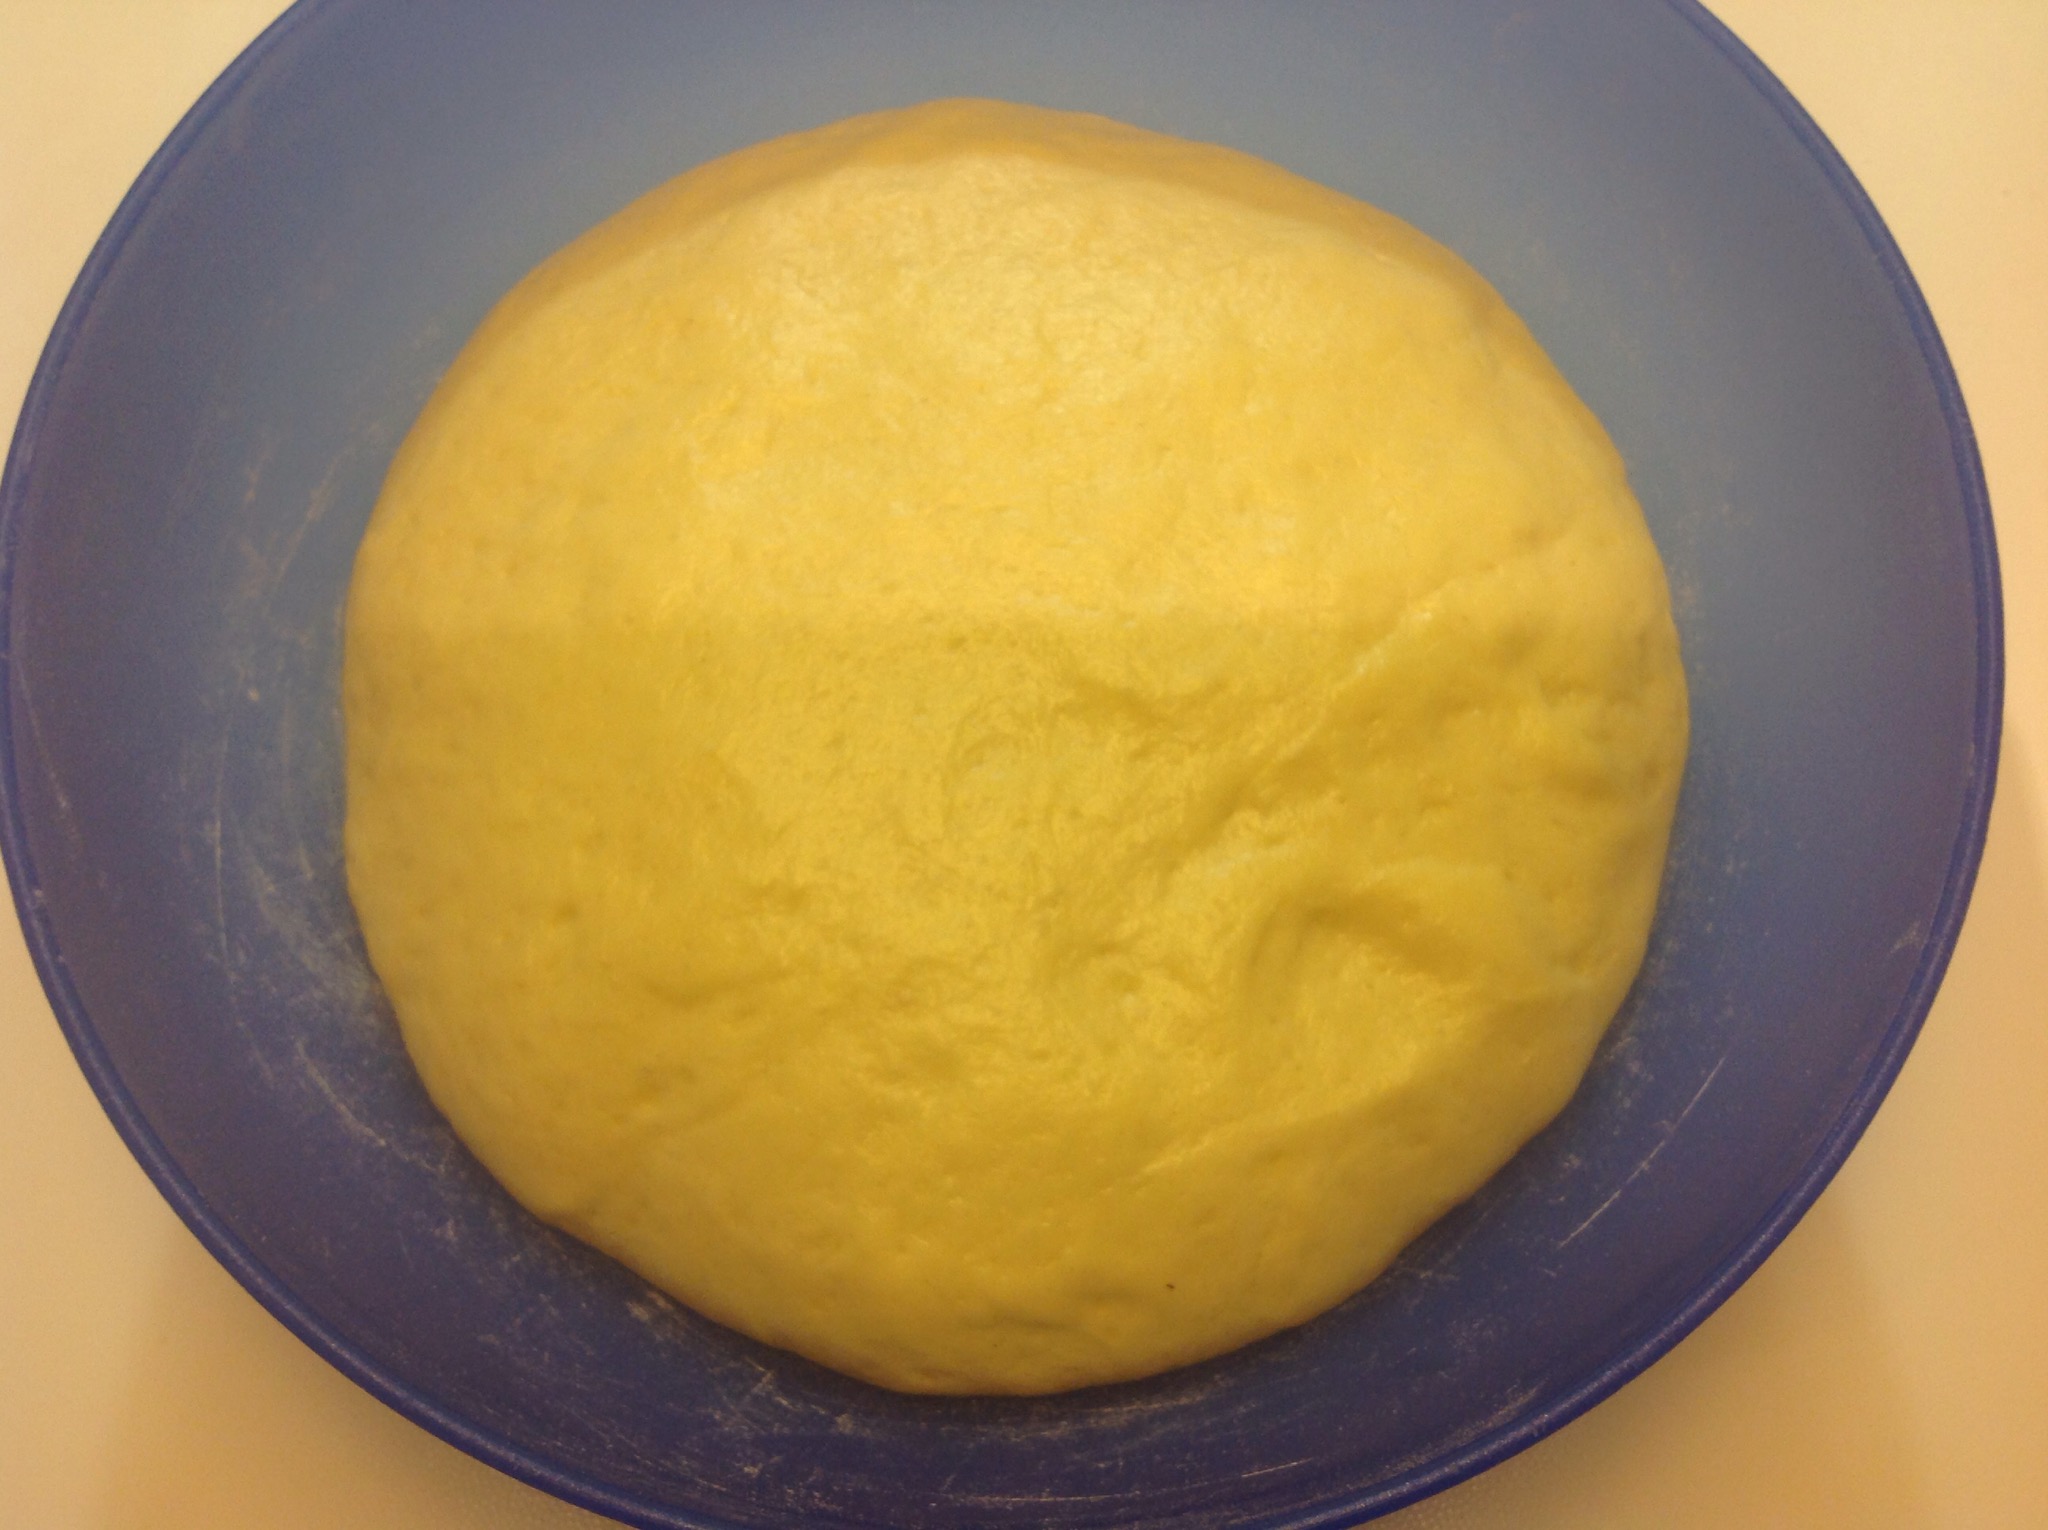
- Step 8 of 25I form a ball and put it in a fairly large bowl.

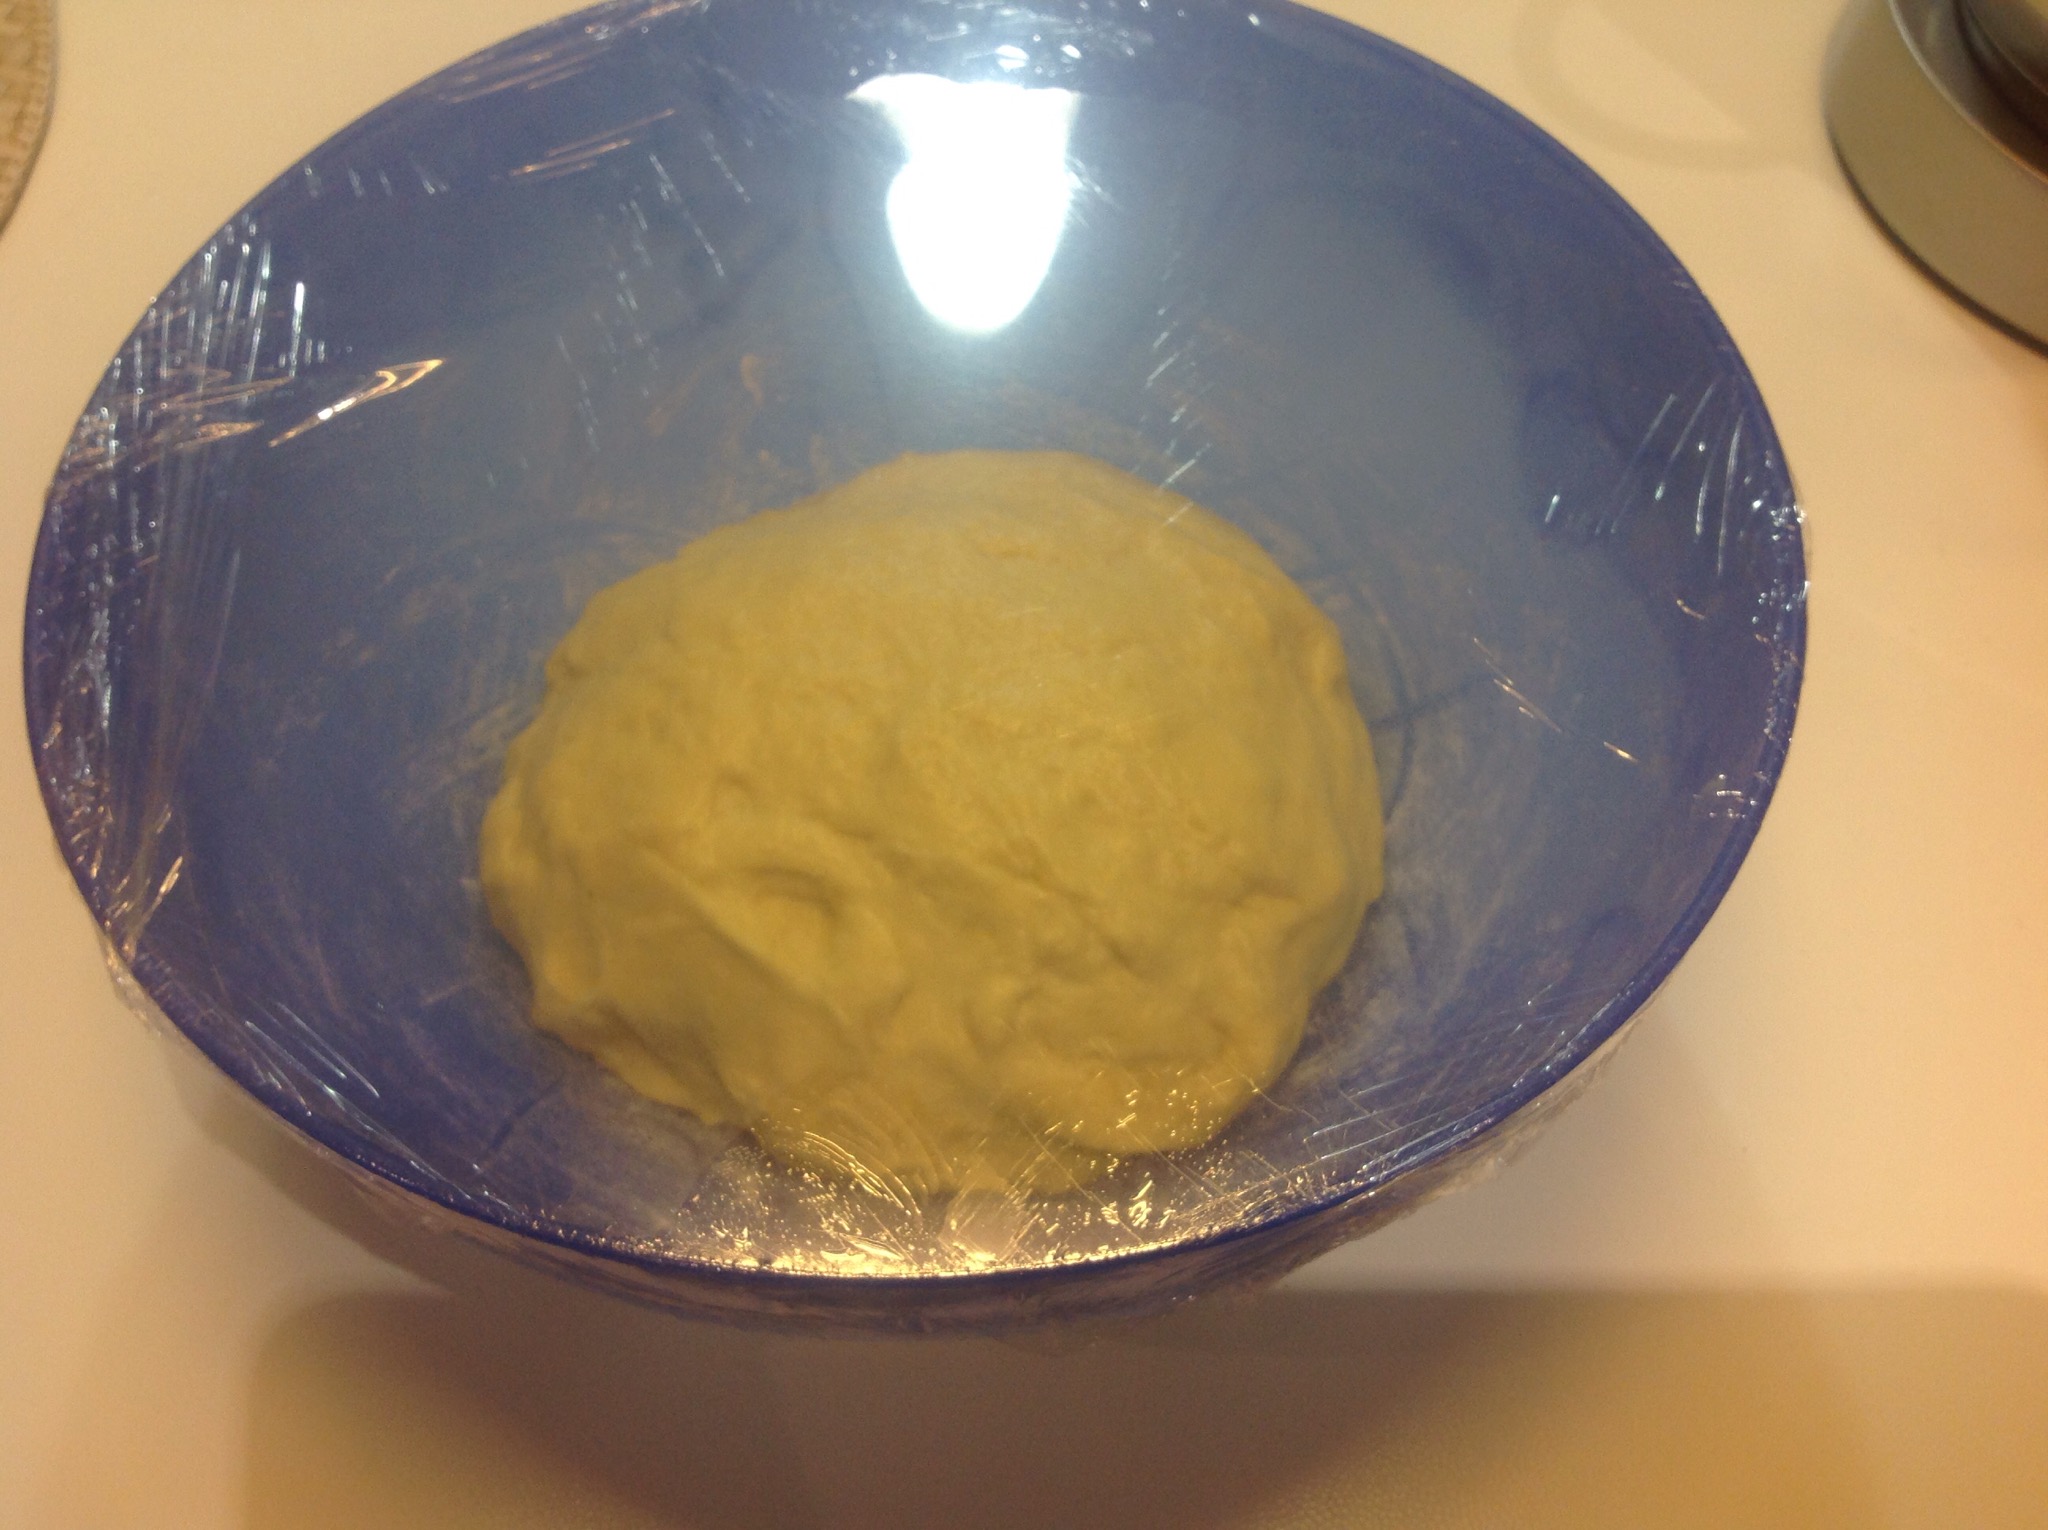
- Step 9 of 25I cover with cling film and place in the closed, switched-off oven, away from draughts, to rise for 1 hour.

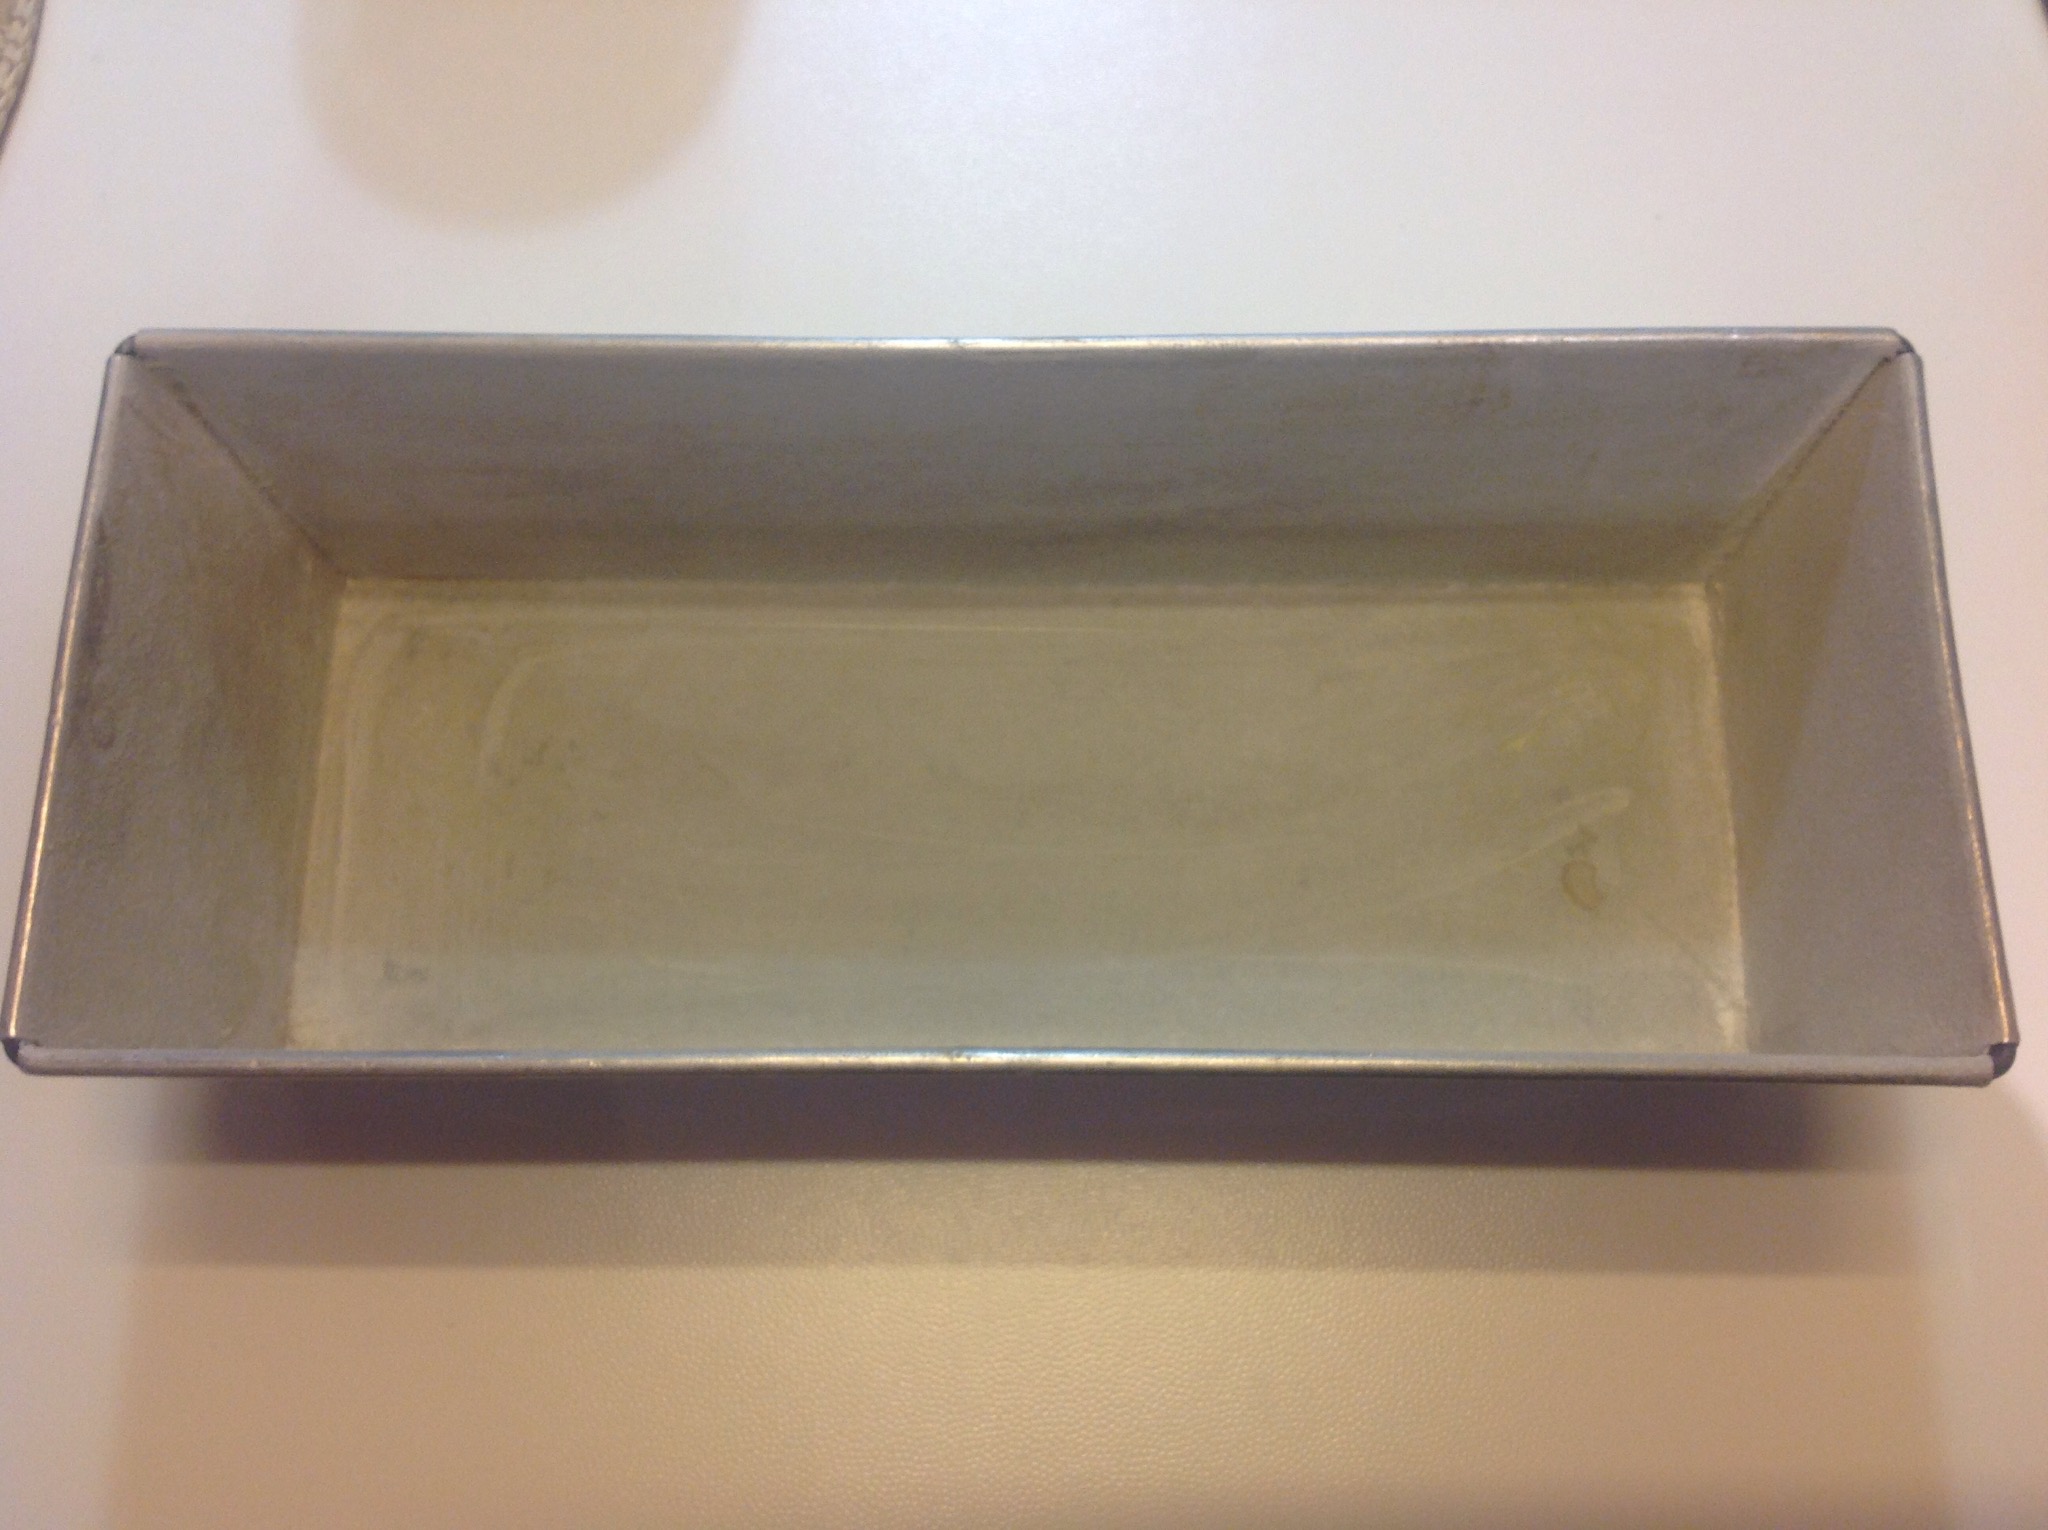
- Step 10 of 25Meanwhile, I butter and flour a loaf tin.

- Step 11 of 25I take the dough, which has doubled in size.

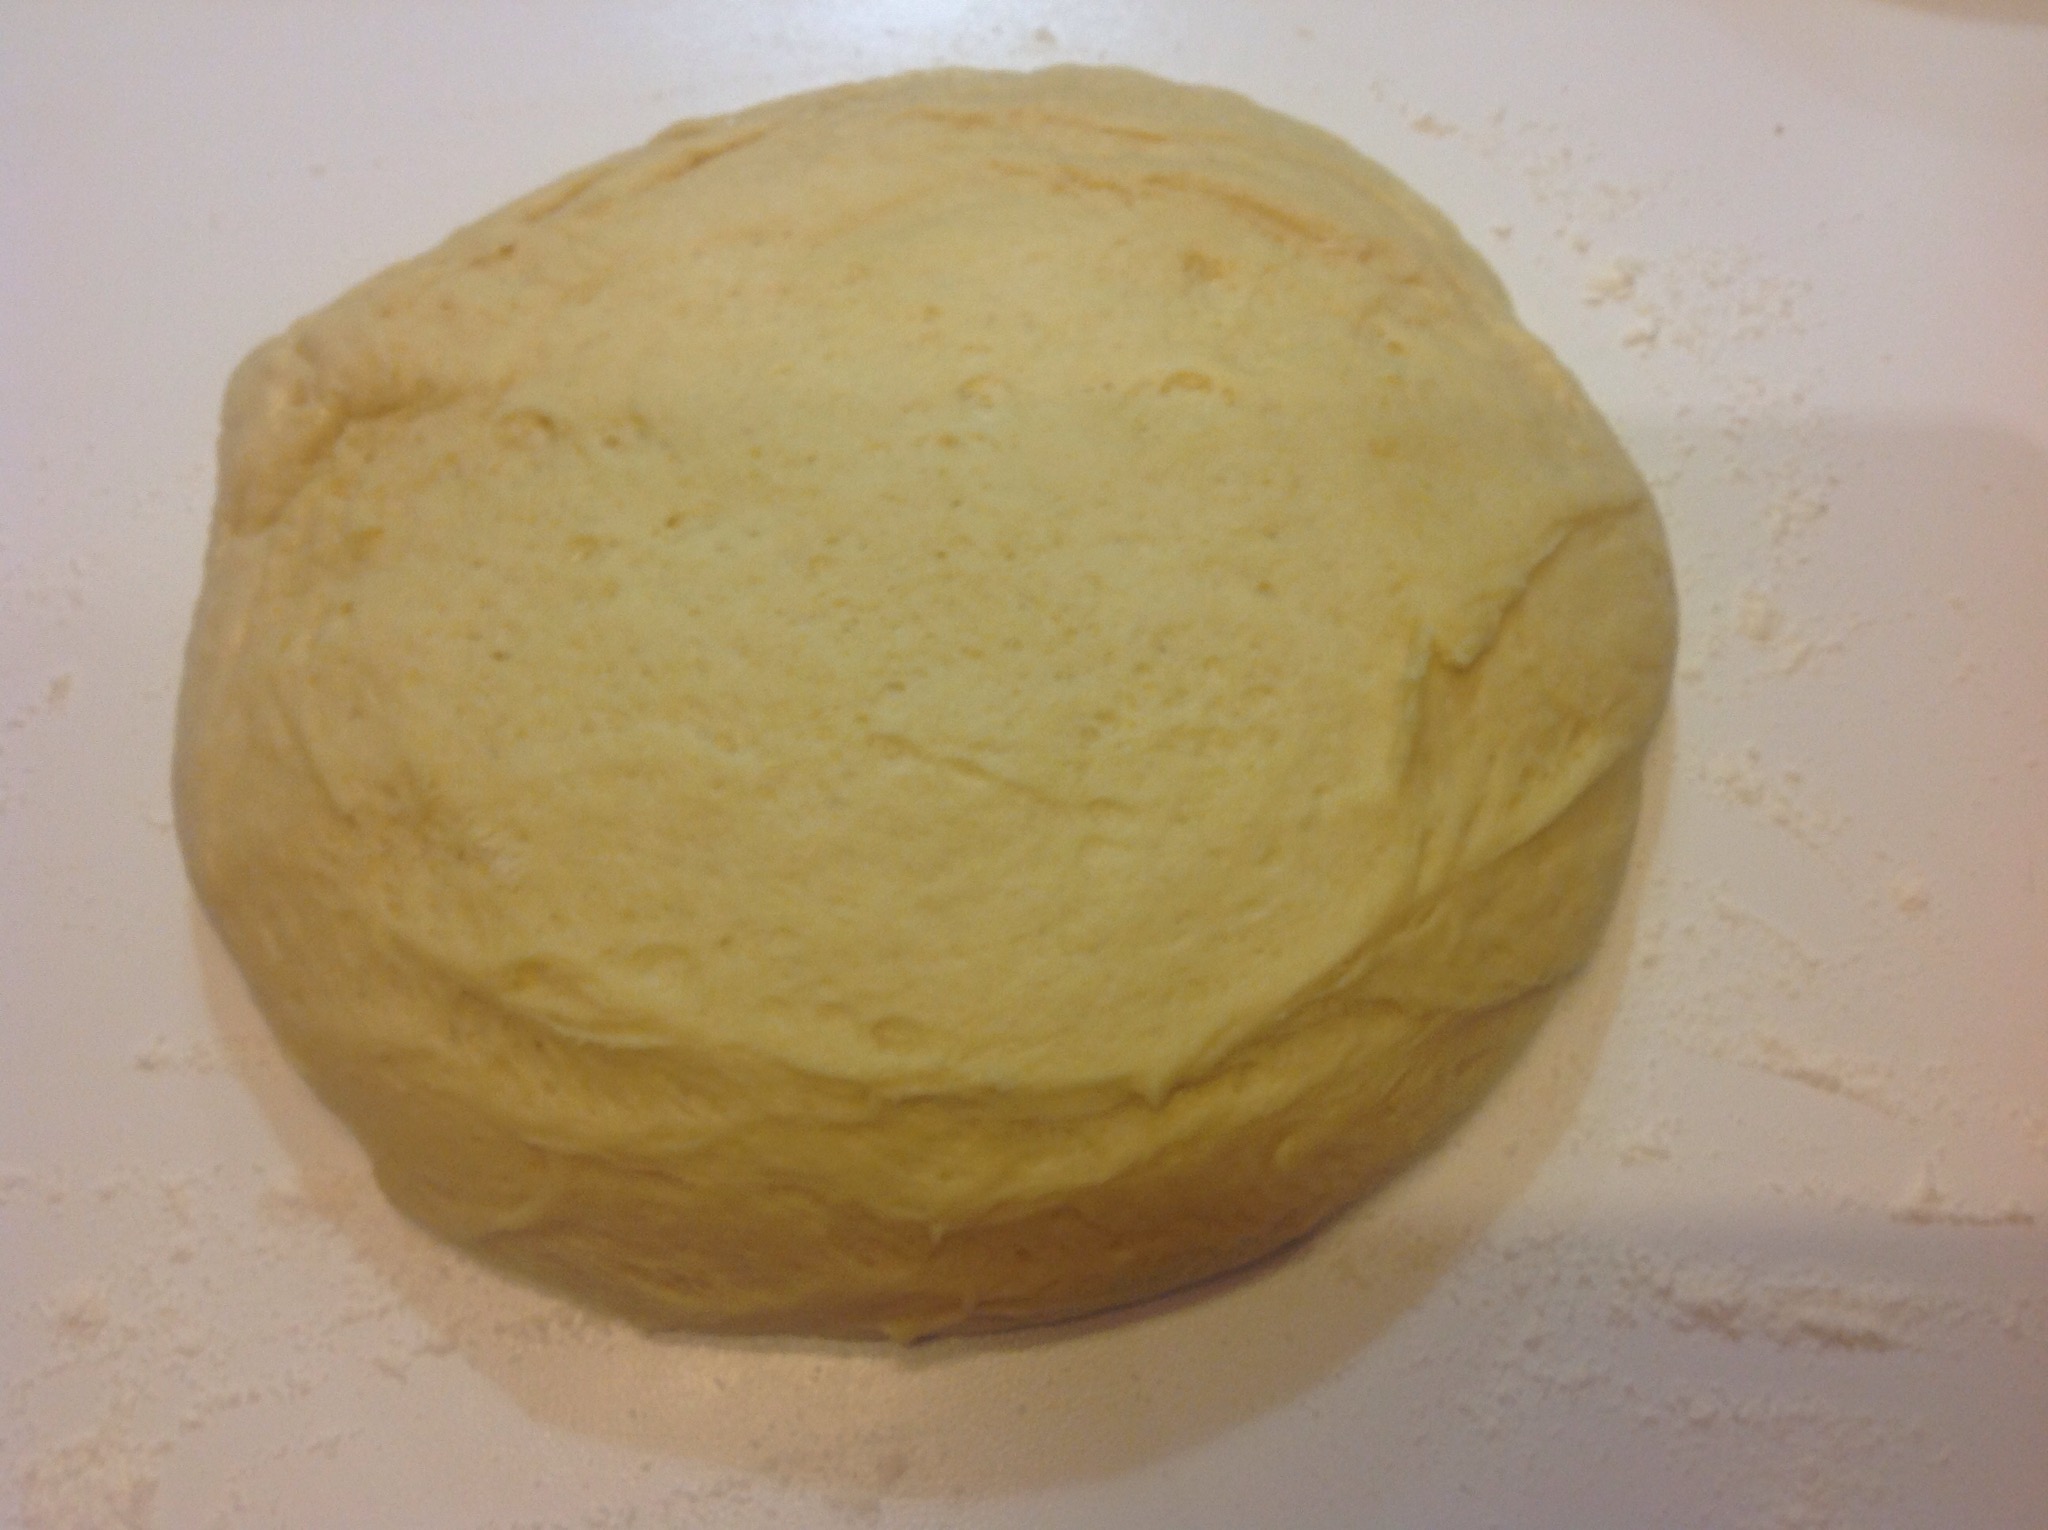
- Step 12 of 25Using a scraper, I gently put it on a lightly floured surface.

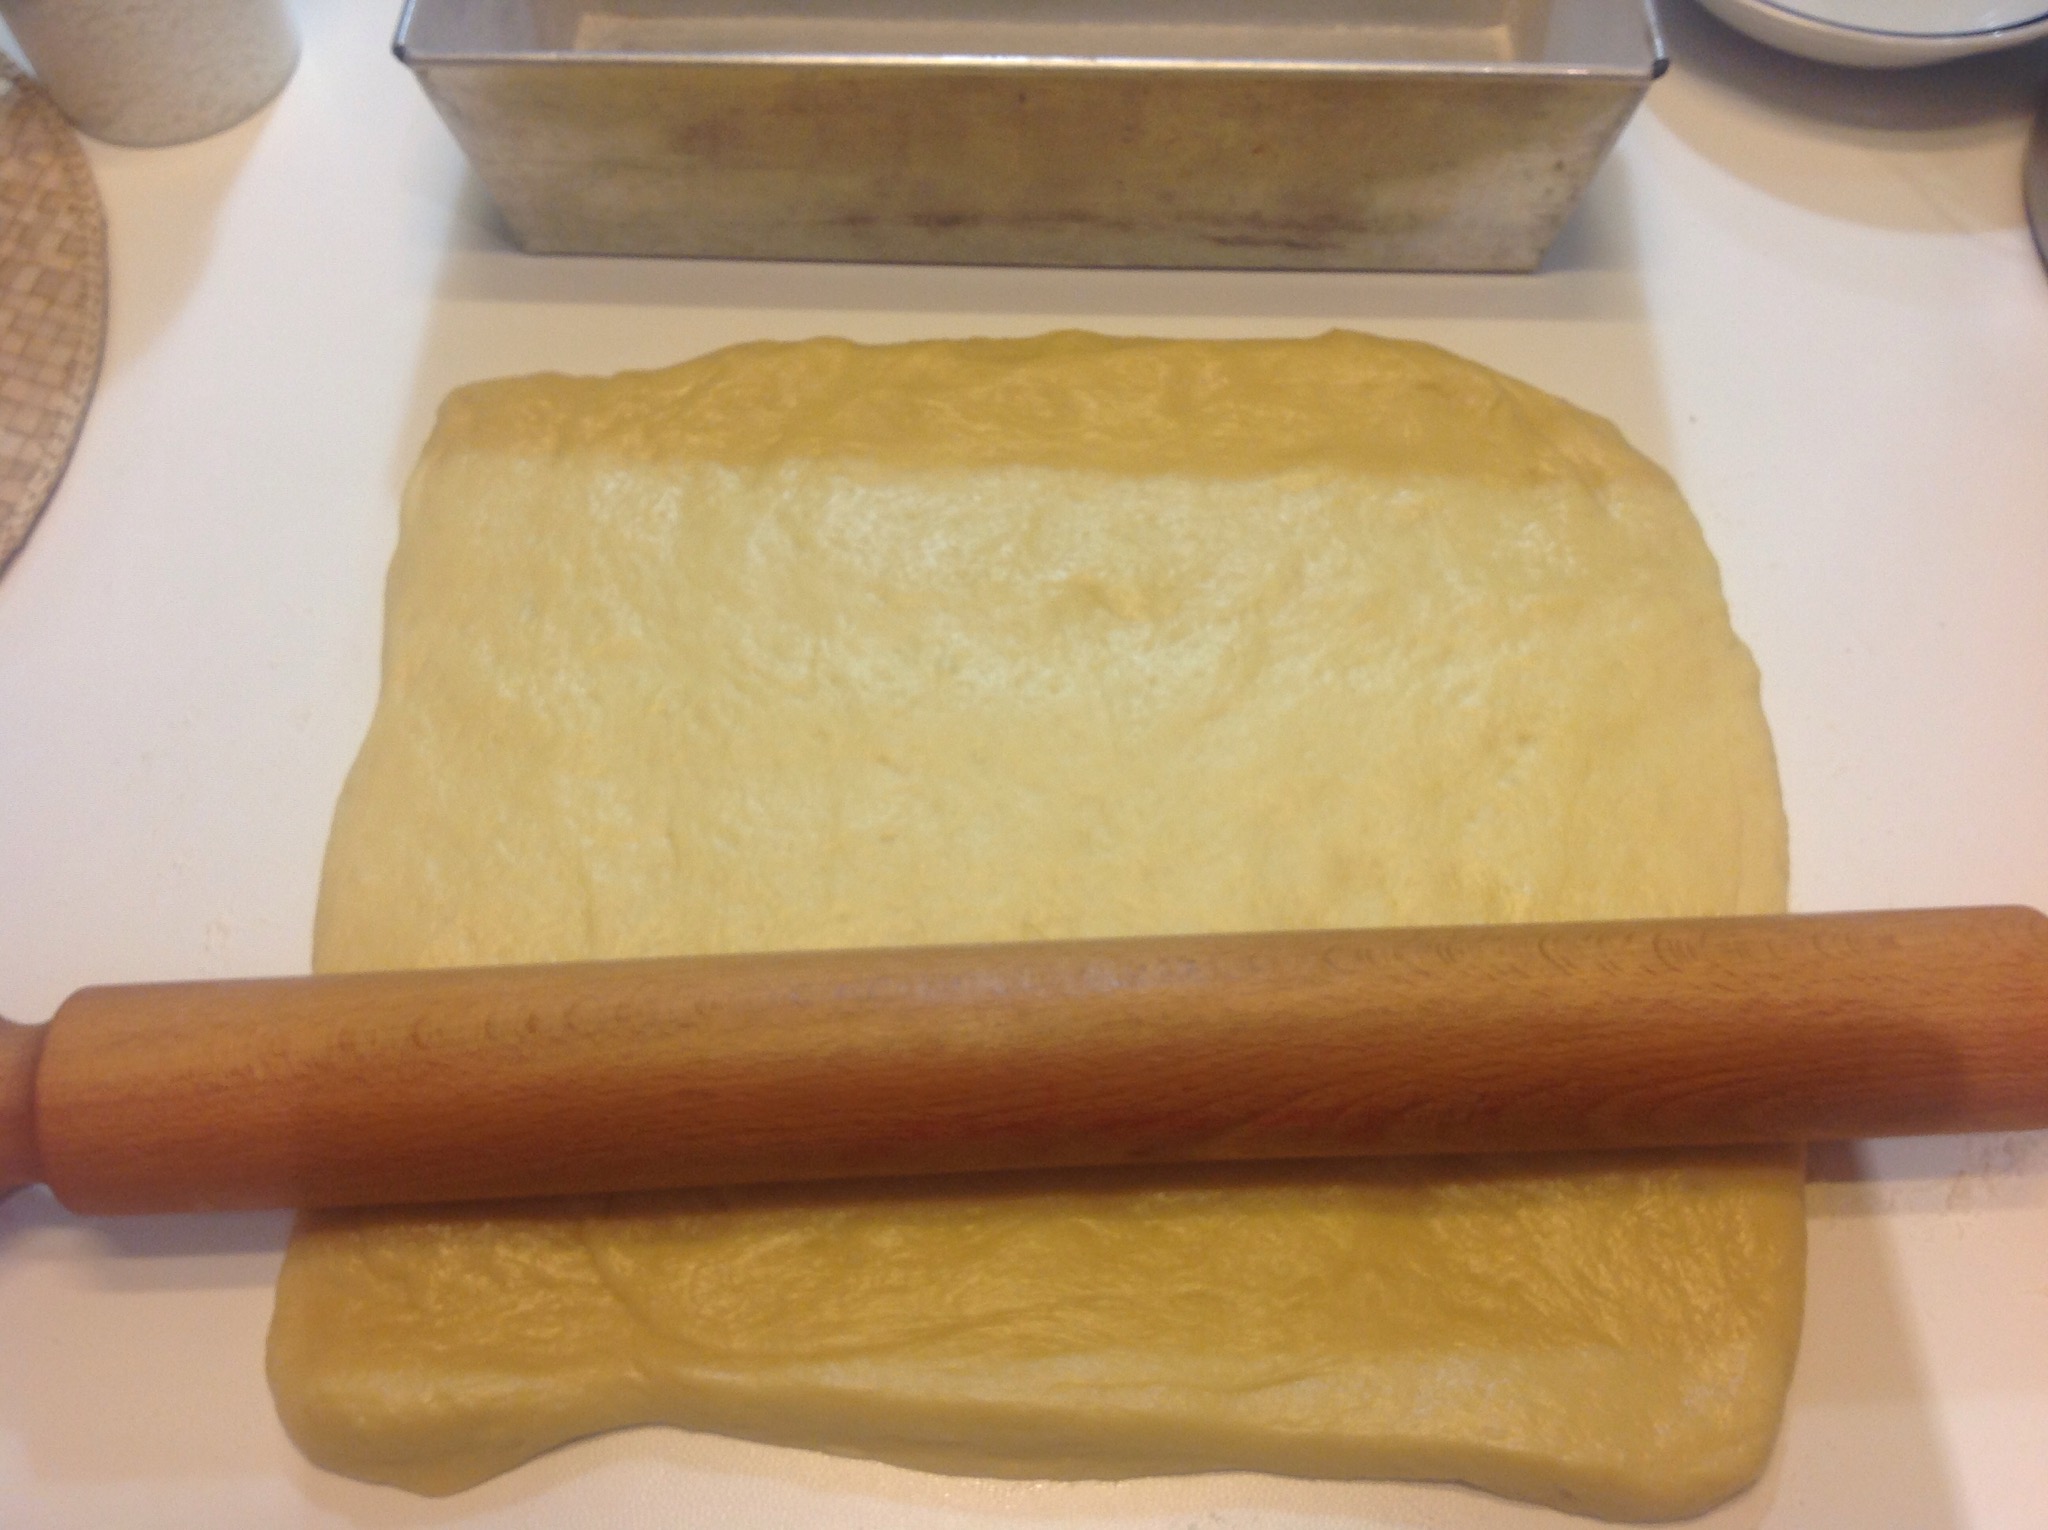
- Step 13 of 25I flatten and stretch it with my hands and a rolling pin; it is soft and easy to work. I form a rectangle the length of the tin.

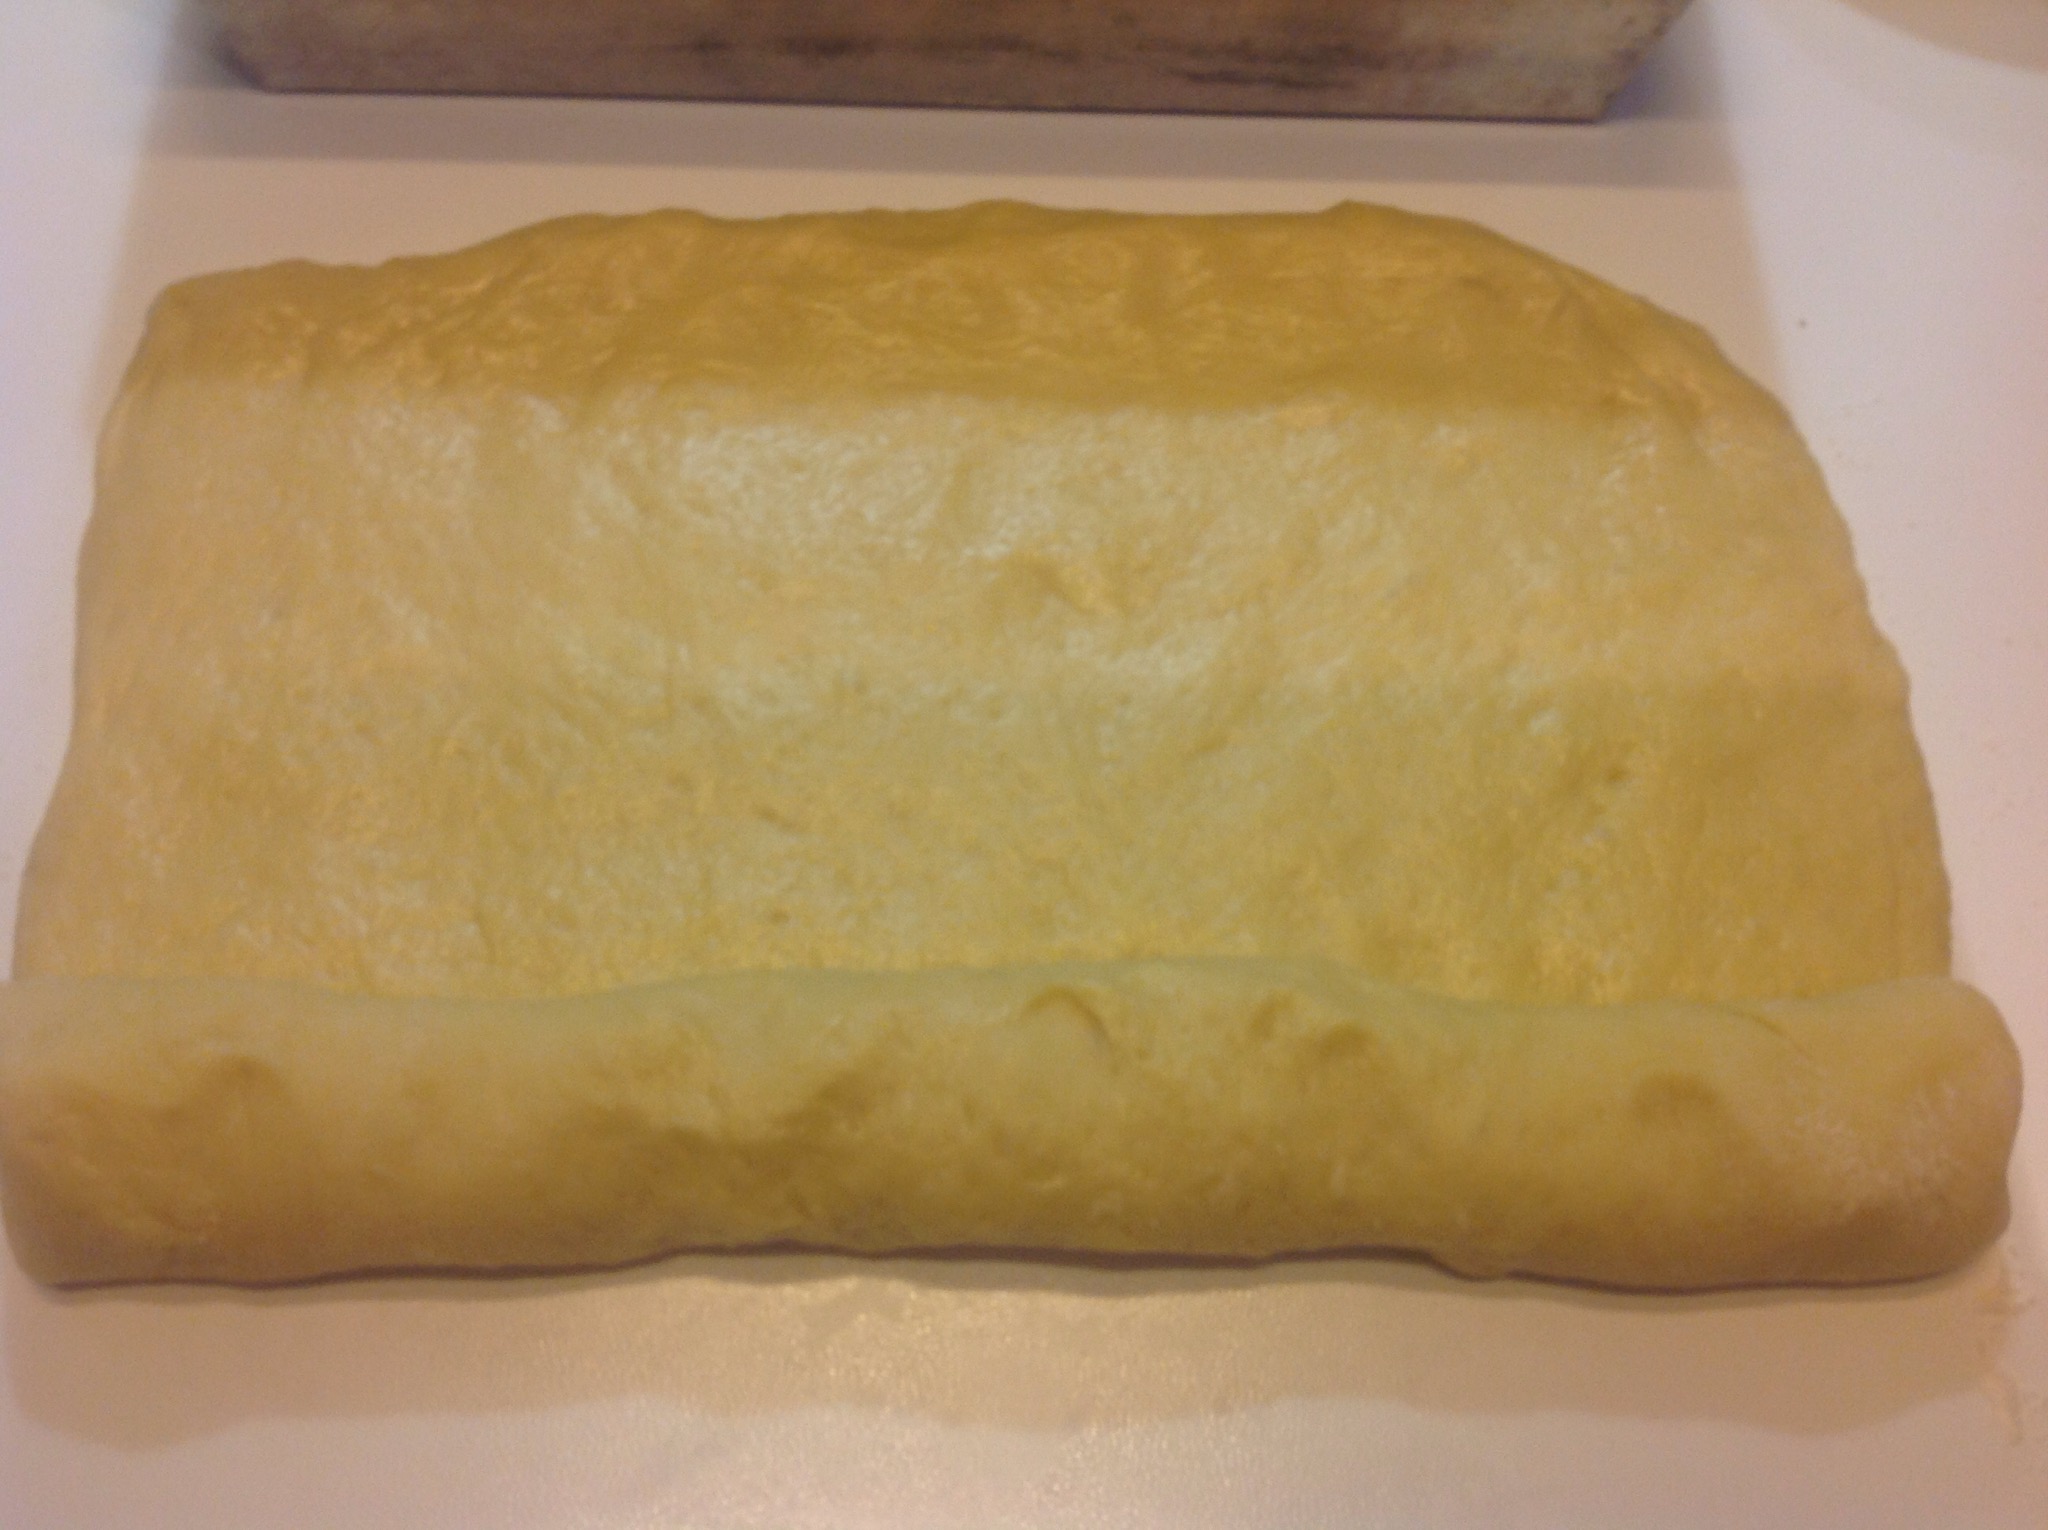
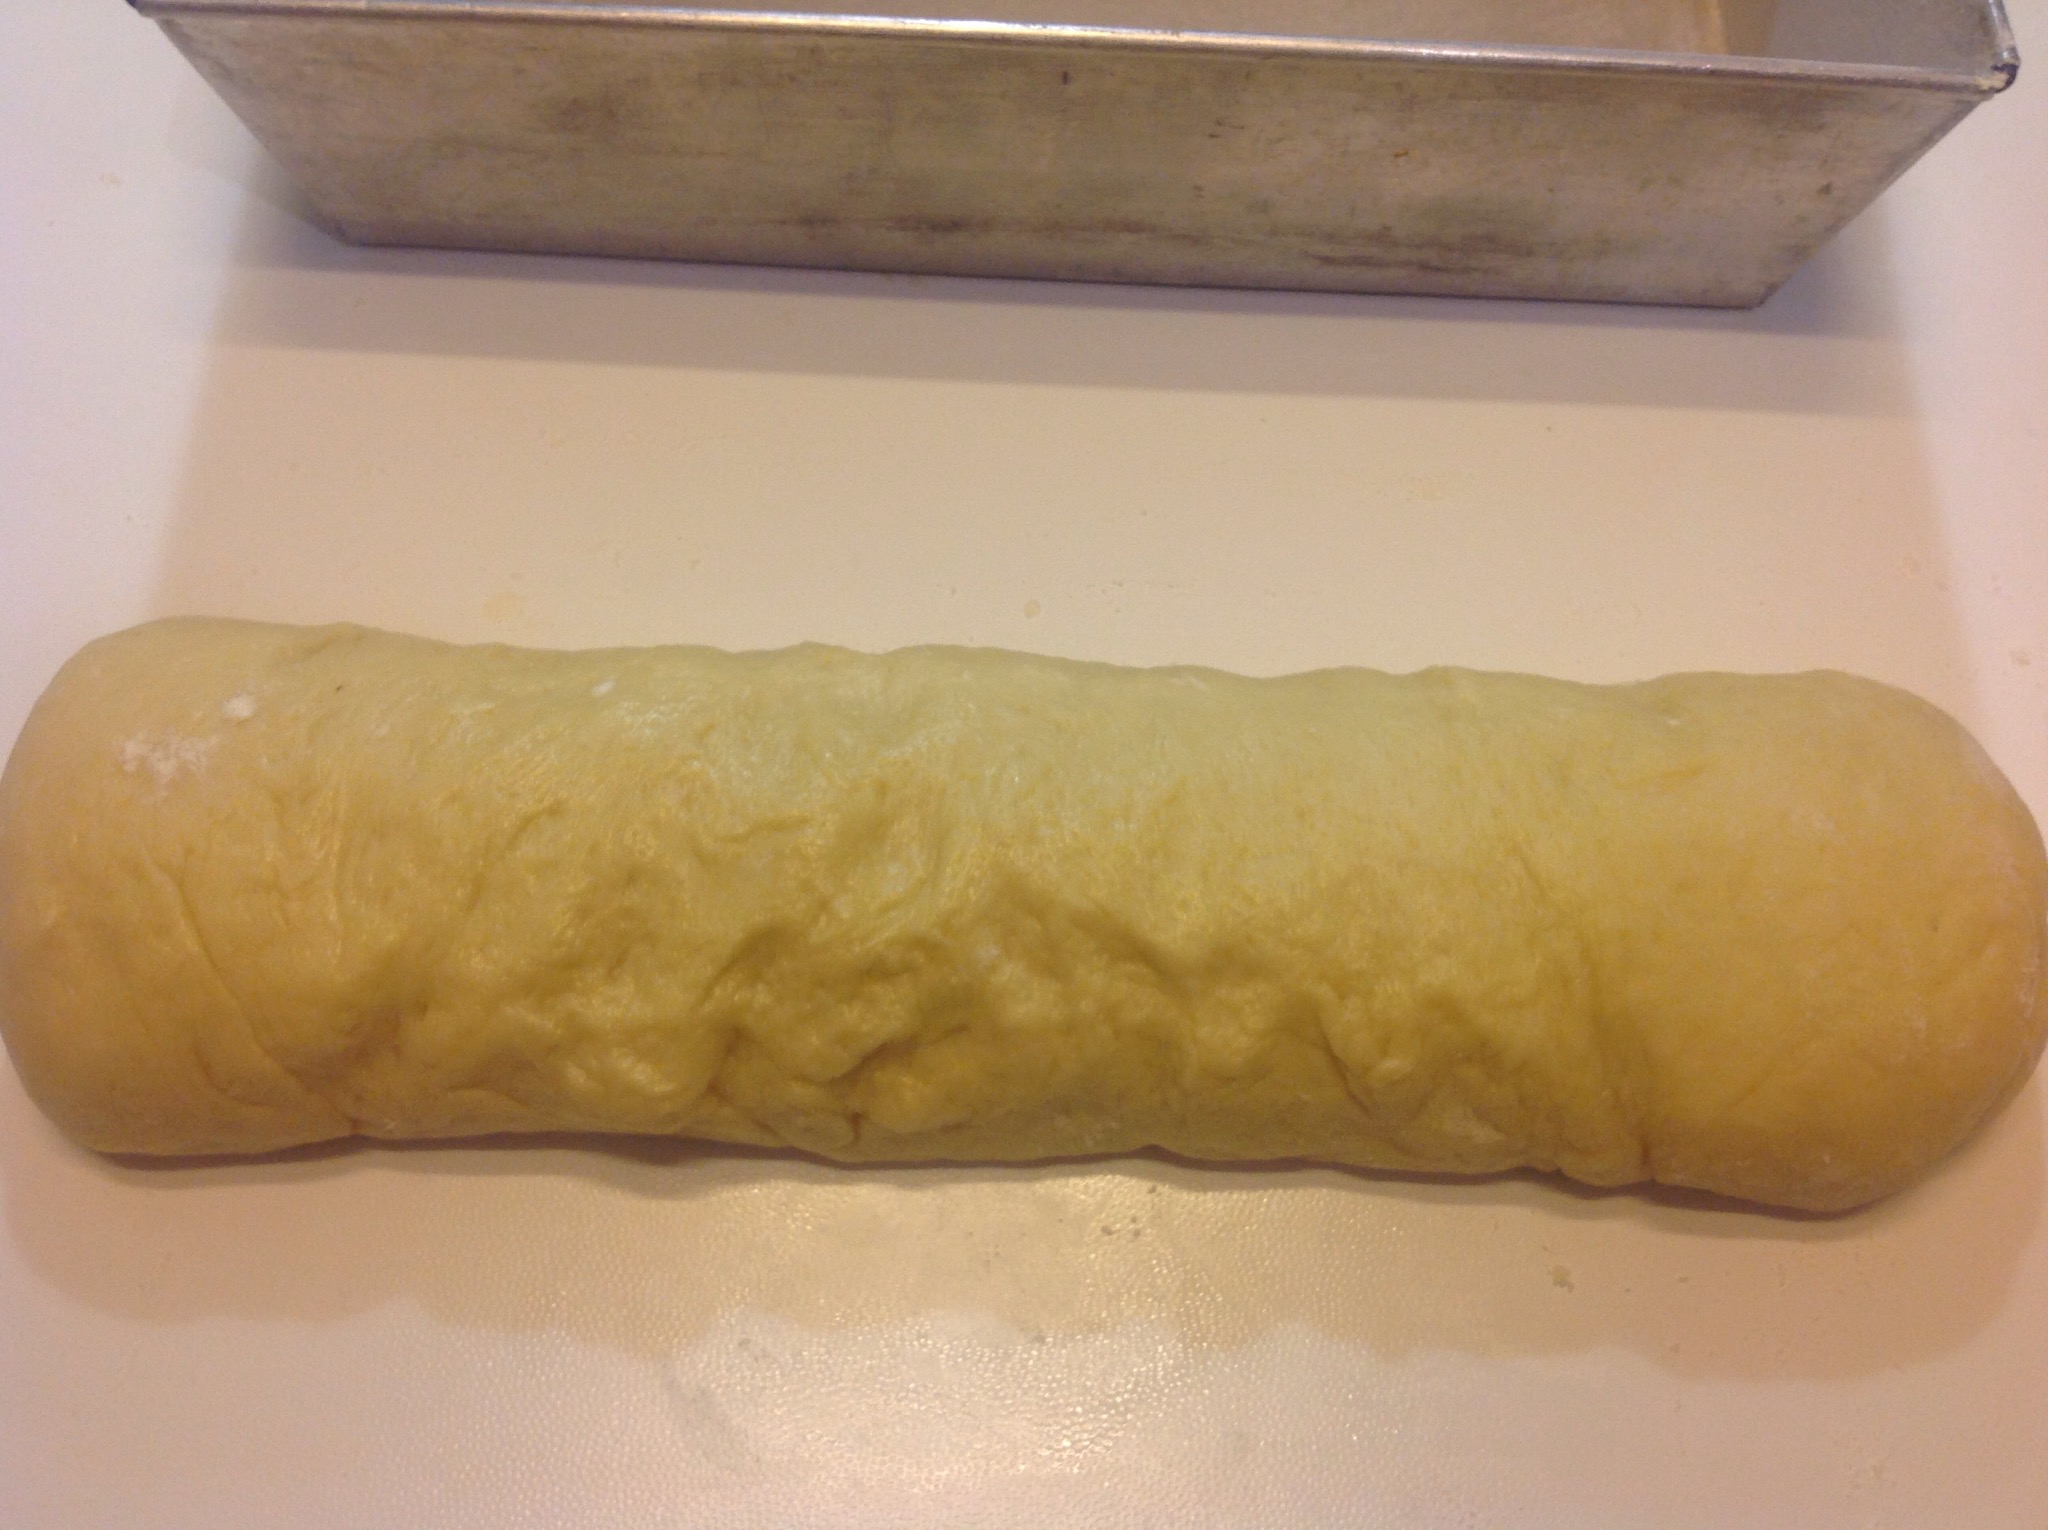
- Step 14 of 25I roll it up fairly tightly.

- Step 15 of 25It should be as long as the tin.

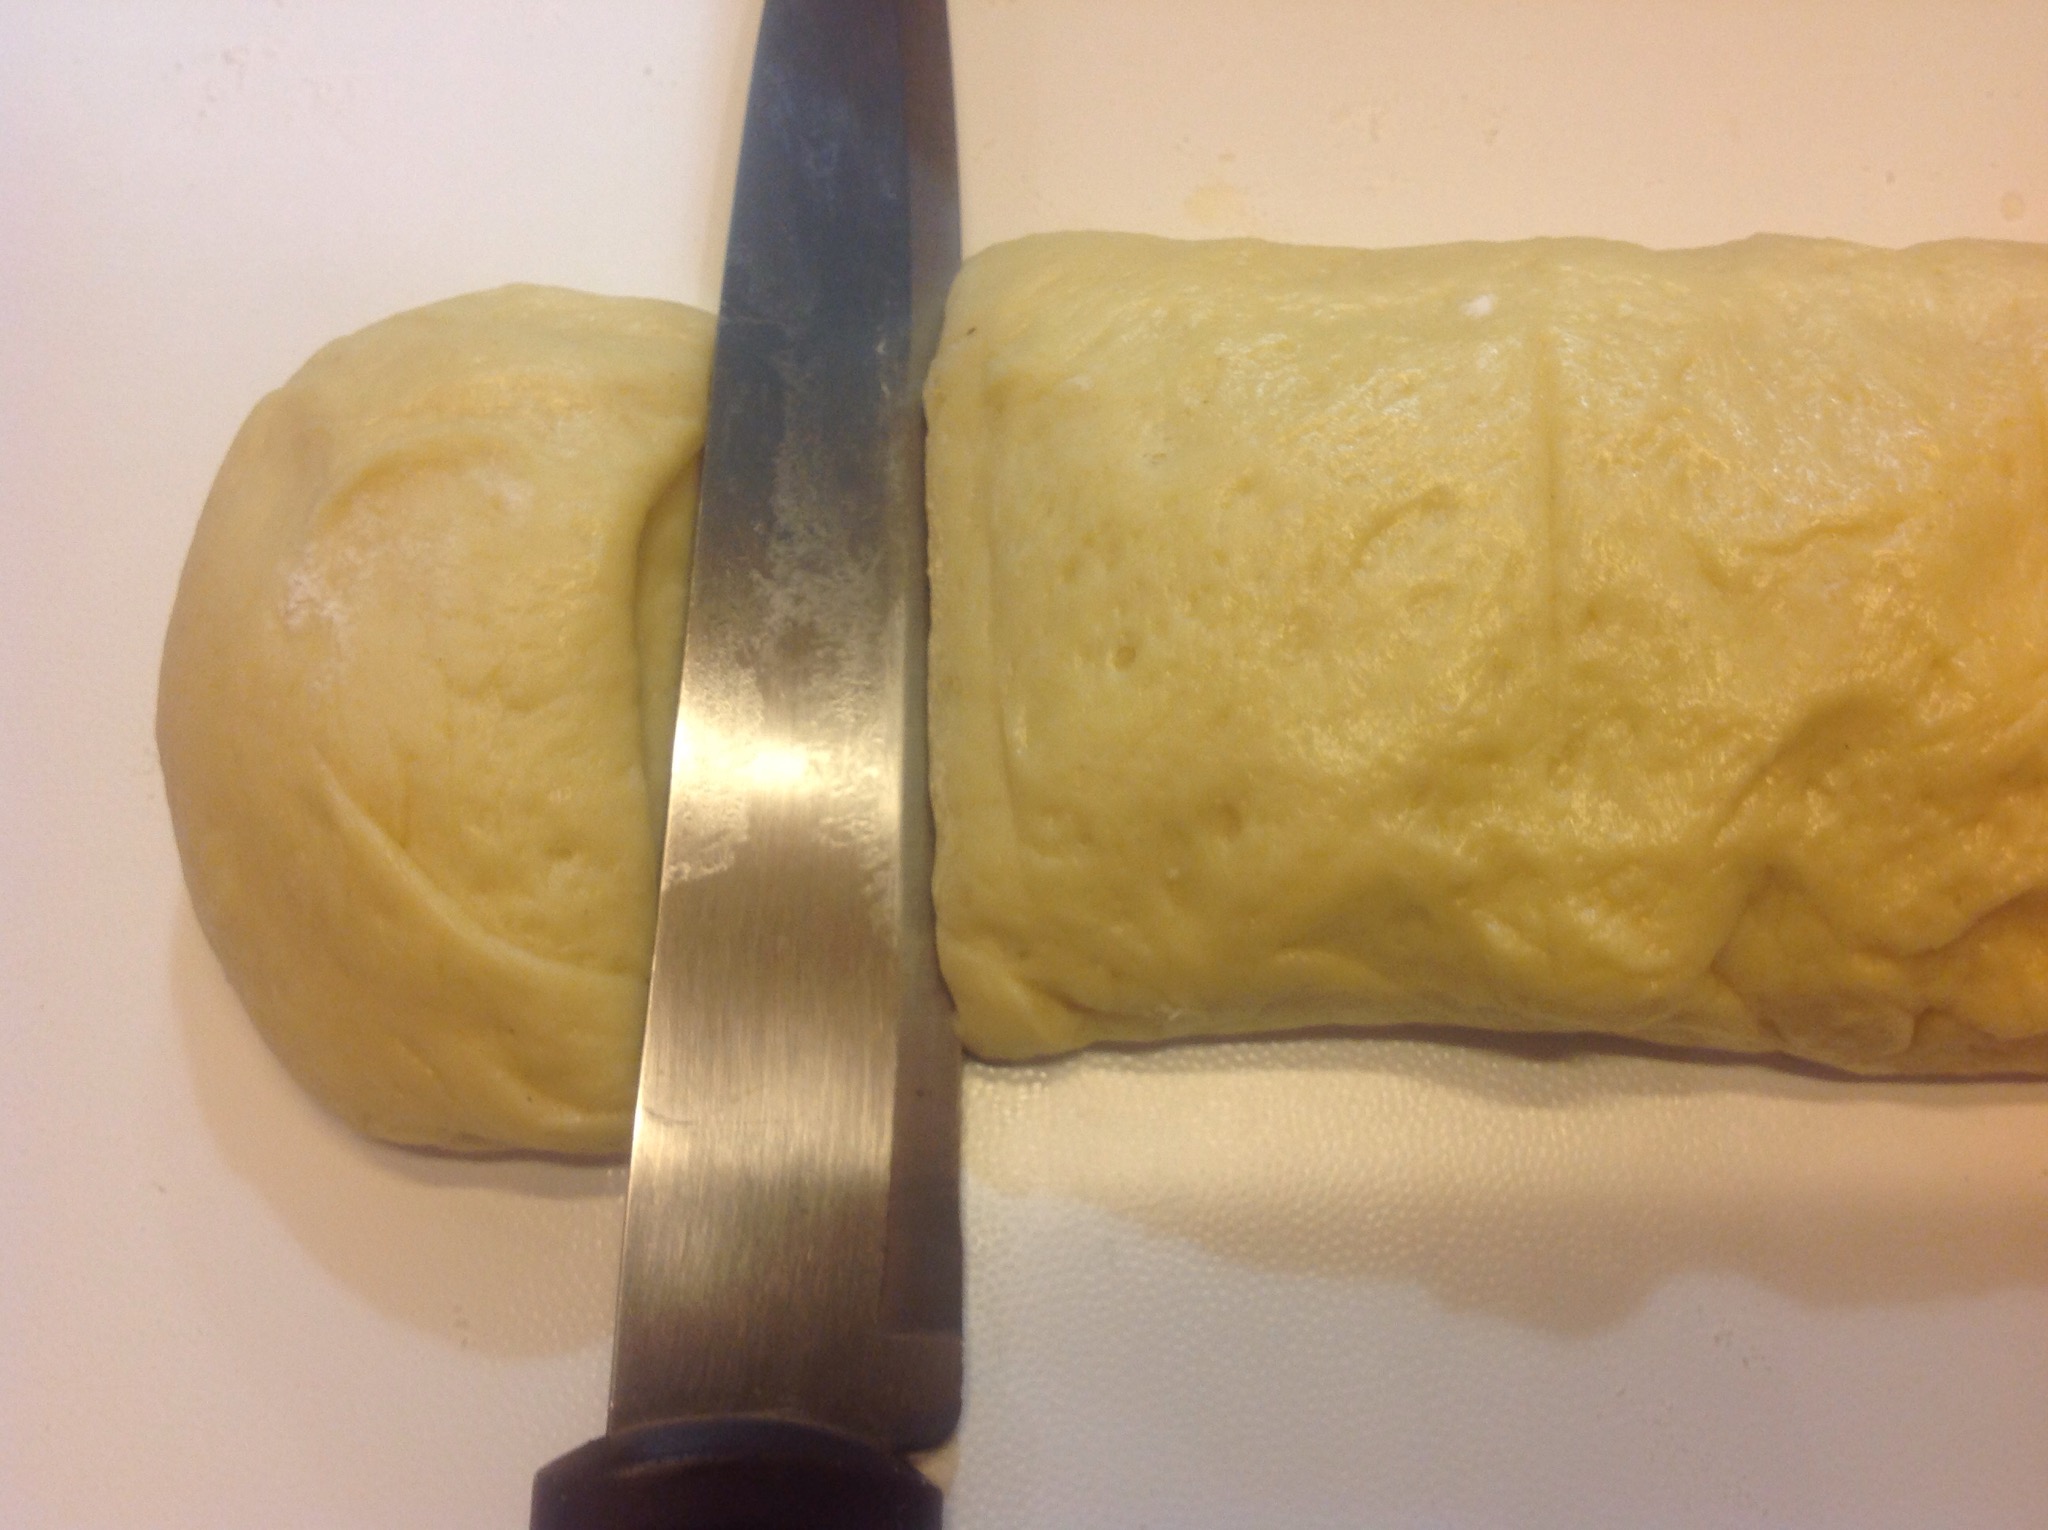
- Step 16 of 25I cut the dough into 8 equal rounds.

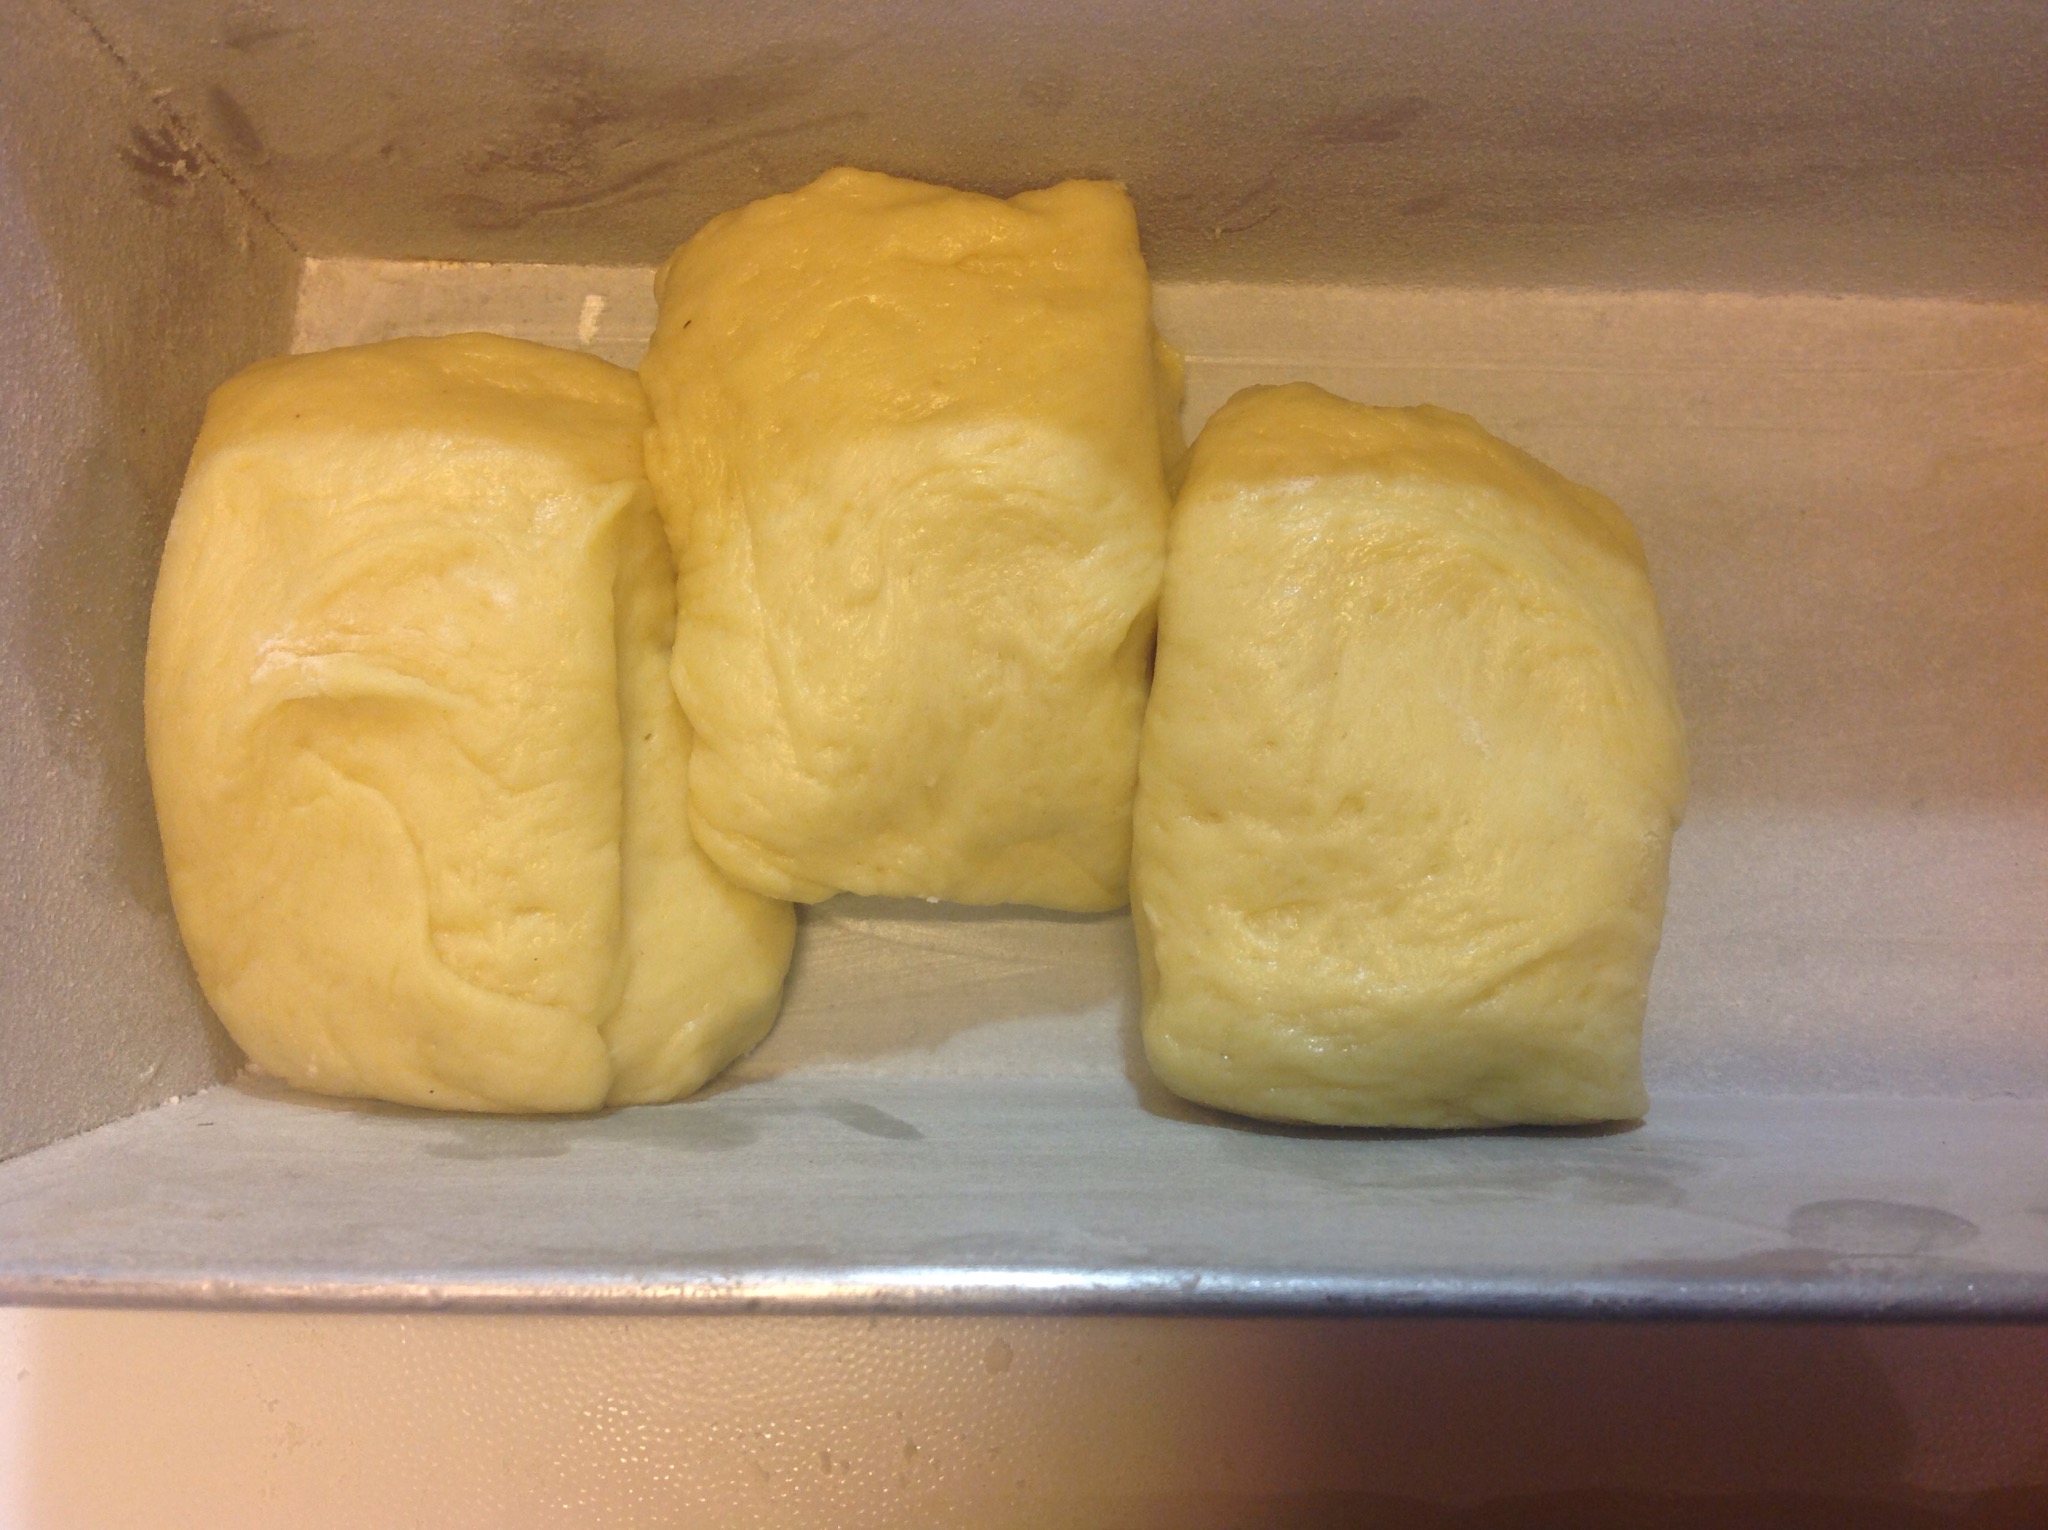
- Step 17 of 25I arrange them alternately in the tin, close together.

- Step 18 of 25I fill the tin.

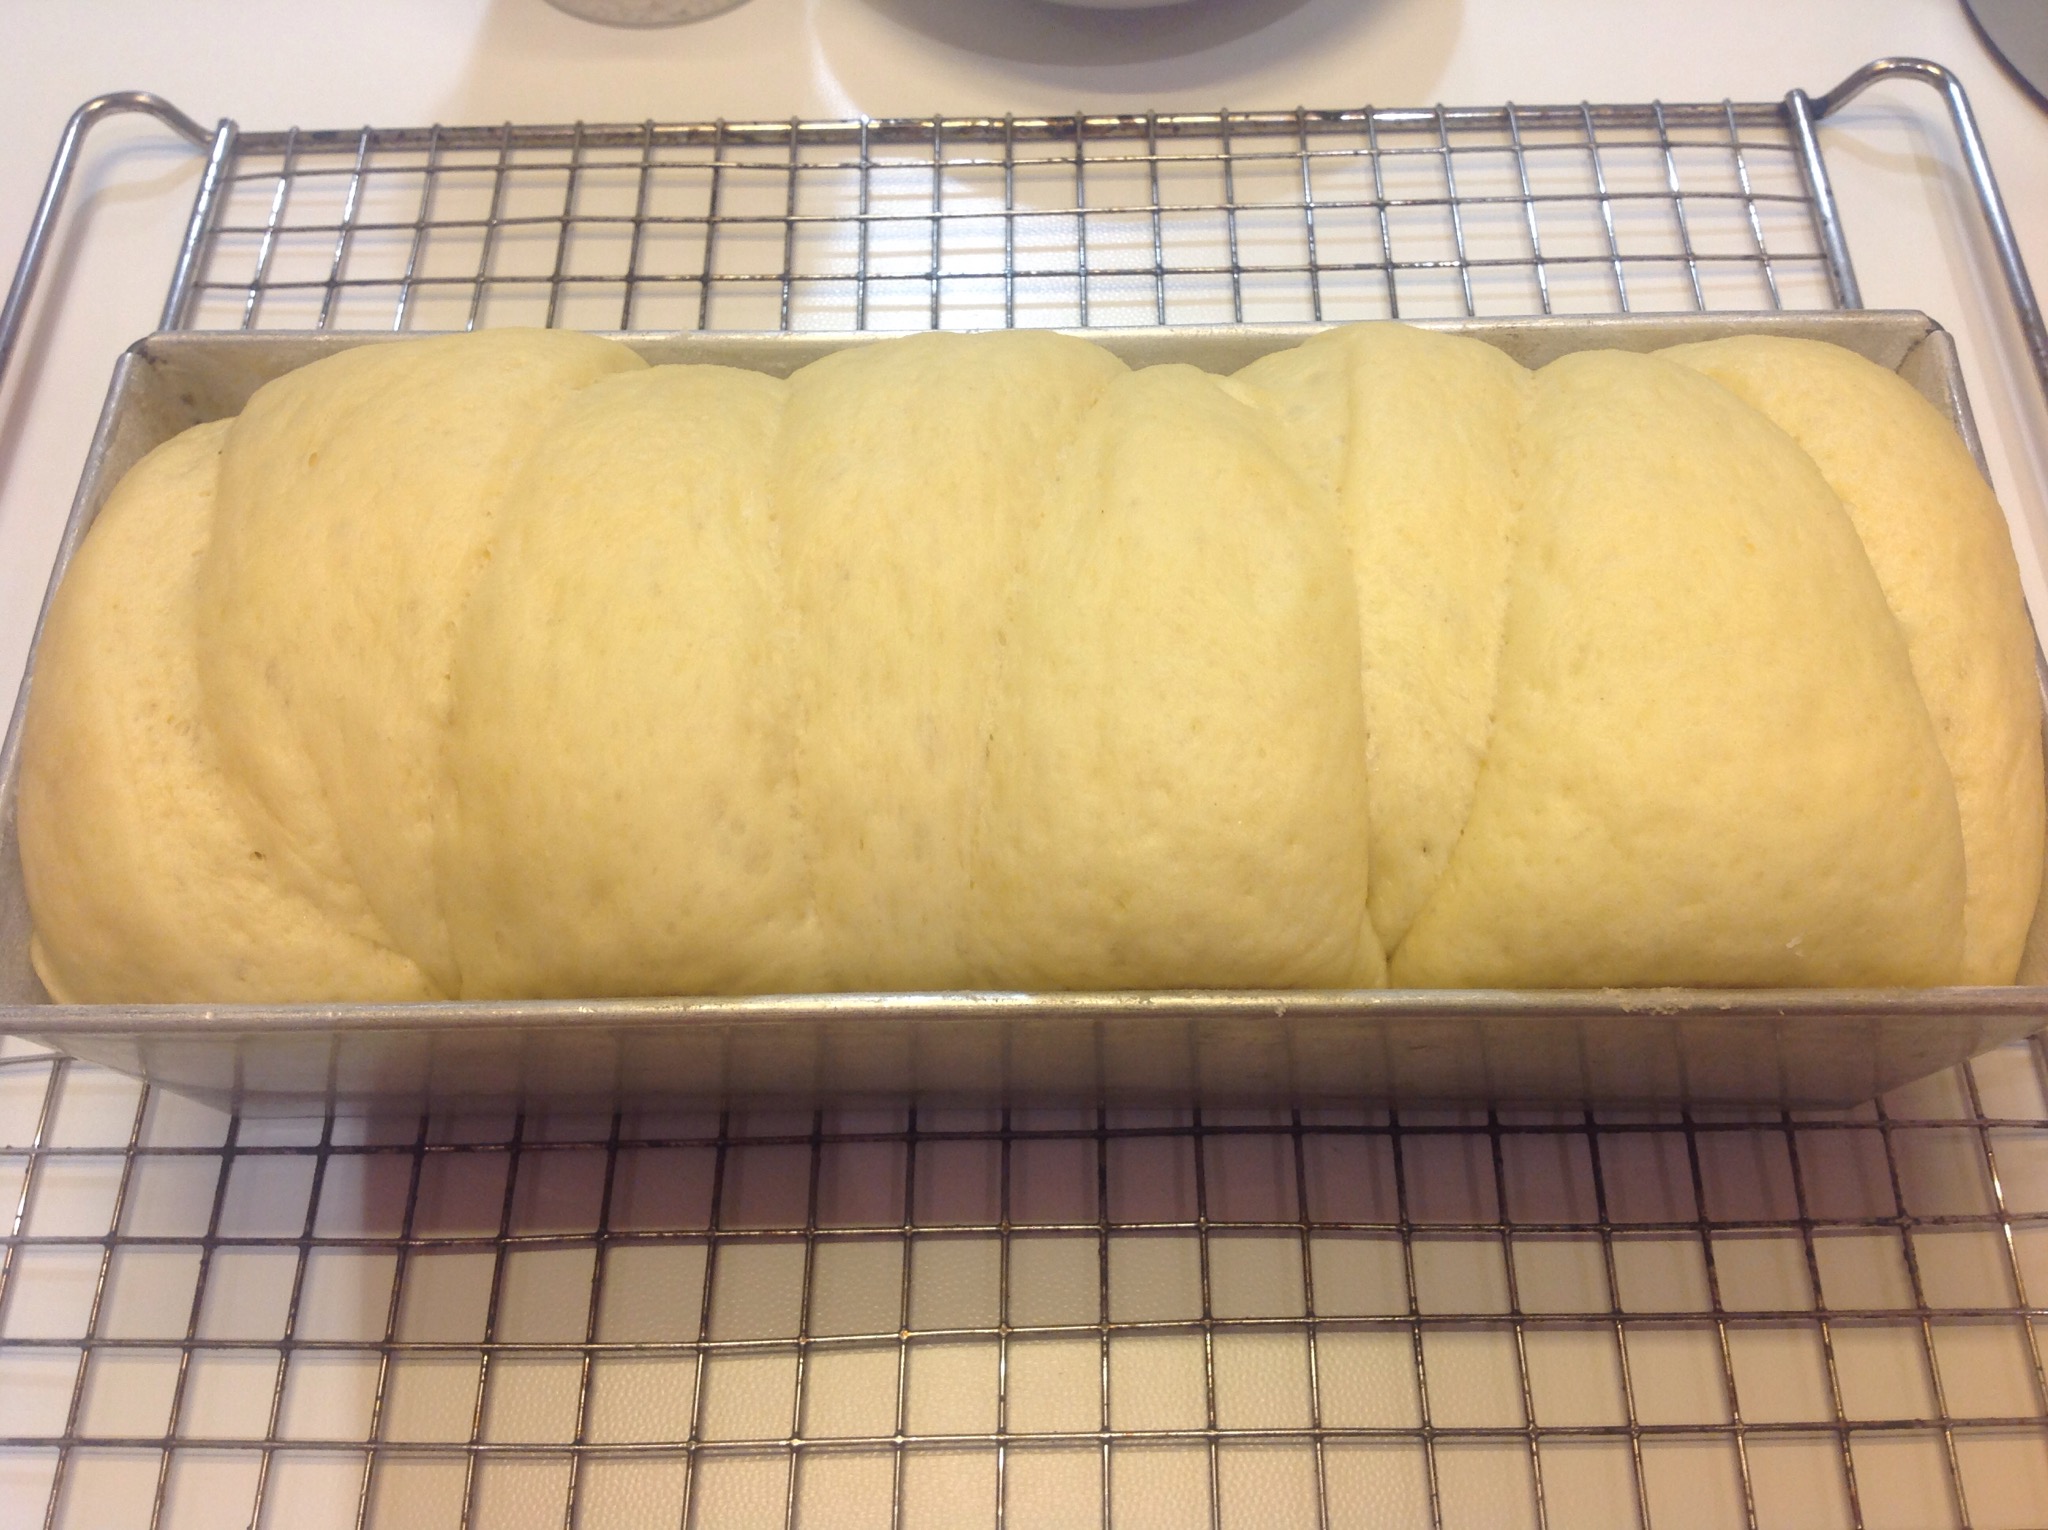
- Step 19 of 25I return it to the oven to rise for about 1 and a half hours, or until above the rim.

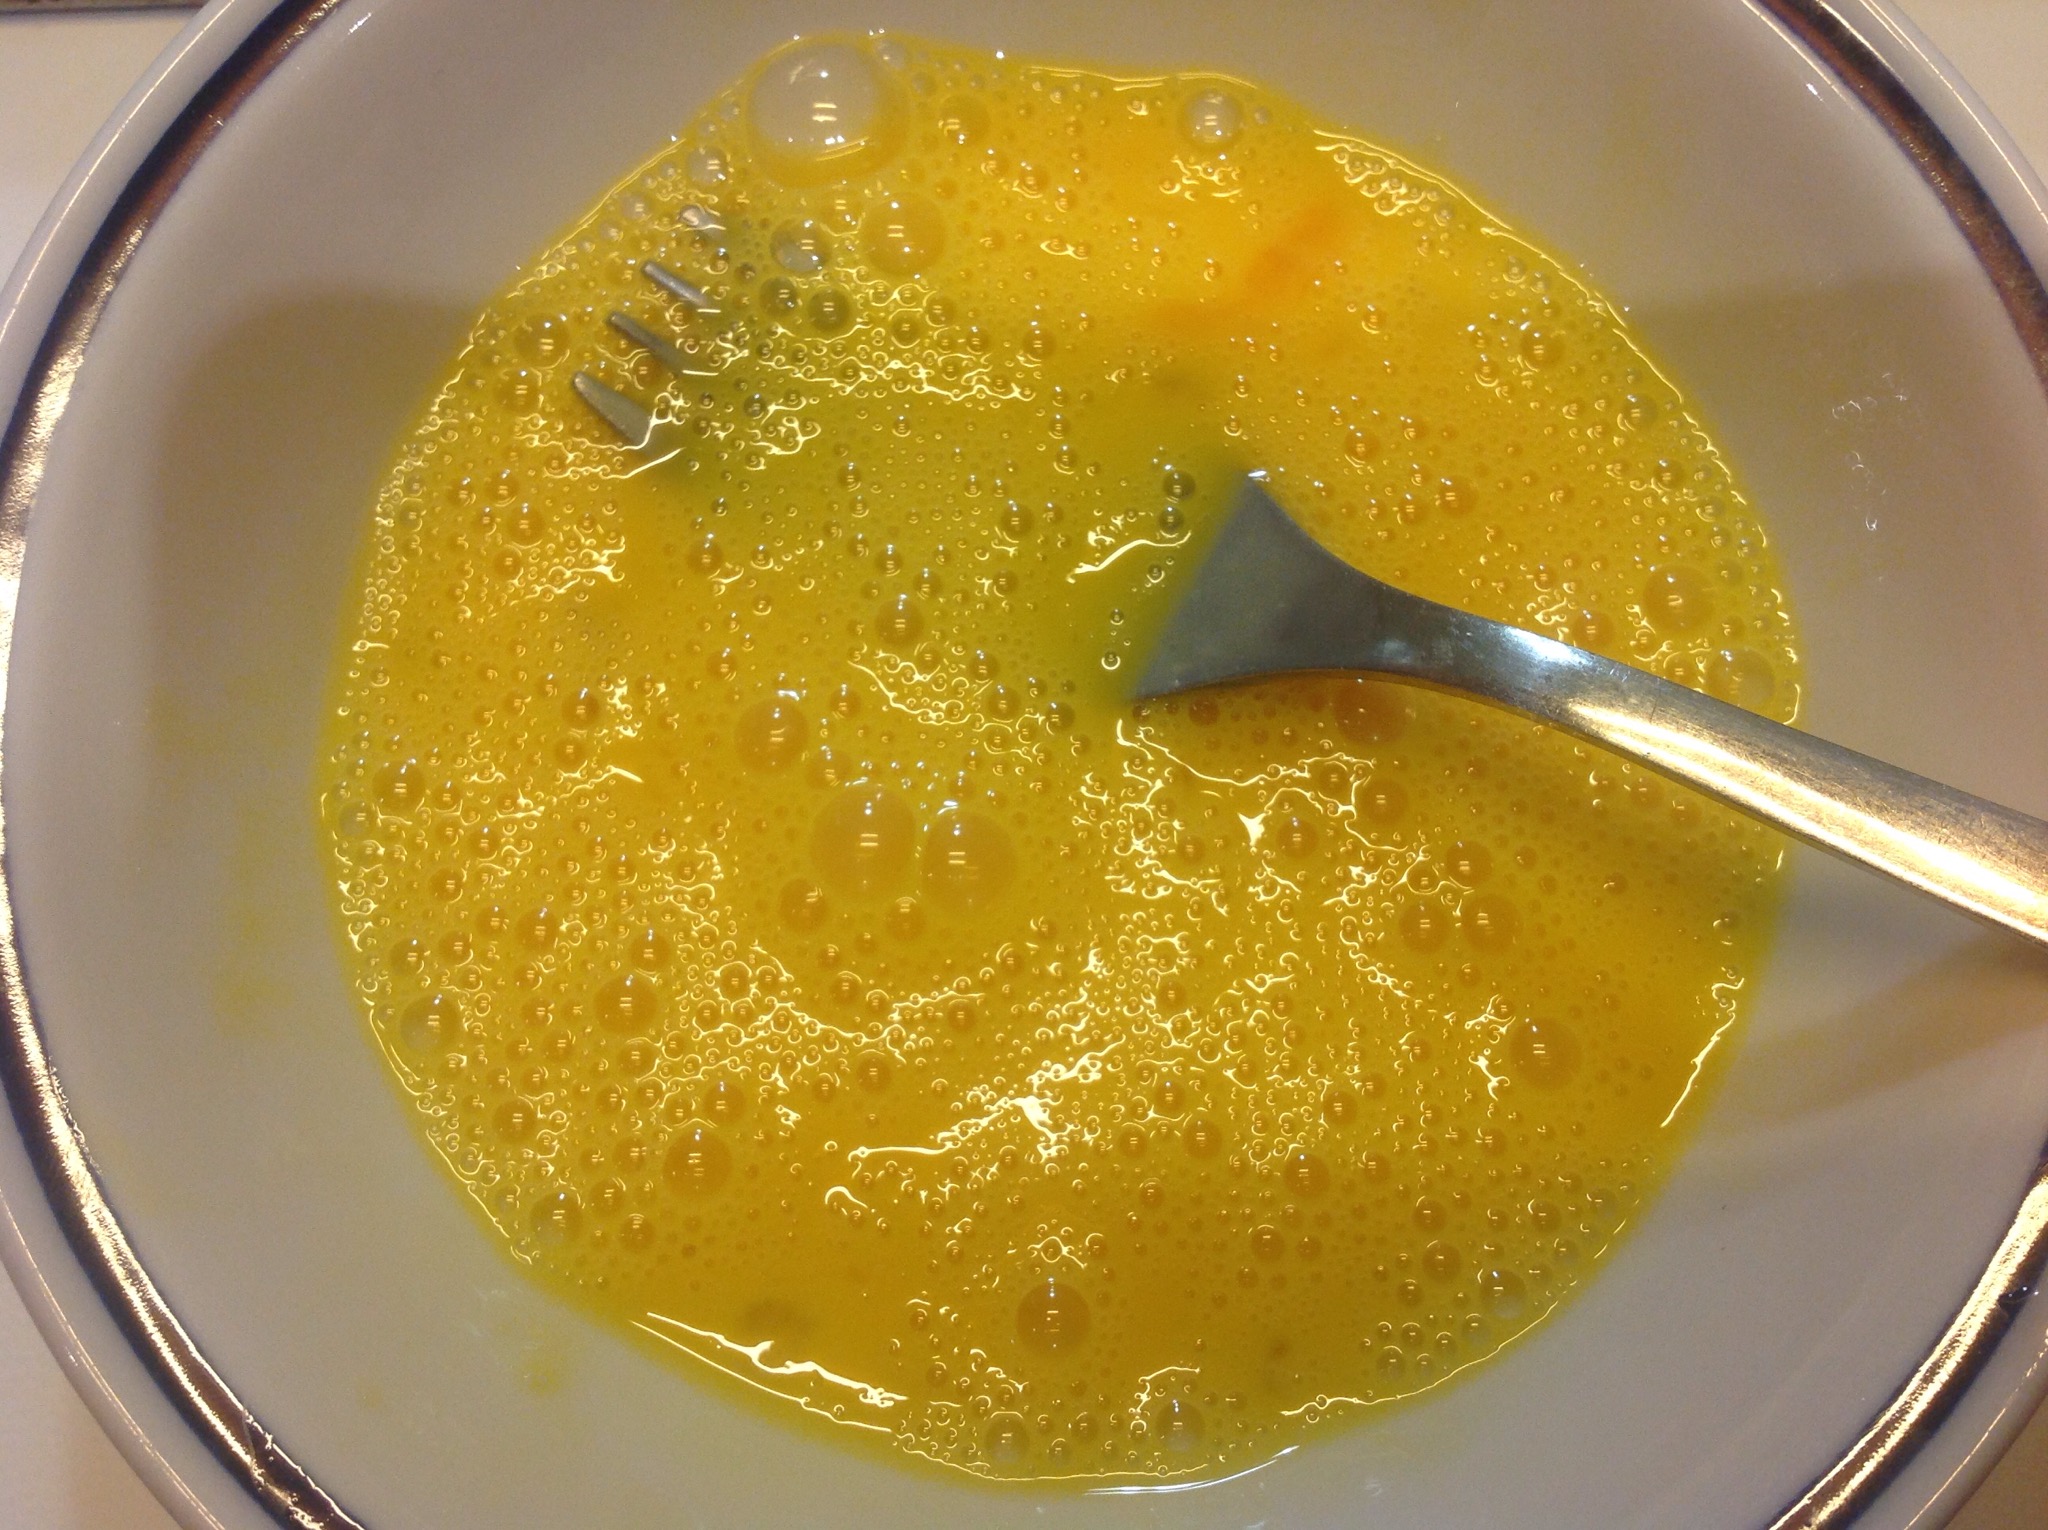
- Step 20 of 25I crack the remaining egg into a small bowl and beat with a fork.

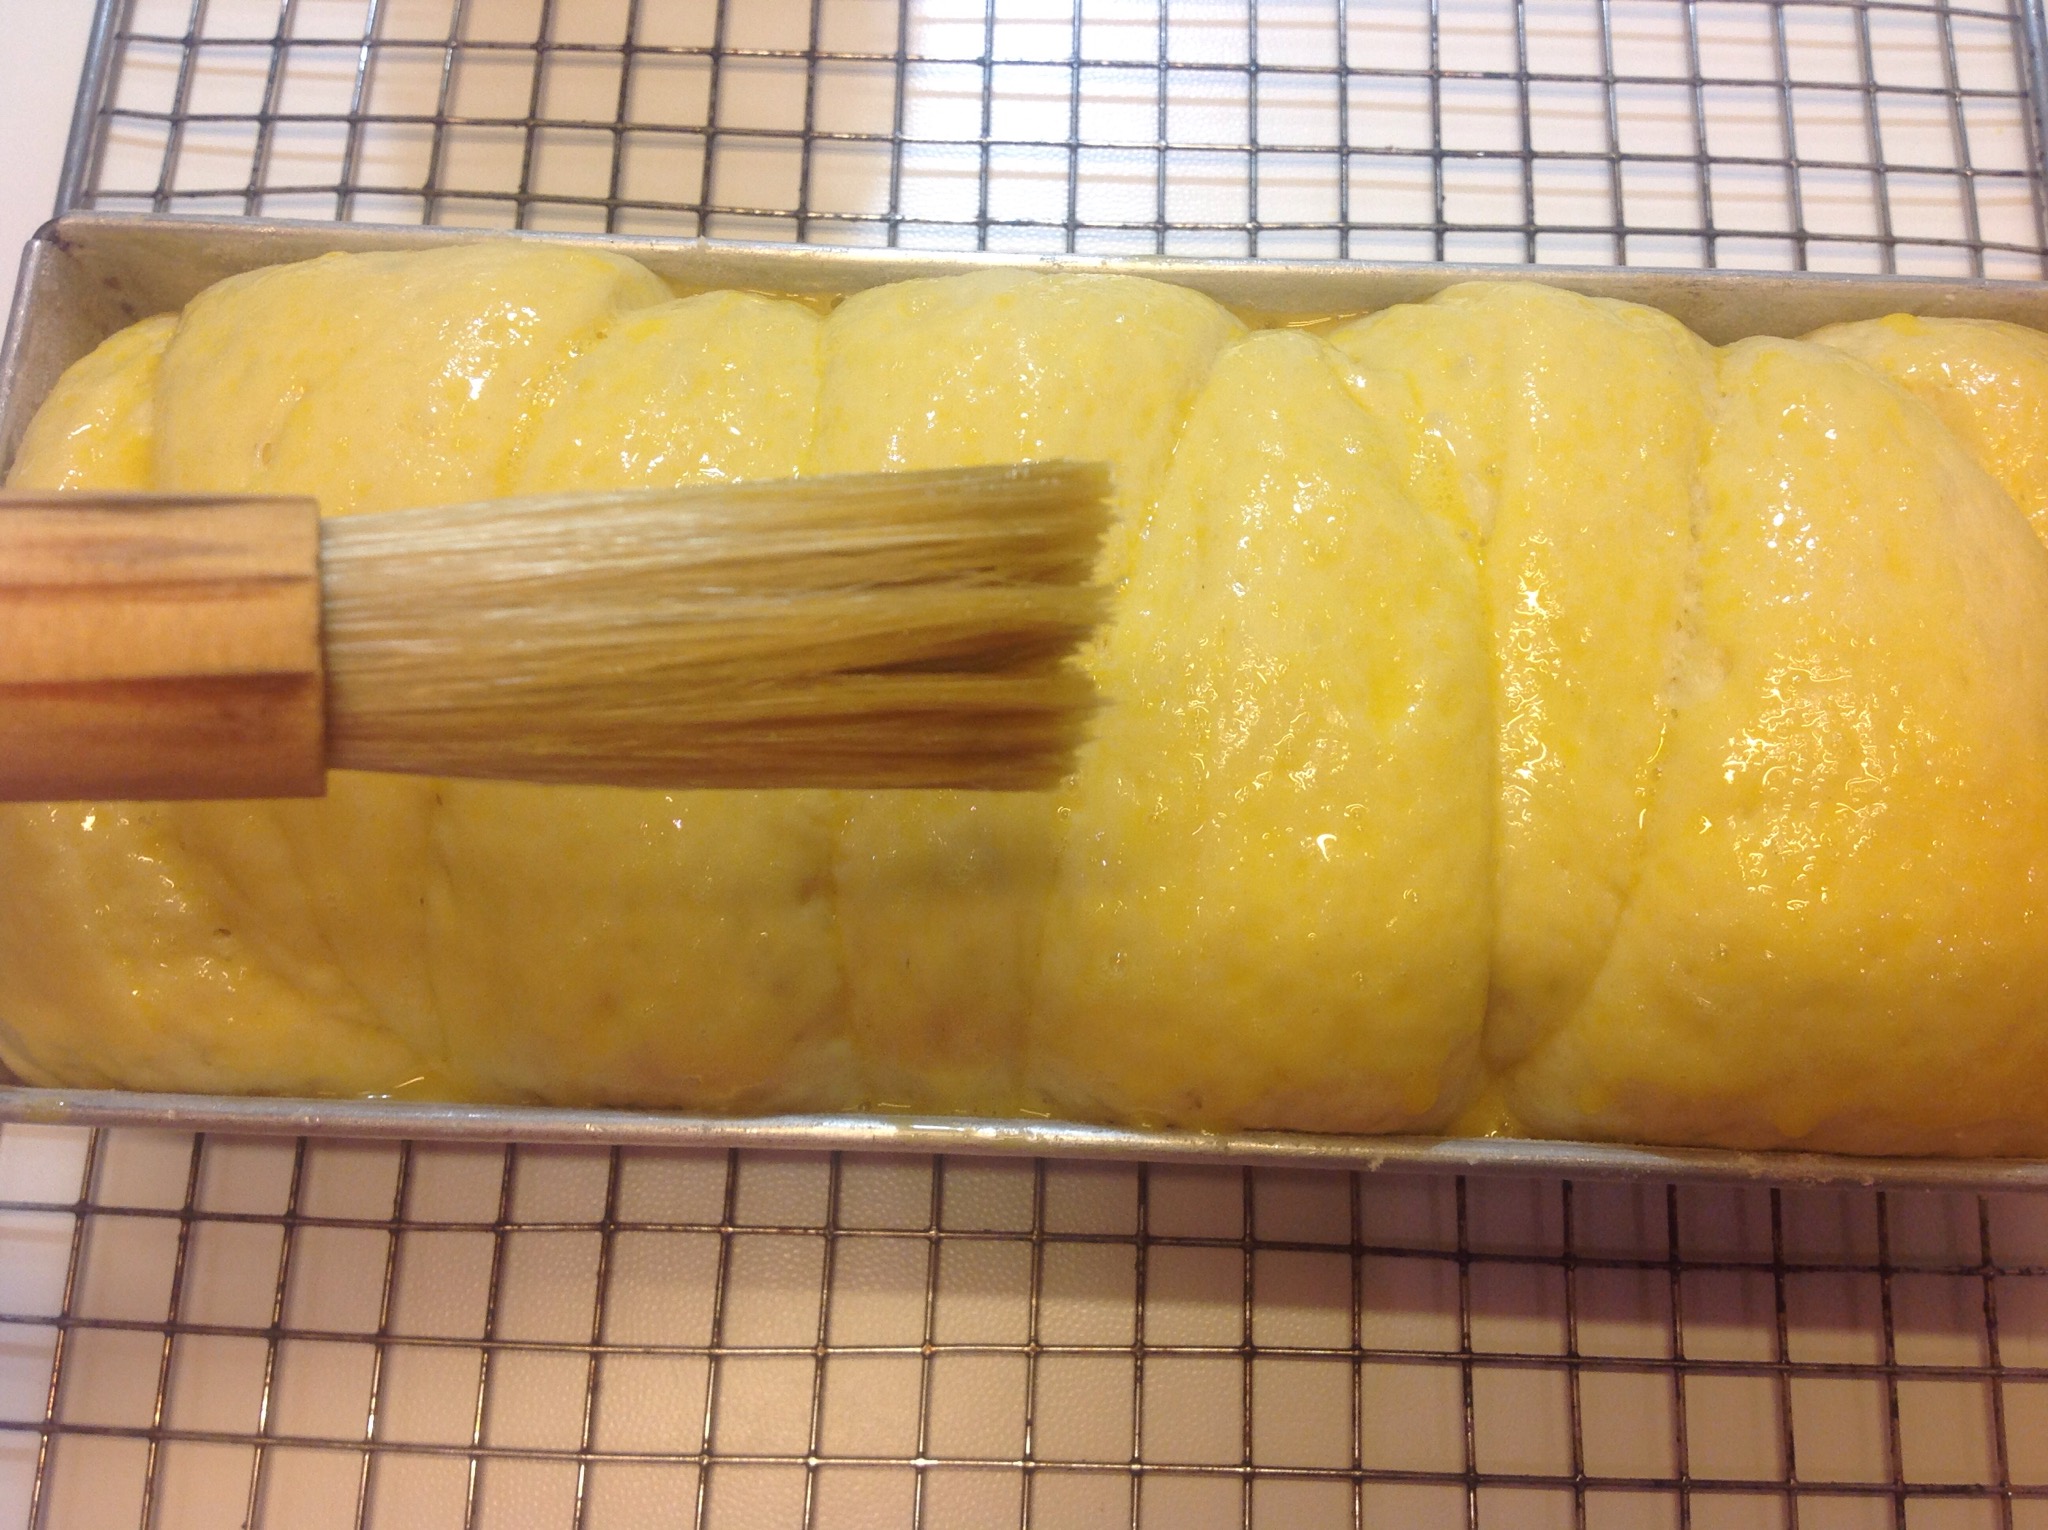
- Step 21 of 25I brush the brioche very gently so it does not collapse.

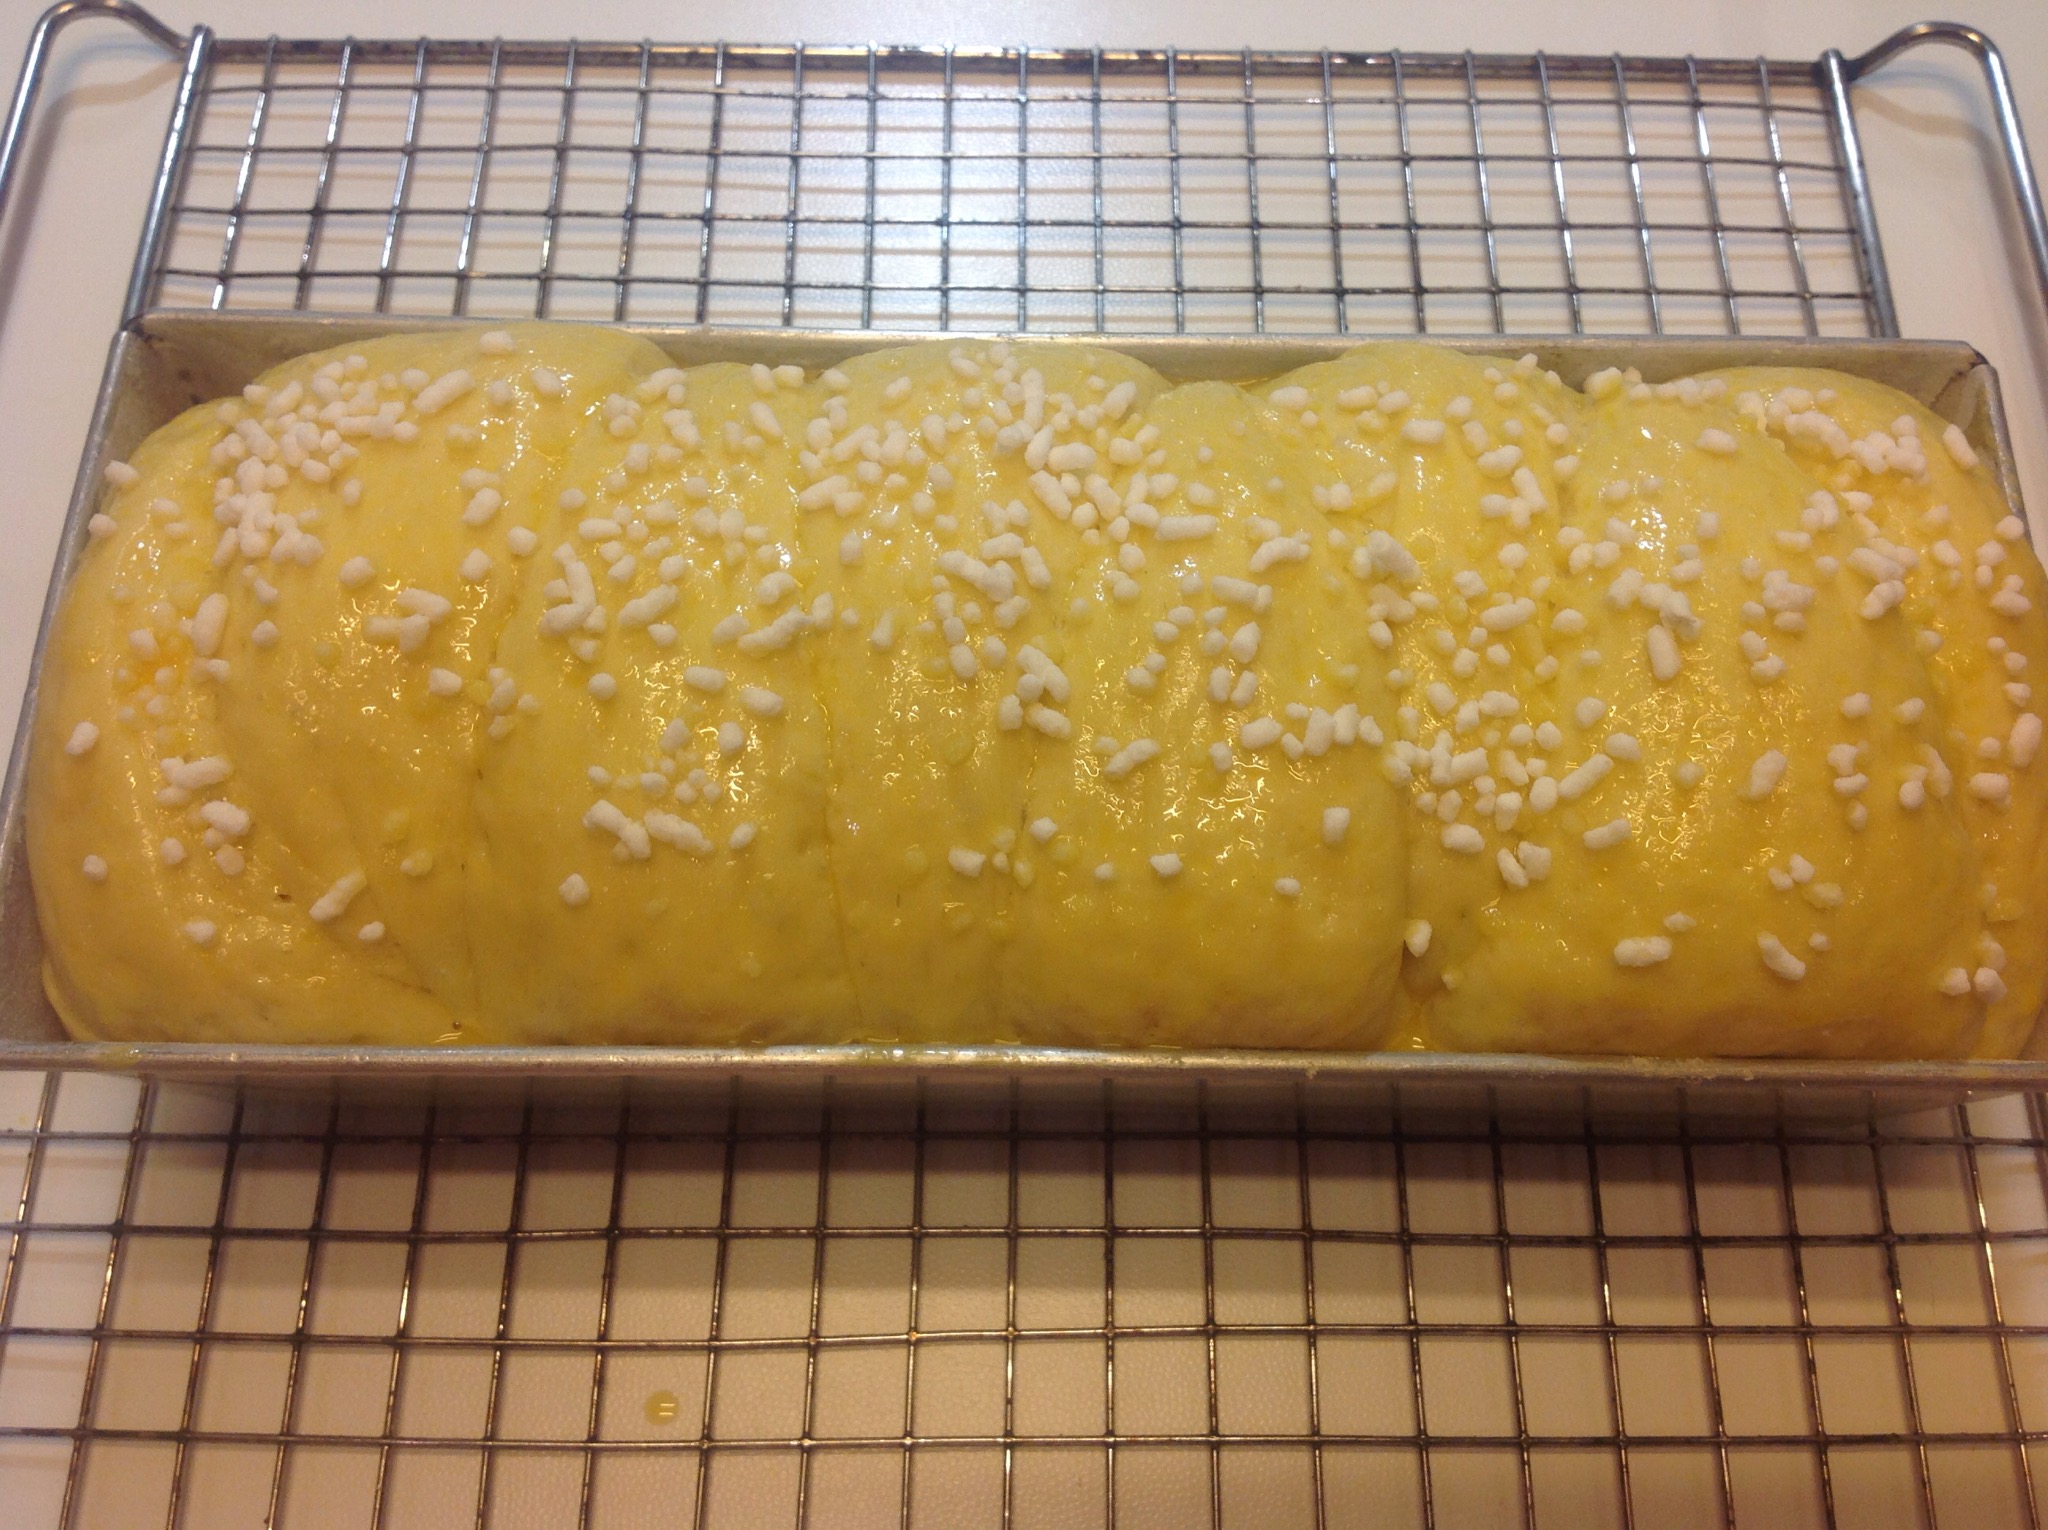
- Step 22 of 25I scatter over the pearl sugar.

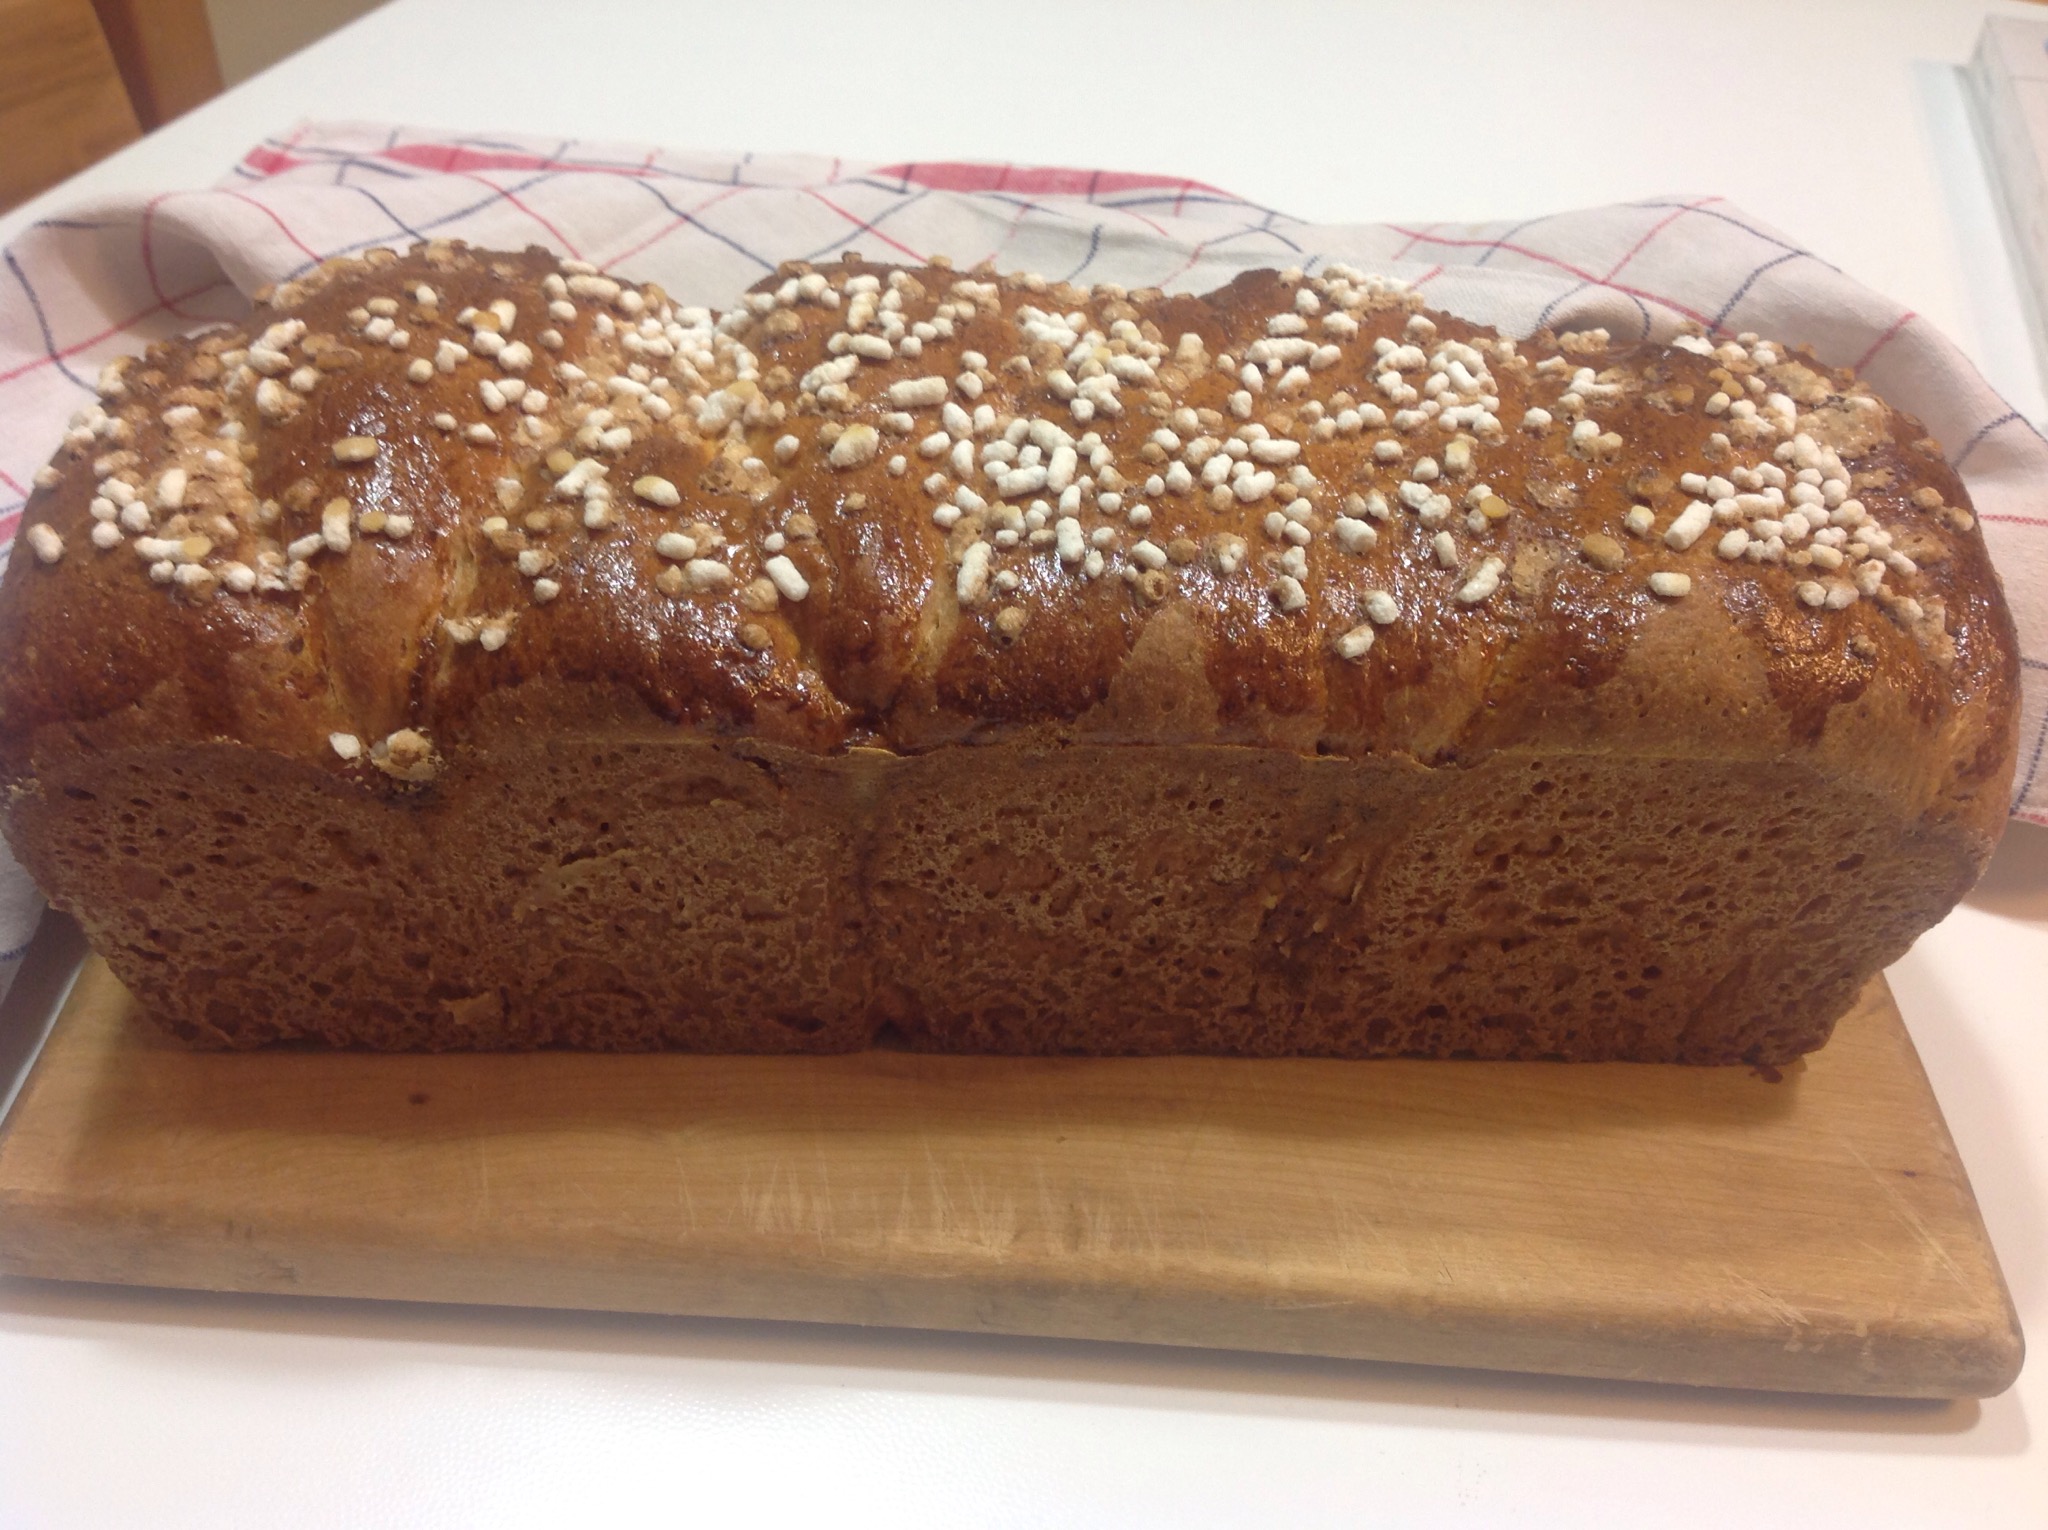
- Step 23 of 25I heat the oven to 180°C and bake for 30 minutes. Once cooked, I let it cool a little before removing from the tin.

- Step 24 of 25Let it cool and slice with a serrated knife.
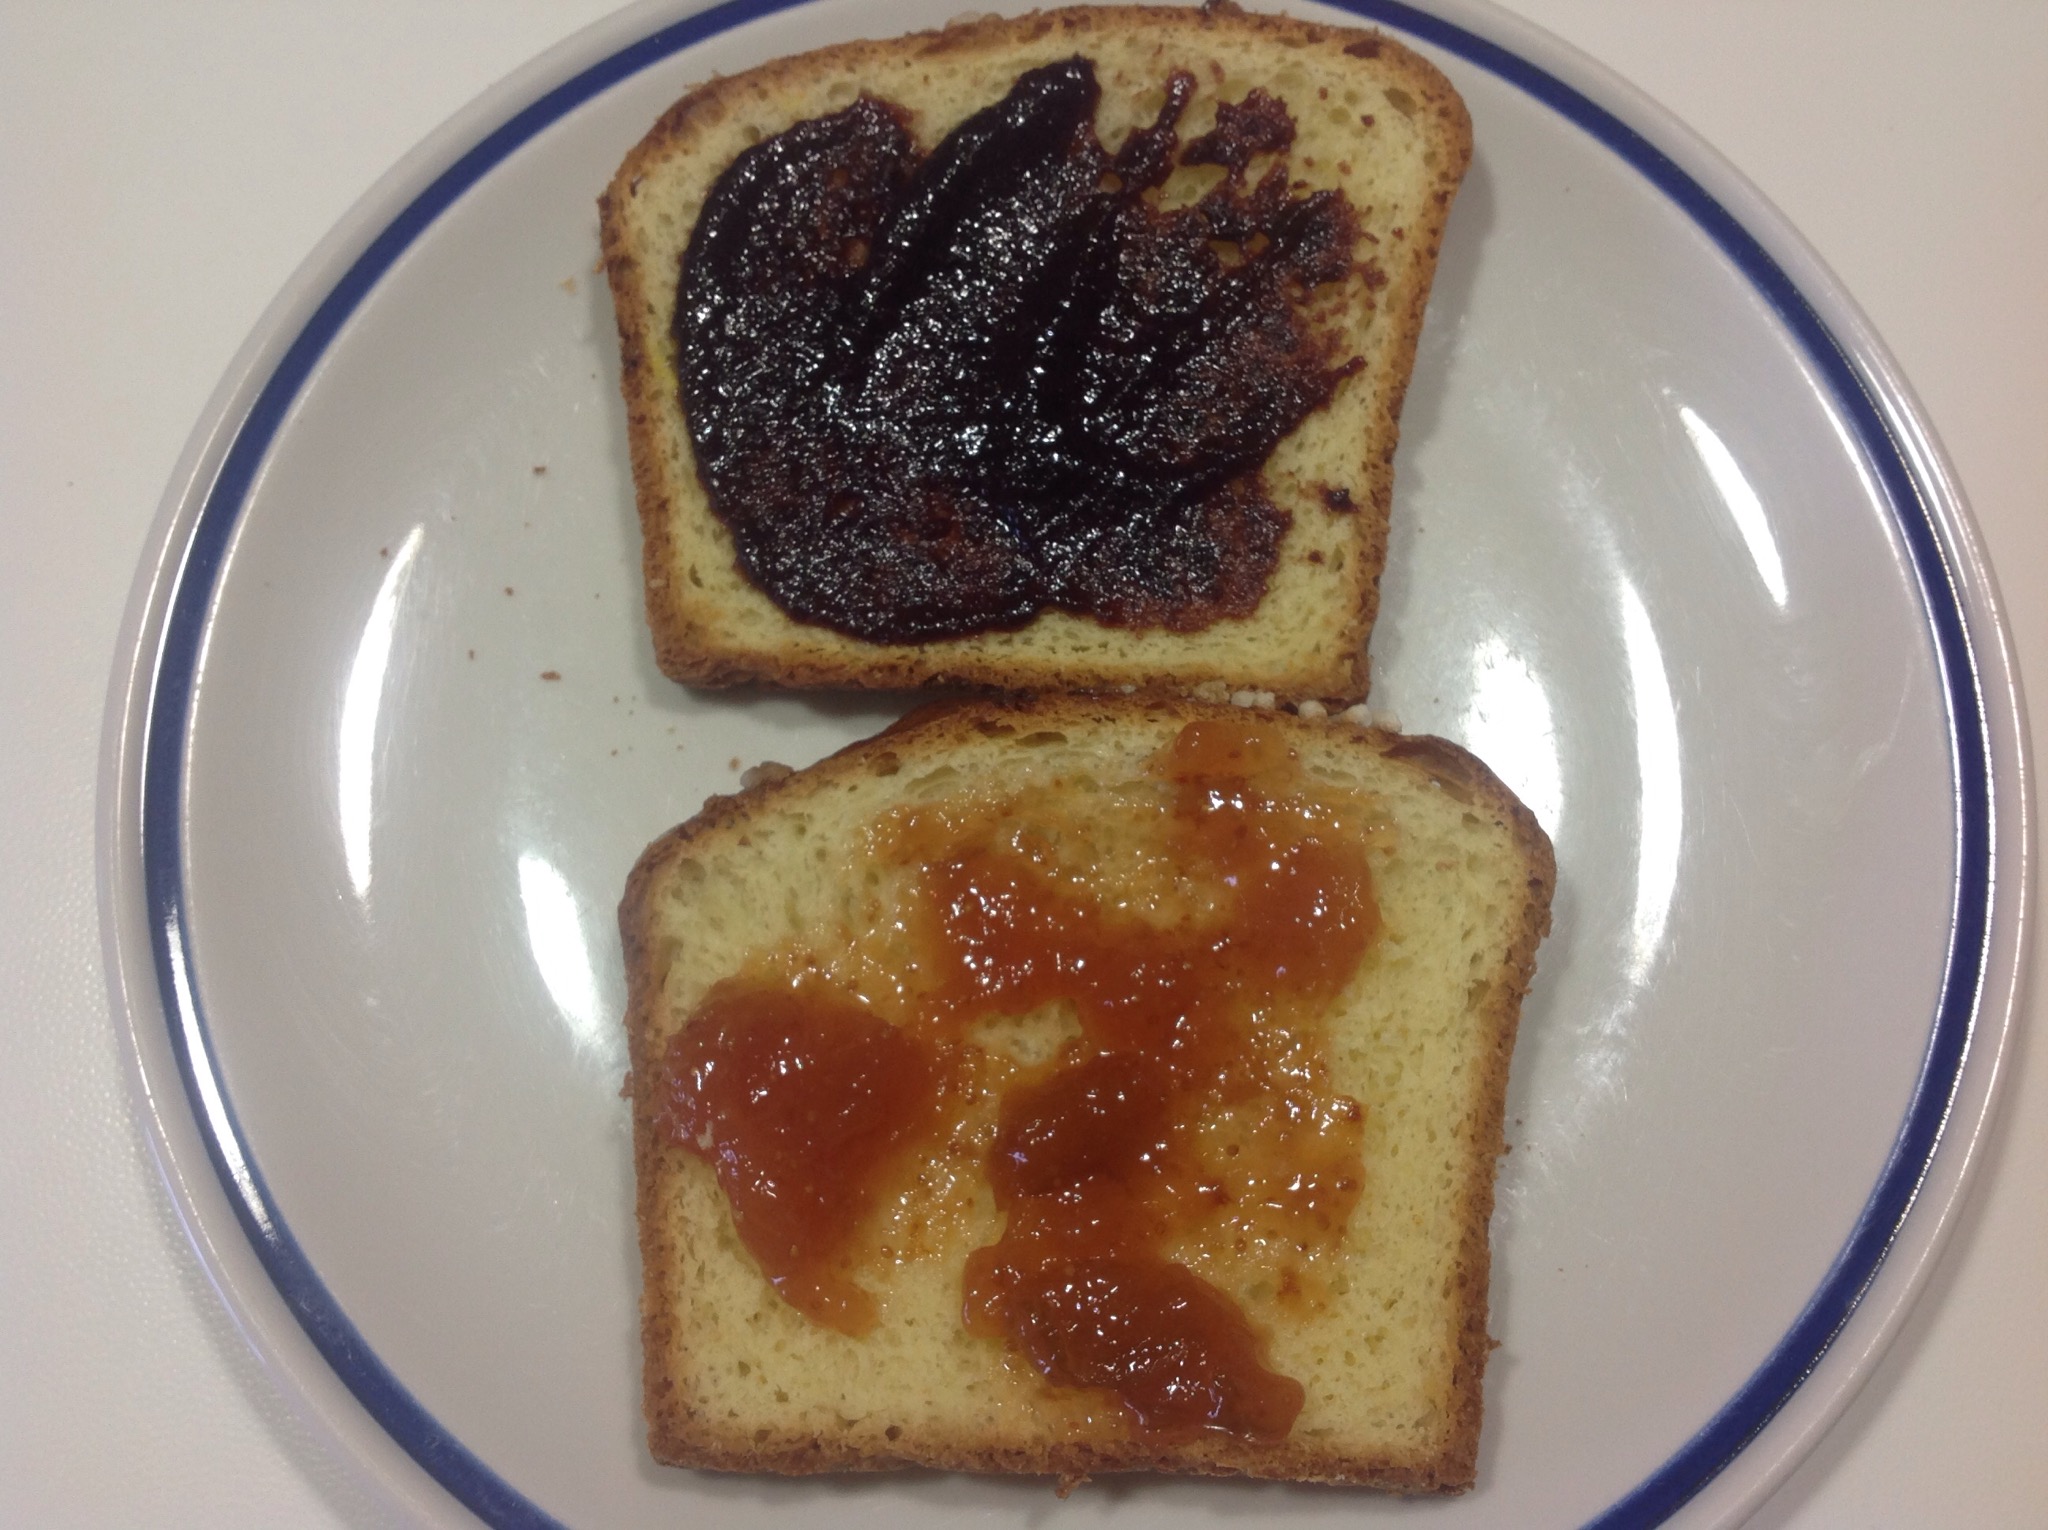
So soft! I could not resist trying it warm with the fig jam I made a month ago. Delicious! 😜😜😜
- Step 25 of 25It keeps for a few days wrapped in foil inside a food bag. Toasted in the morning, it is fantastic!


Original source: https://incucinaconlilly.com/2014/10/01/pan-brioche/
Reserved advertising space · no adverts are active